Email Designer
This lab will walk through the steps to create an Email in Adobe Journey Optimizer.
NOTE: Some exercises may vary during the actual Hands on Lab versus what is listed in the HOL Page, due to industry setup and / or Presenter preferences.
Create a New Message
- Within the Basic Journey, click on Email action node
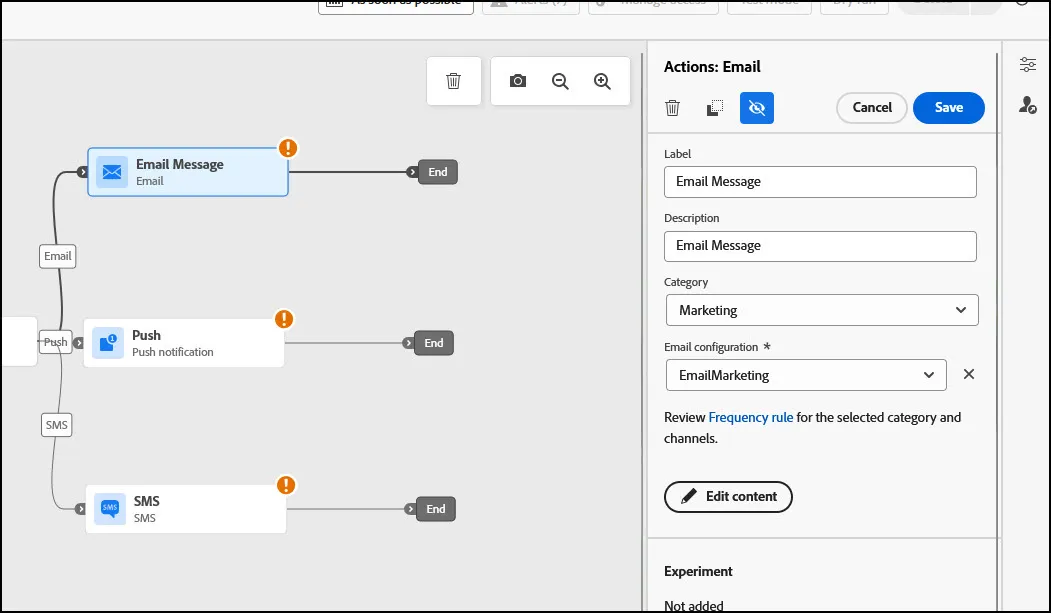
- Enter a Label and Description for the message.
- Choose Email Marketing for the Email Configuration.
- Make sure you switch the toggle for 'Enable decisioning' before making email content changes.
Define a Subject Line
- Enter a Subject Line.
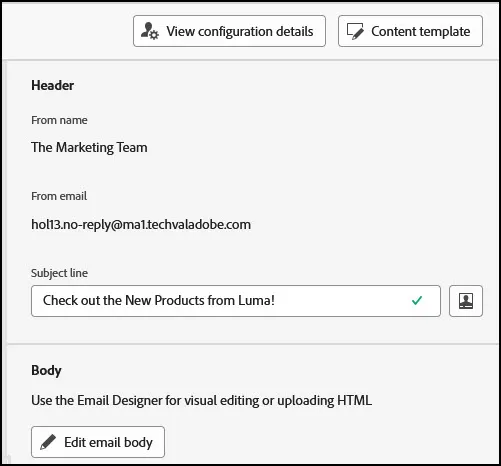
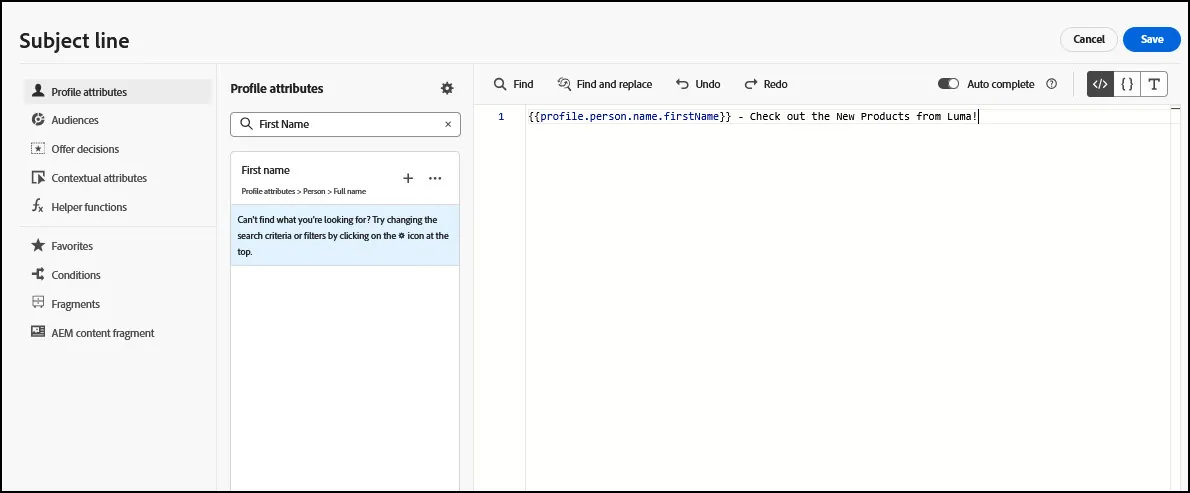
- Click on the Personalization icon to add personalized data available for a customer record.
- To add personalization, place your cursor where you want the personation added. Search for first name by searching for "first" and clicking the plus sign. Click Save.
- You subject line should read something like: {{profile.person.name.firstName}} - Check out the New Products from Luma!
Design Email
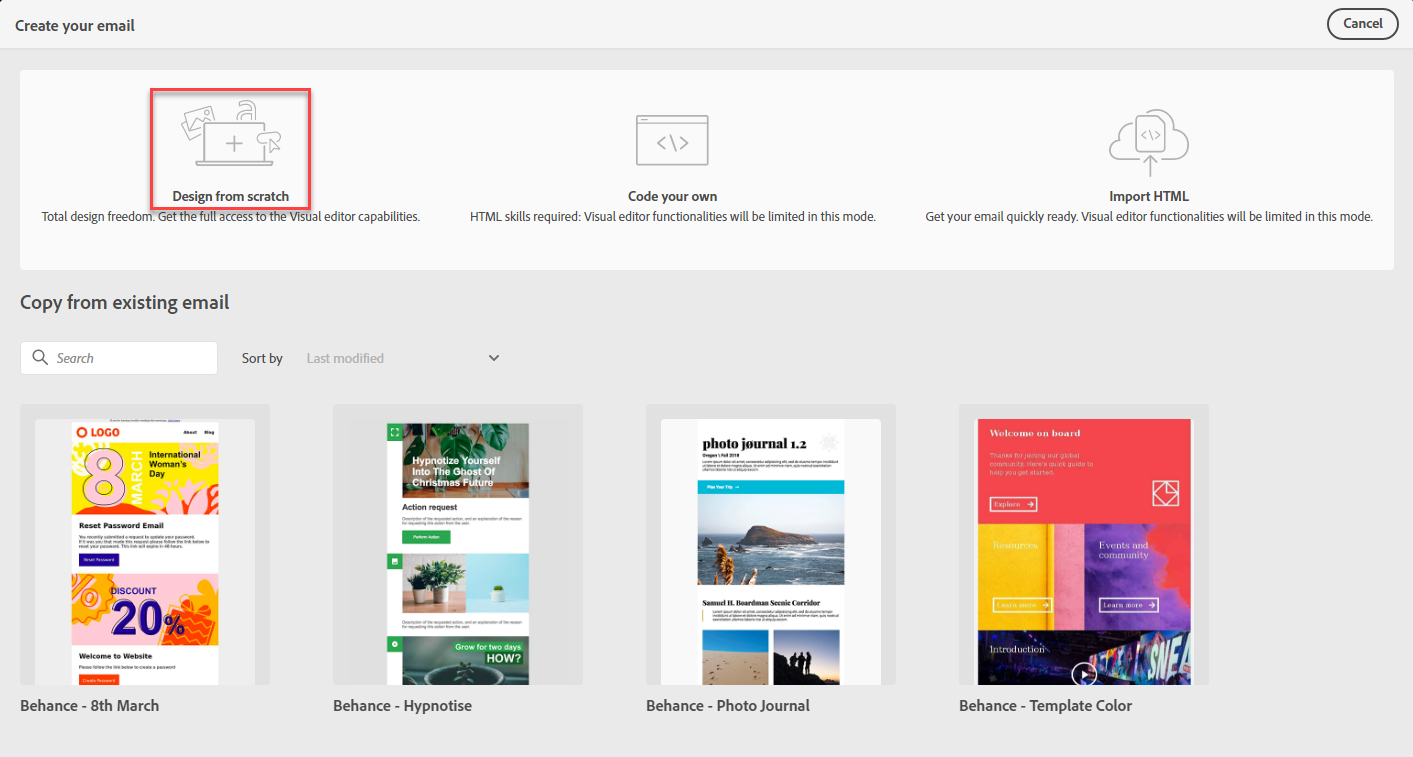
- Click Edit Email Body:
- In the next Window, Select “Design from Scratch”
- Click on the 1:1 Column. Drag it 10 times onto the Canvas.
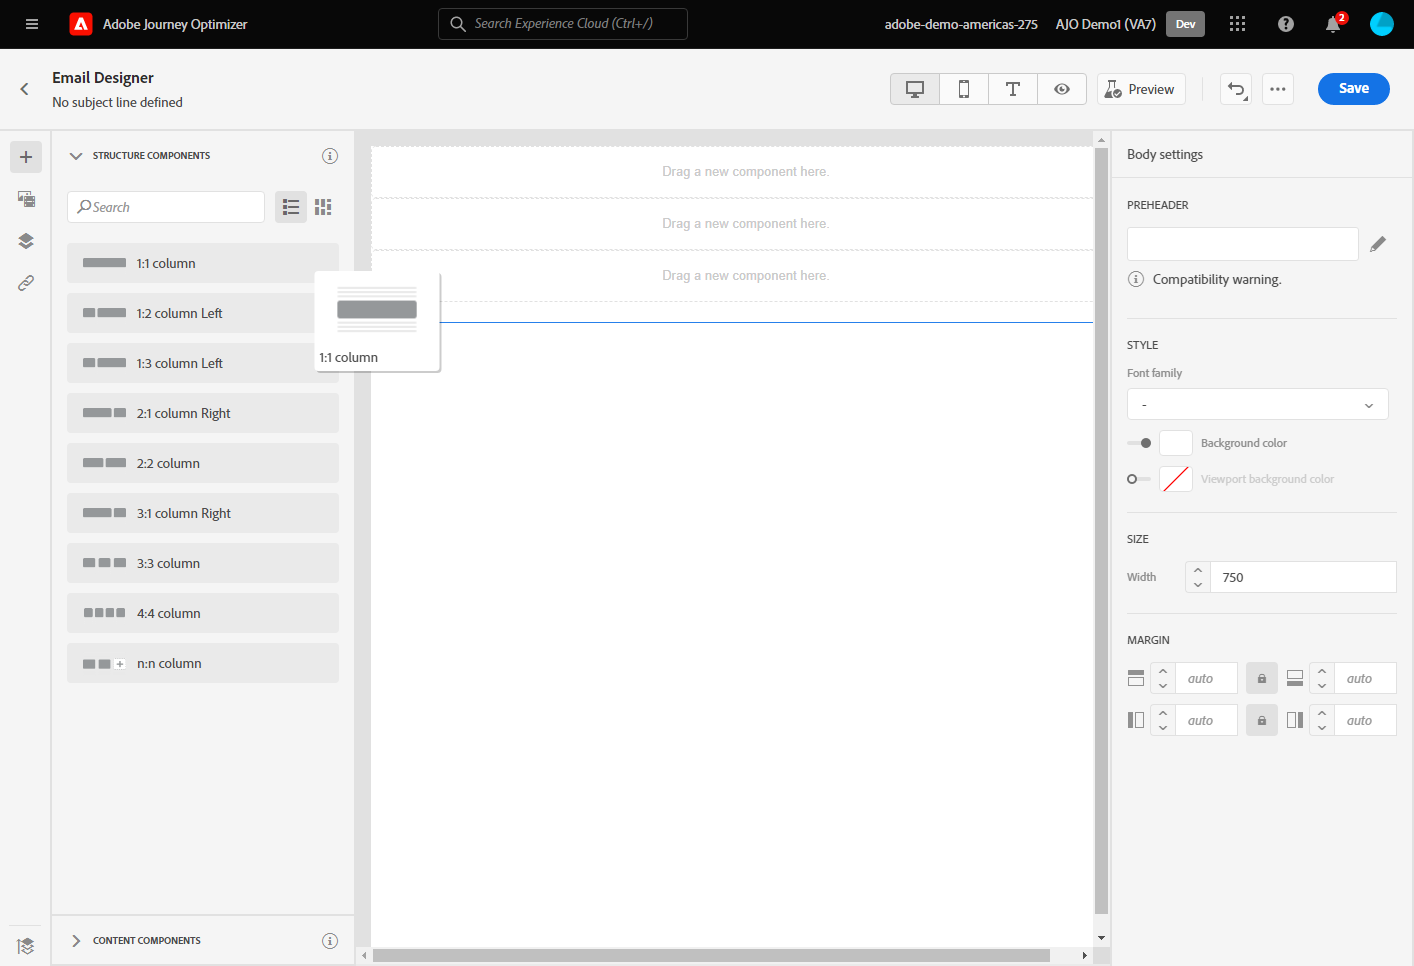
- Select Content Components
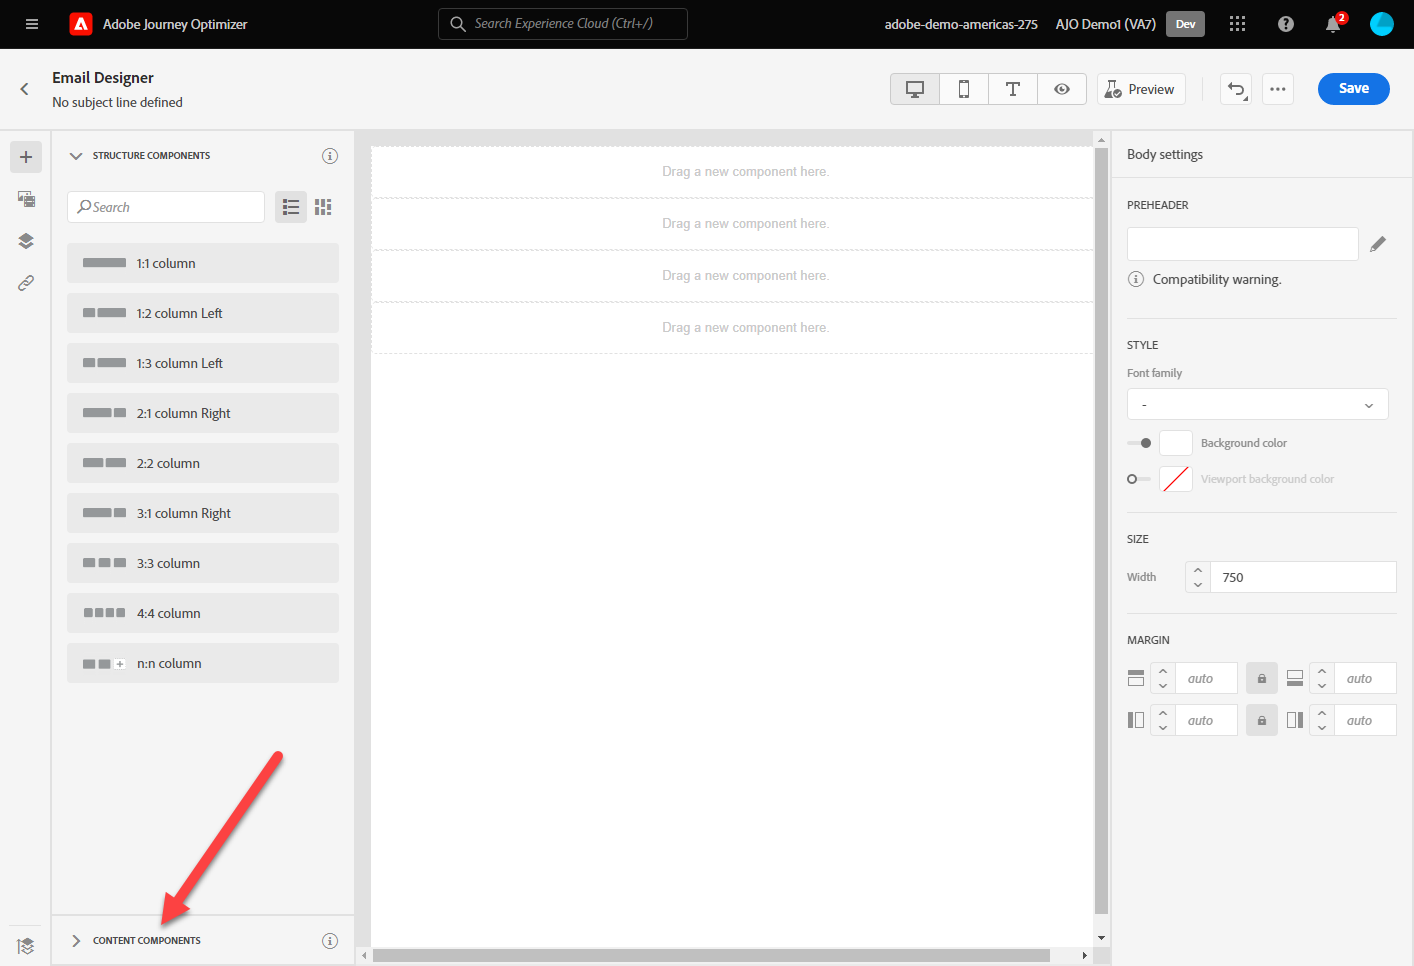
- Add an Image Component in the first 1:1 Content Structure
- Add a Divider in the Second Component
- Add a Text Component in the Third Content Structure
- Add a Divider in the Fourth Content Structure
- Add an Image in the Fifth Content Structure
- Add a Divider in the Sixth Content Structure
- Add a Button in the Seventh Component
- Add a Divider in the Eight Content Structure
- Add Social in the 9th Content Structure
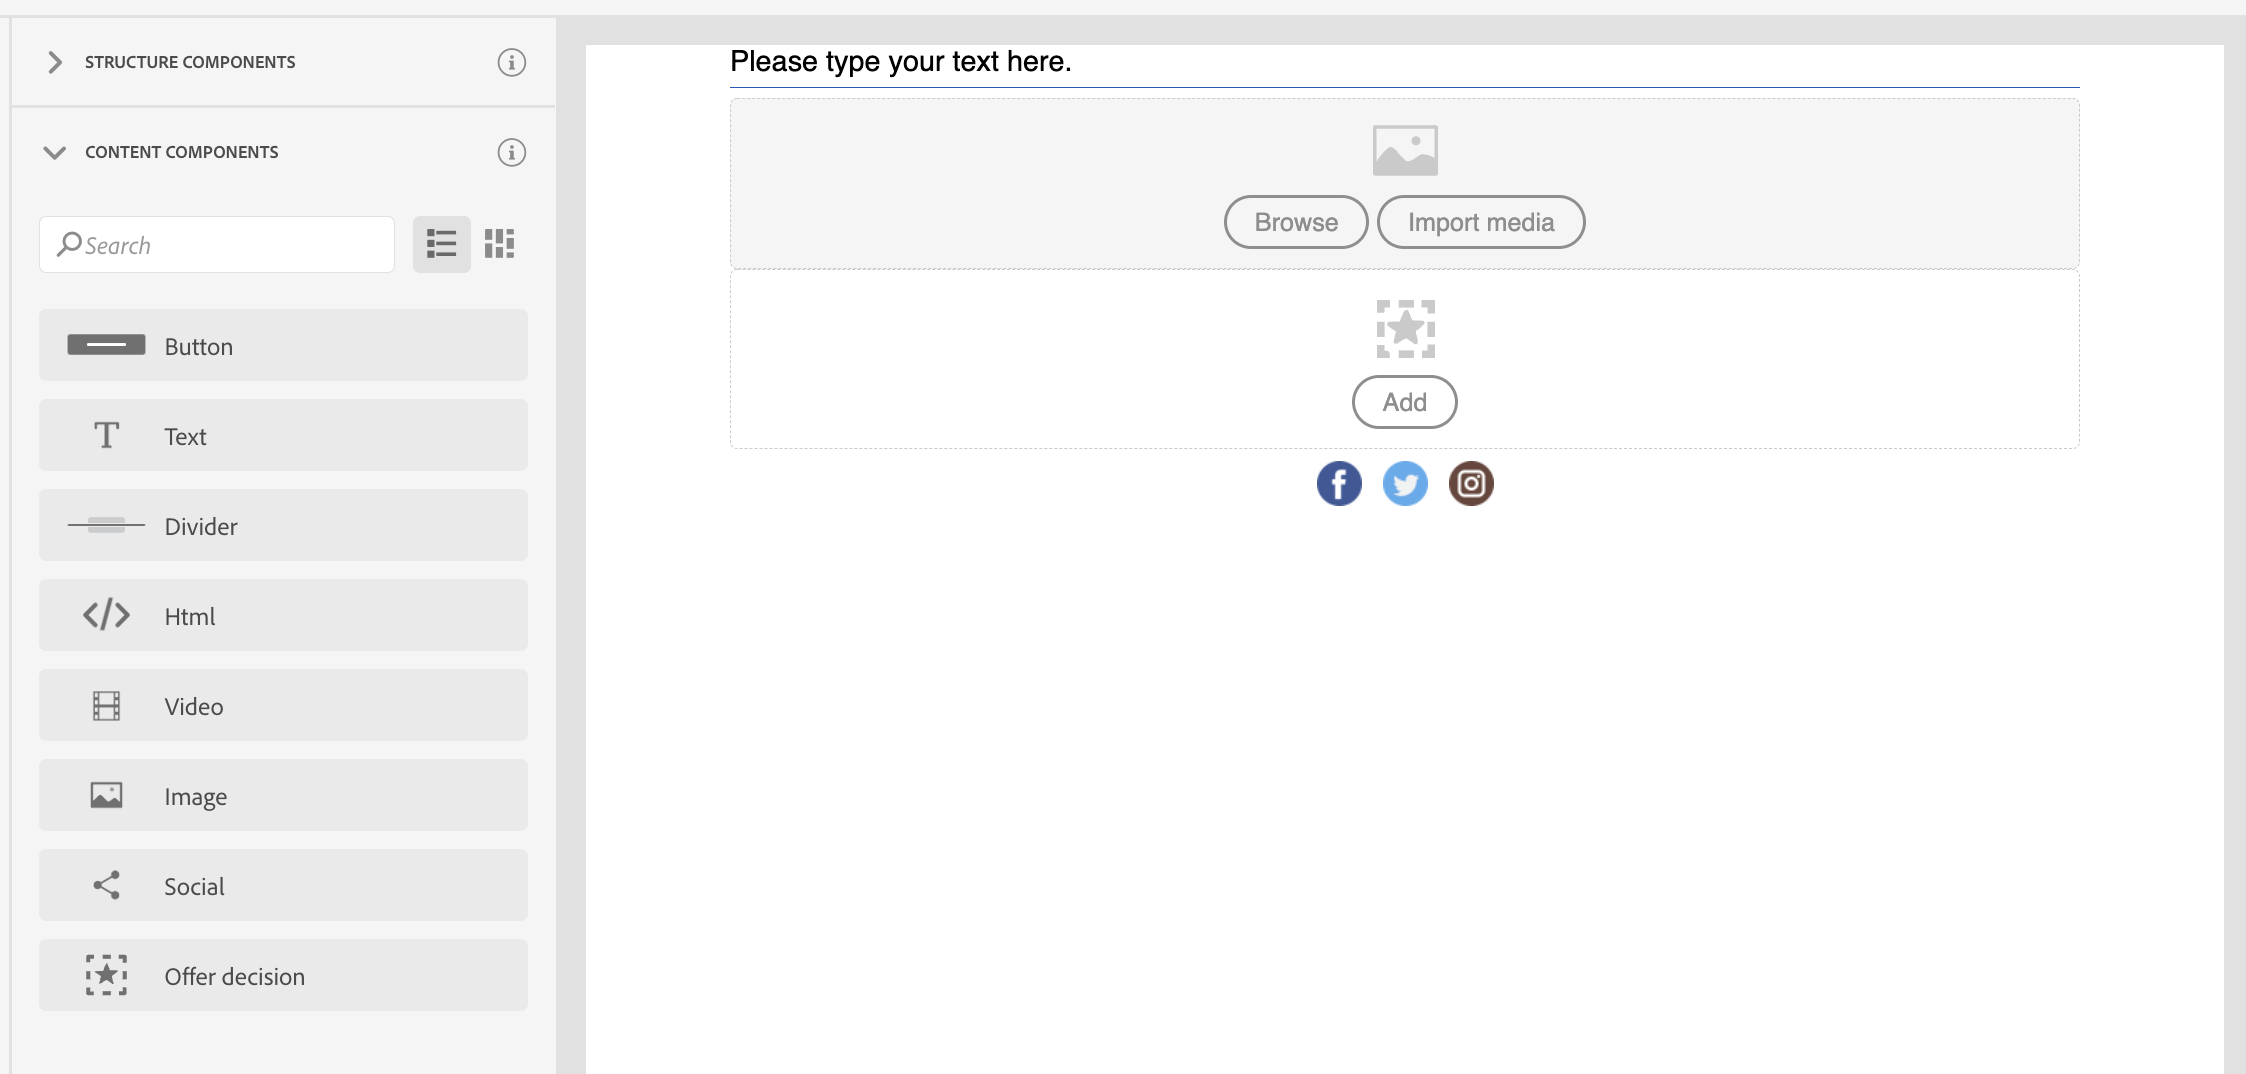
- Add a Divider in the last content structure
- Select Browse to select an image. Go to the Luma Brand Folder and look for the Luma Logo. Resize as necessary using the Styles menu.
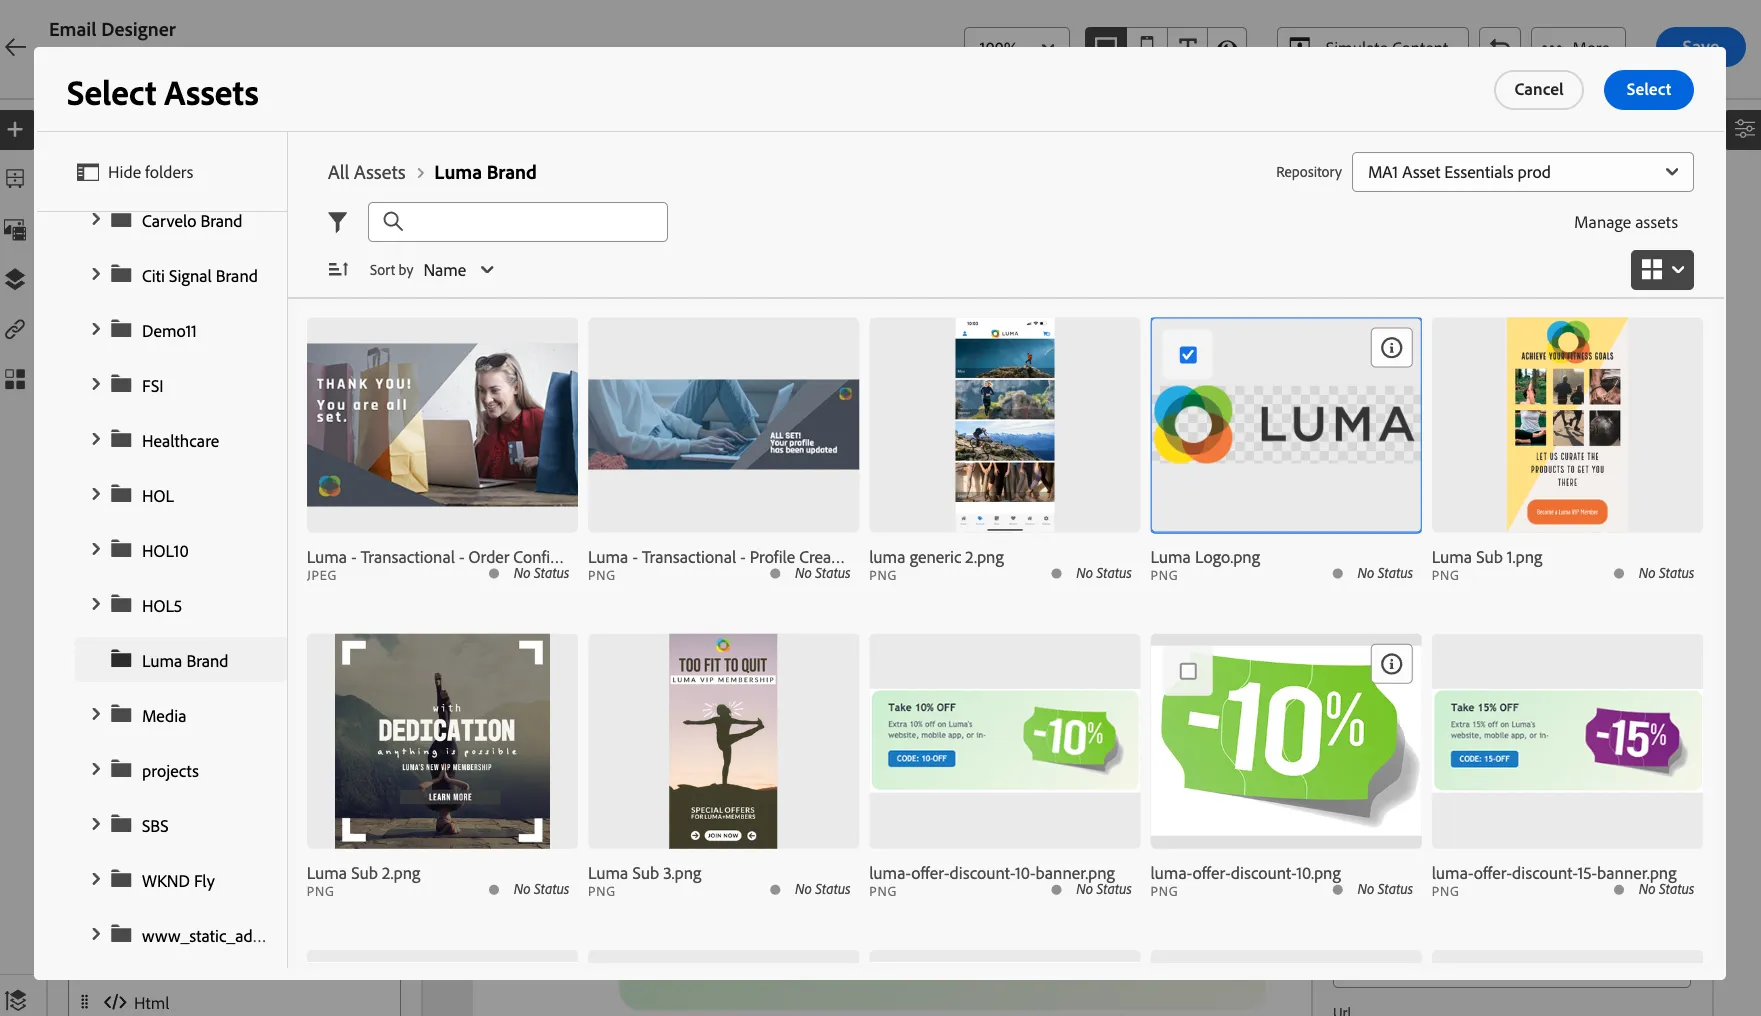
- The type and center align the following text: "Check out our new products at Luma!!"
- Add a hero image to the email message for your email.
Let's use Adobe's AI Assistant now to change the banner image we're going to use in our email. Click on the banner image and then click on the AI Assitant icon in the far right navigation.
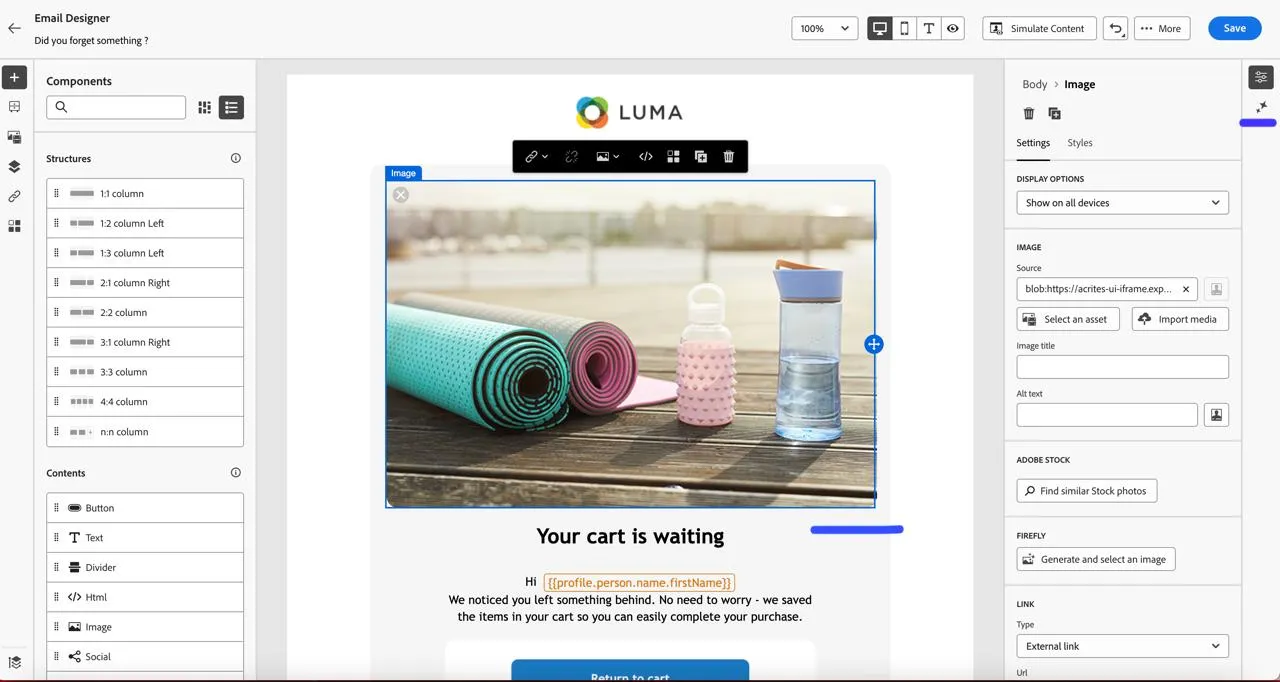
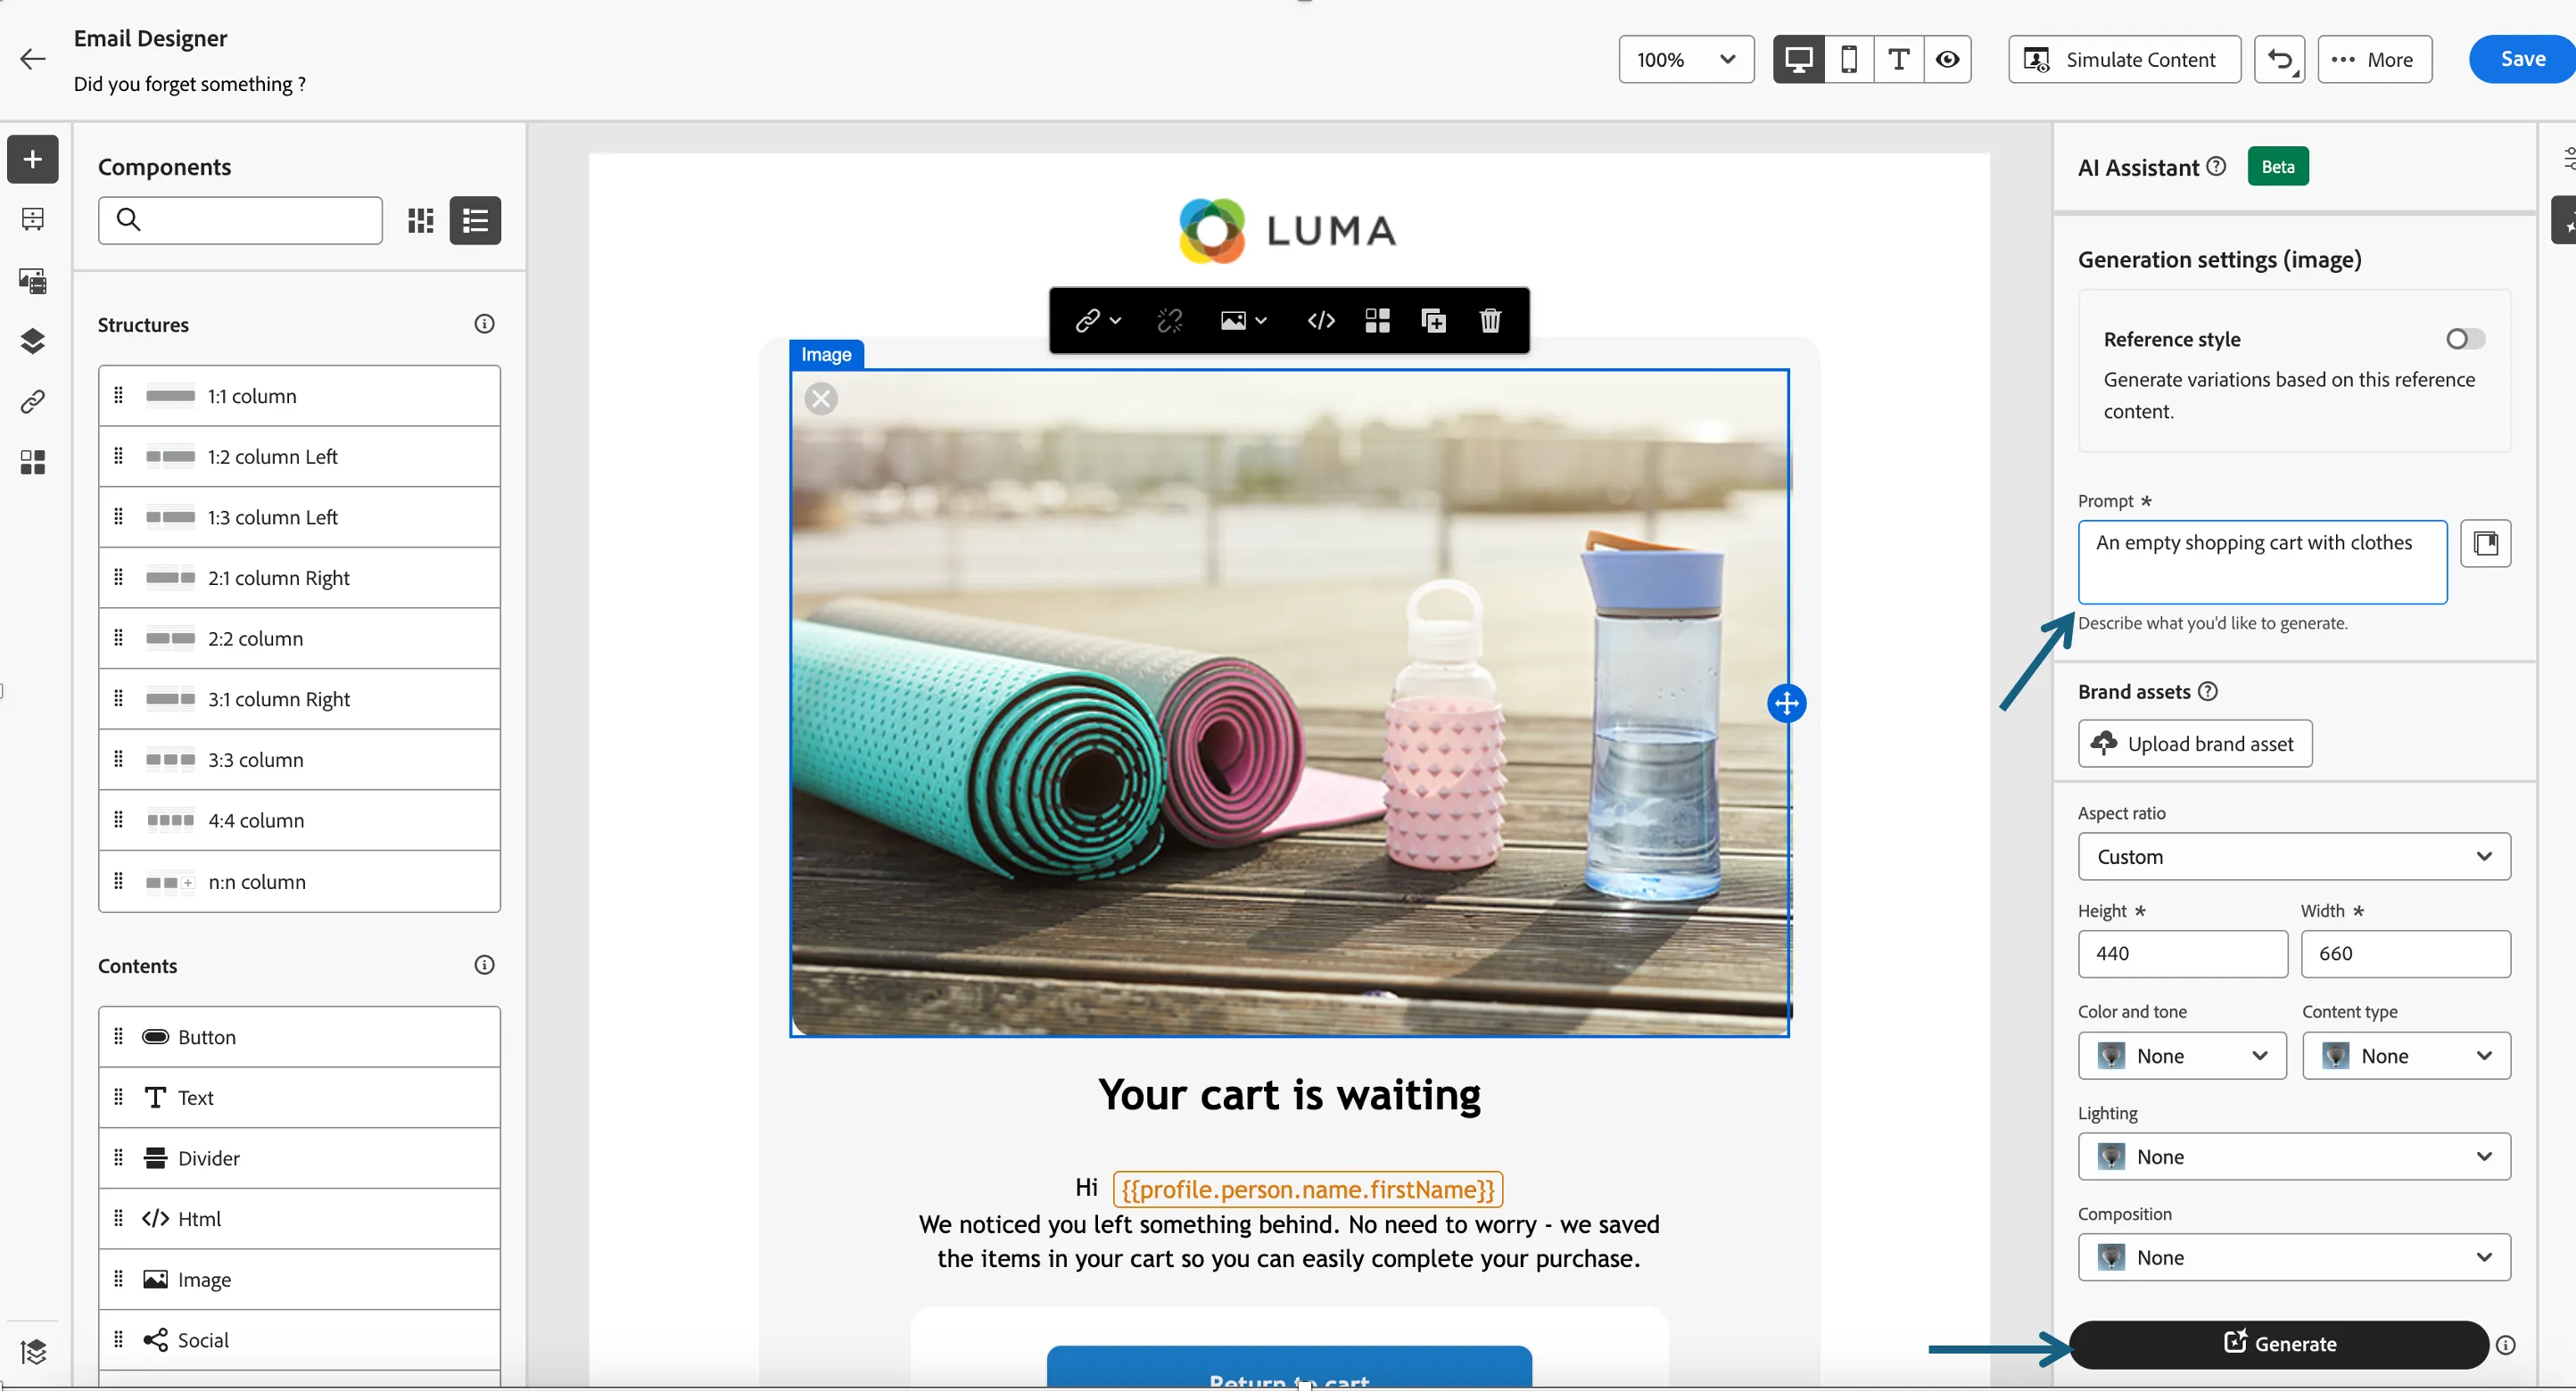
Add a text prompt for your new image. It can be whatever you want, but remember that Adobe's AI is commercially safe, it only trains on imagery already licensed through Adobe Stock or without copyright. Keep your terms generic like An empty shopping cart with clothes. Click Generate to see the variations.
Click Preview to show the variations and either select one or update the prompt to regenerate. Select the one you want to use and click Select to save the image and the click on Next
Save the new image in the Luma Brand folder of the asset repository.
- Next, click on the button at the bottom of the email, change the text to "Shop Now".
- Your email should appear something like the following:
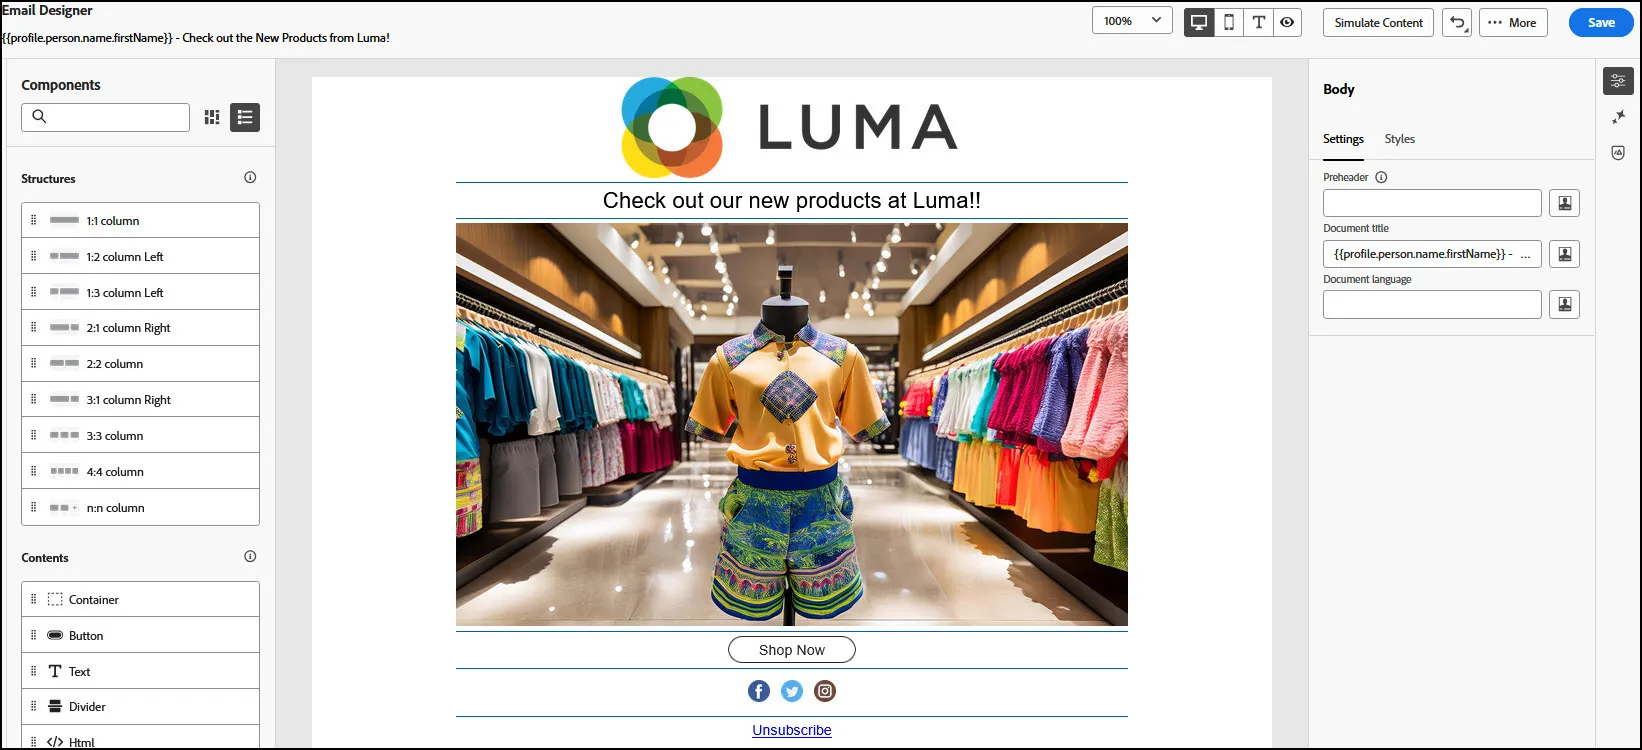
- Click Save to save the message
- Select the 1:1 column component that contains the hero image
- Select the Decisioning icon from the right hand menu
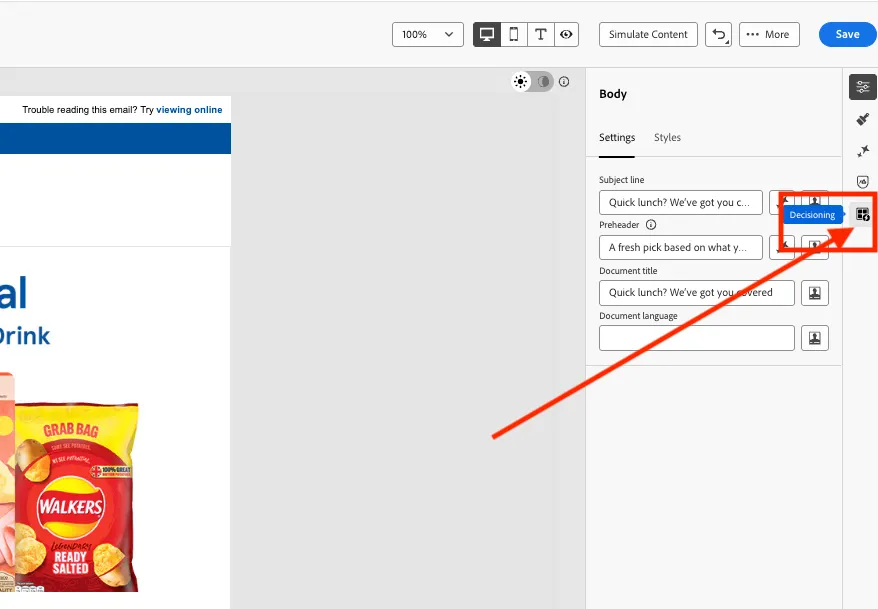
- Select Add Decision Policy >Add new policy
- Set the name of the decision policy to: Email Decision Policy- your initials
-
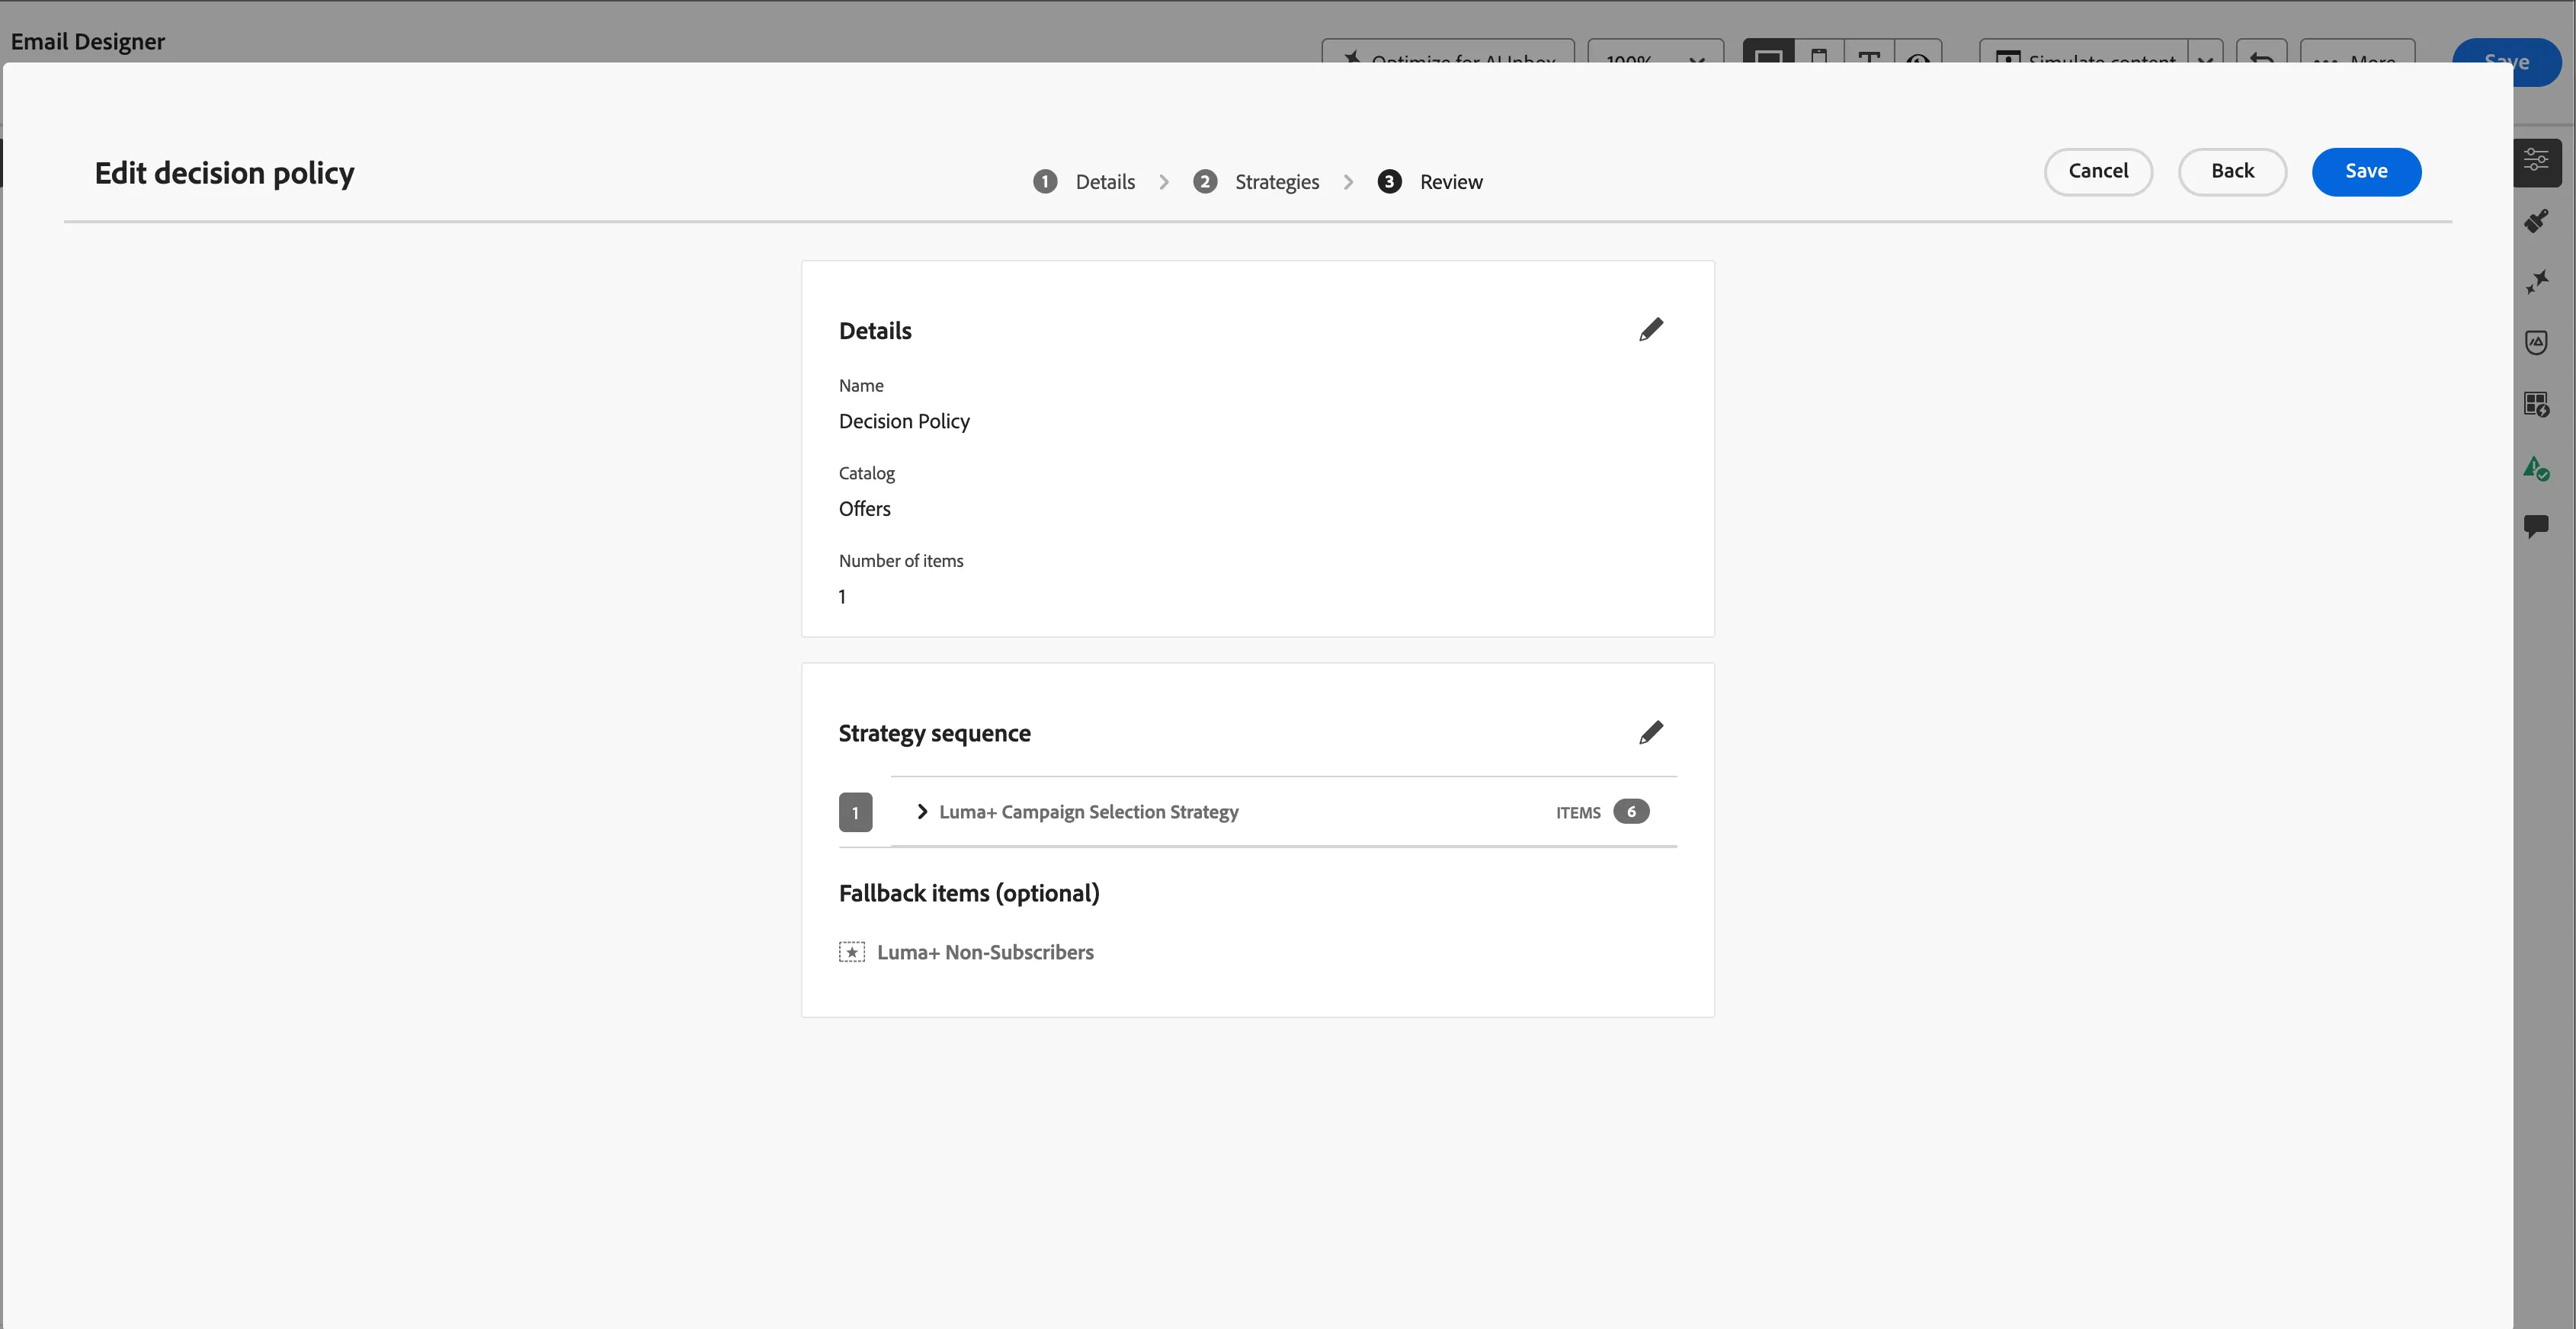
- Click Next.
- Under Strategy sequence, select +Add > Selection Strategy.
- Select your strategy from the list.
- Click Save to close the window.
- Click Next and review your decision policy.
- Click Create.
Since we are using this decision policy in an Email, we have to assign a Placement. A placement determines where returned items from the decision engine appear in a message.
- Click Assign Placement in the Decisioning panel.
- Check the email-1-1-column placement
- Click Assign.
We've now added our Decision policy to our email, now lets use it to personalise the main banner image.
- Select the banner image
- From the image options, select the Add Personalisation icon, next to the image source to open the expression editor.
- In the expression editor, delete the existing URL.
- Select Decision policies from the left menu.
- From the Offer Decision policy you created, search for the sourceURL atttribute
- Click + > + Insert as attribute to add the first attribute in the list into the expression editor.
- You should see:
- Click Save.
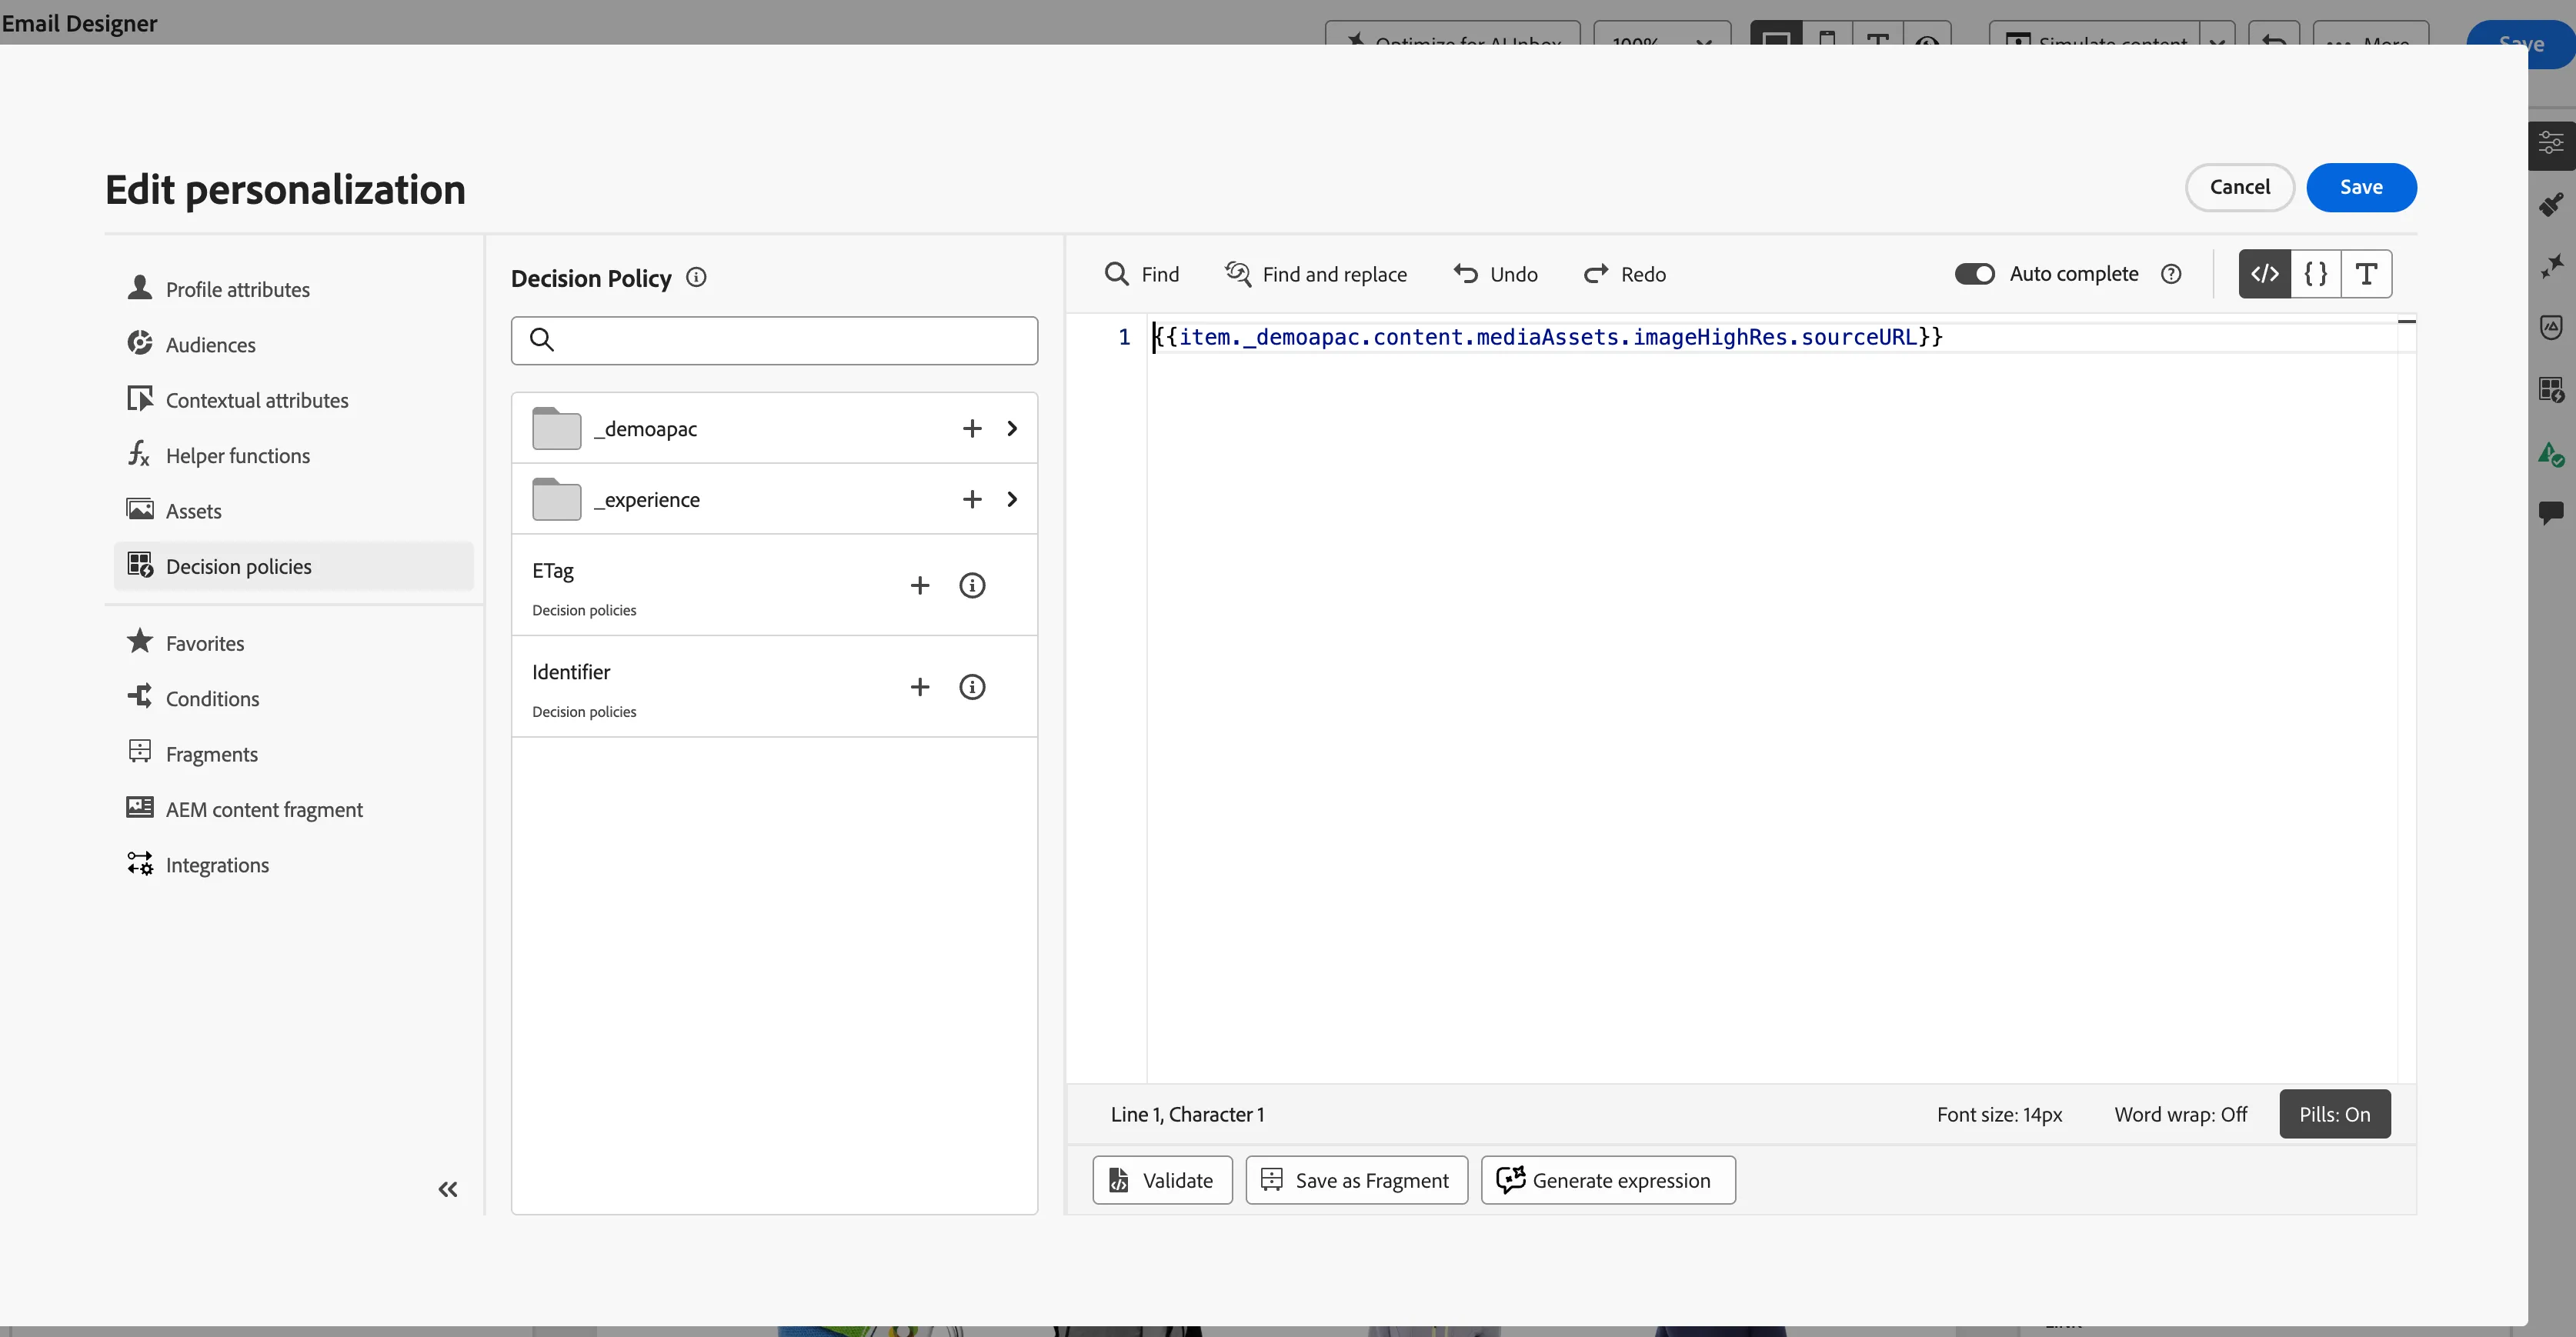
The personalization editor is the centerpiece of the personalization in Journey Optimizer. It is available in every context where you need to define personalization like emails, push and offers.
In the personalization editor interface, you can select, arrange, customize and validate all the data to create a customized personalization for your content.
In this case, the Banner image source URL will be replaced dynamically with an image of the most suitable meal deal combination for each customer that receives the email.
To find out more information, visit Adobe Experience League.