Lab 4 : Create a Campaign
Create a new AJO Code-Based Experience Campaign
- Navigate to Journey Management> Campaigns. Create a Campaign.

2. Select Campaign Type as "Scheduled"
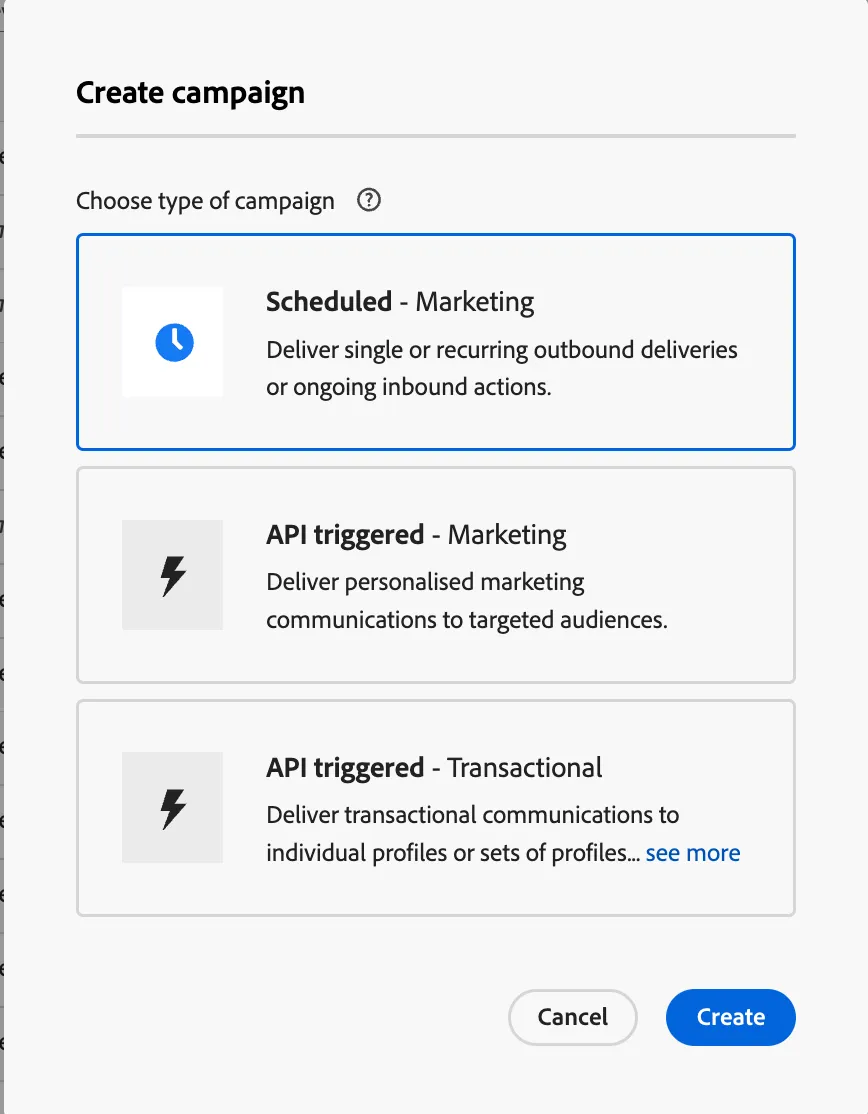
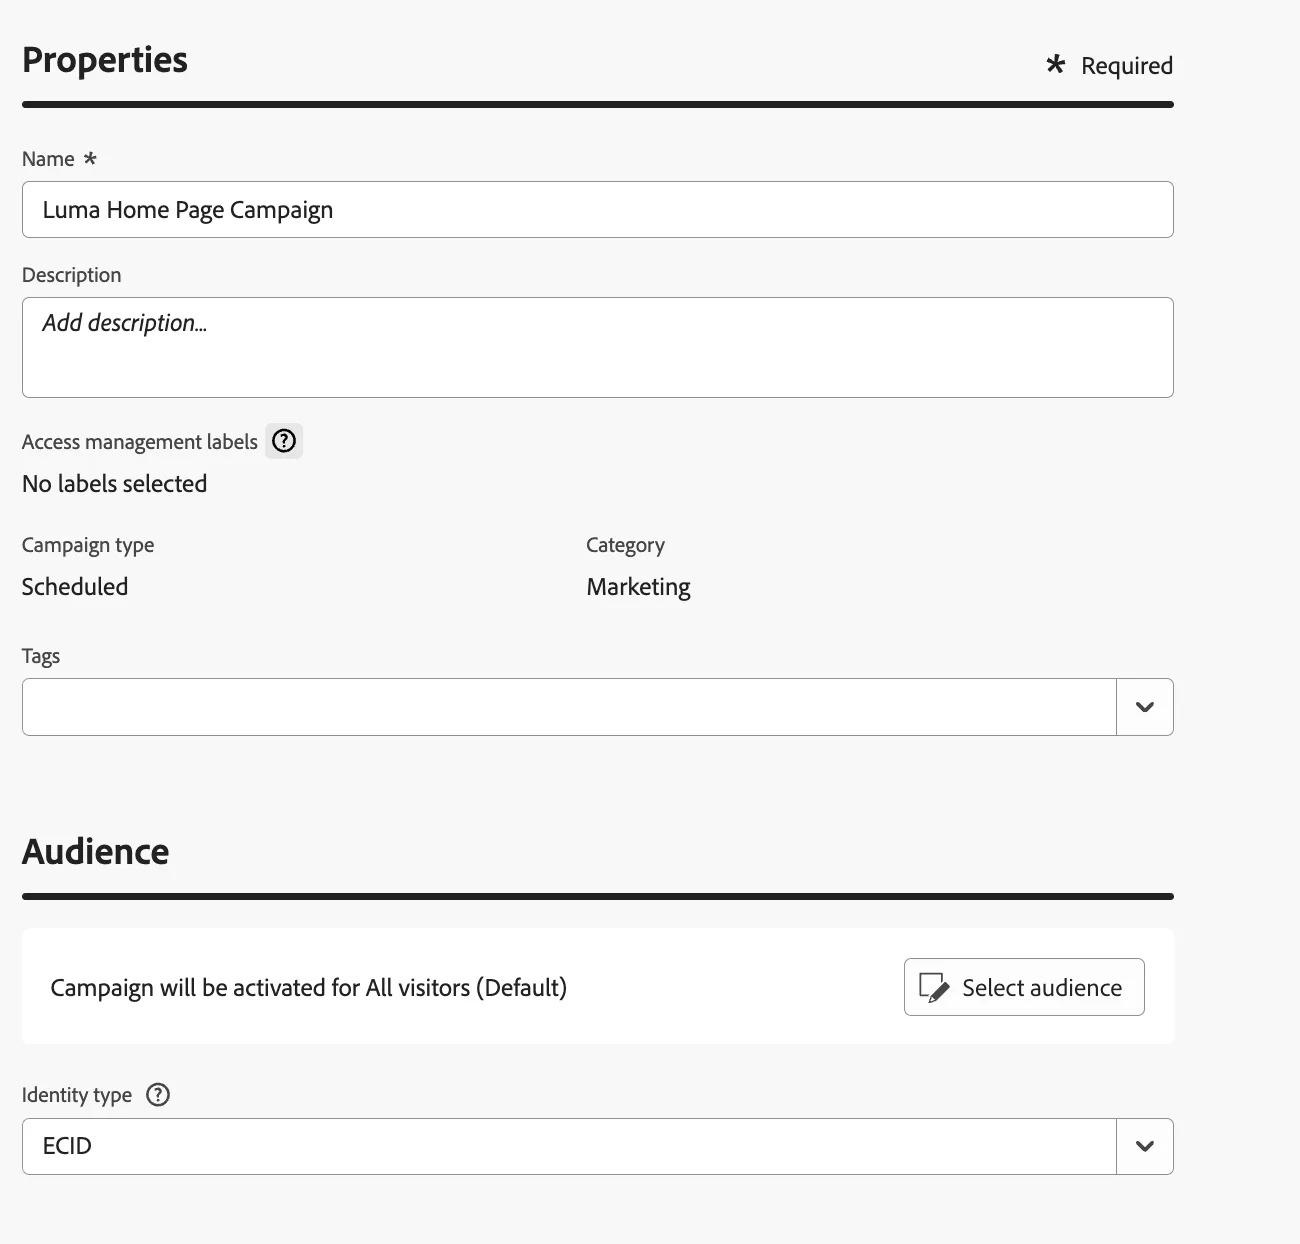
3. Define Campaign Properties:
- In the Properties section, provide a name and description for the campaign.
- Choose Your Audience:
- In the Audience section, click Select Audience to choose from the available Adobe Experience Platform audiences.
- In the Identity namespace field, select the appropriate namespace to identify individuals in the segment.
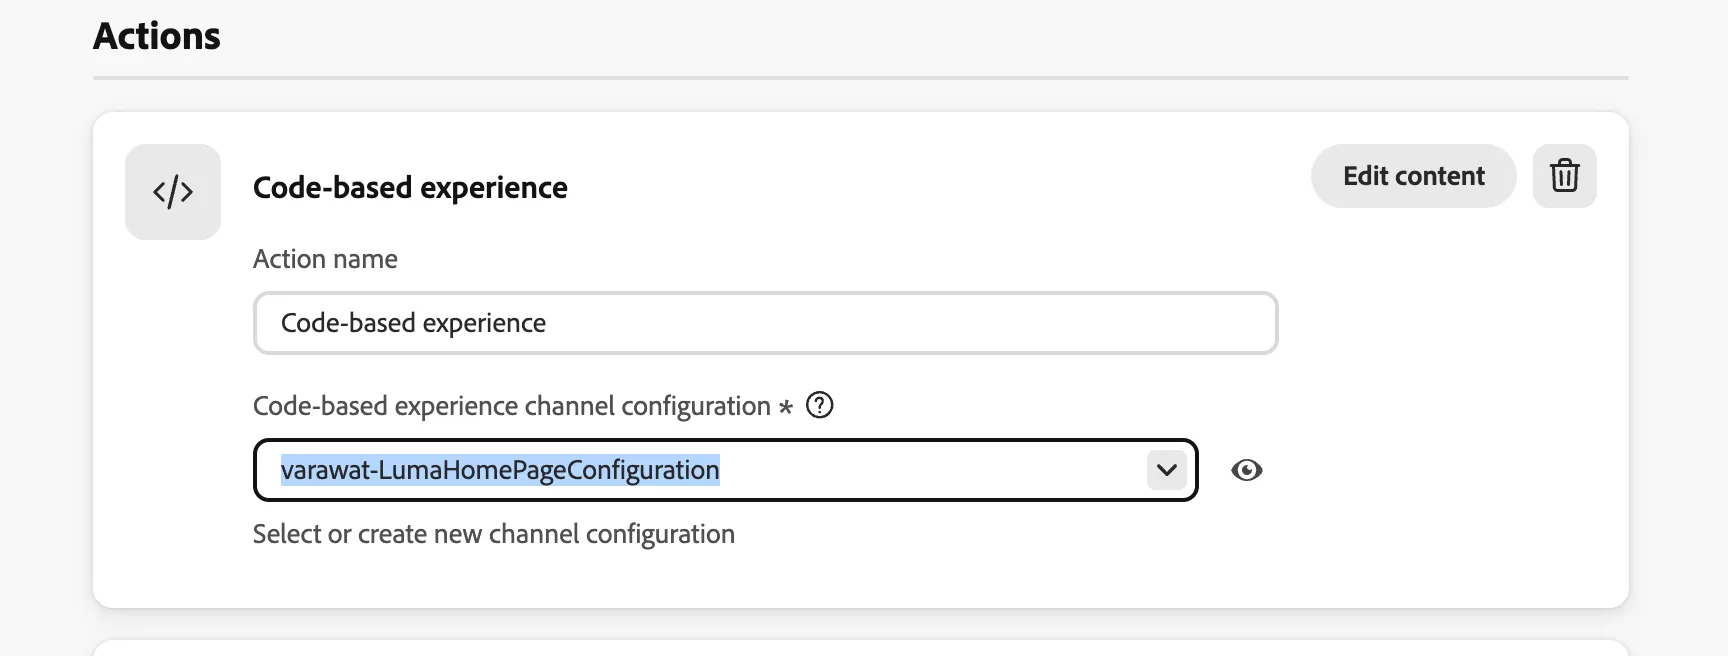
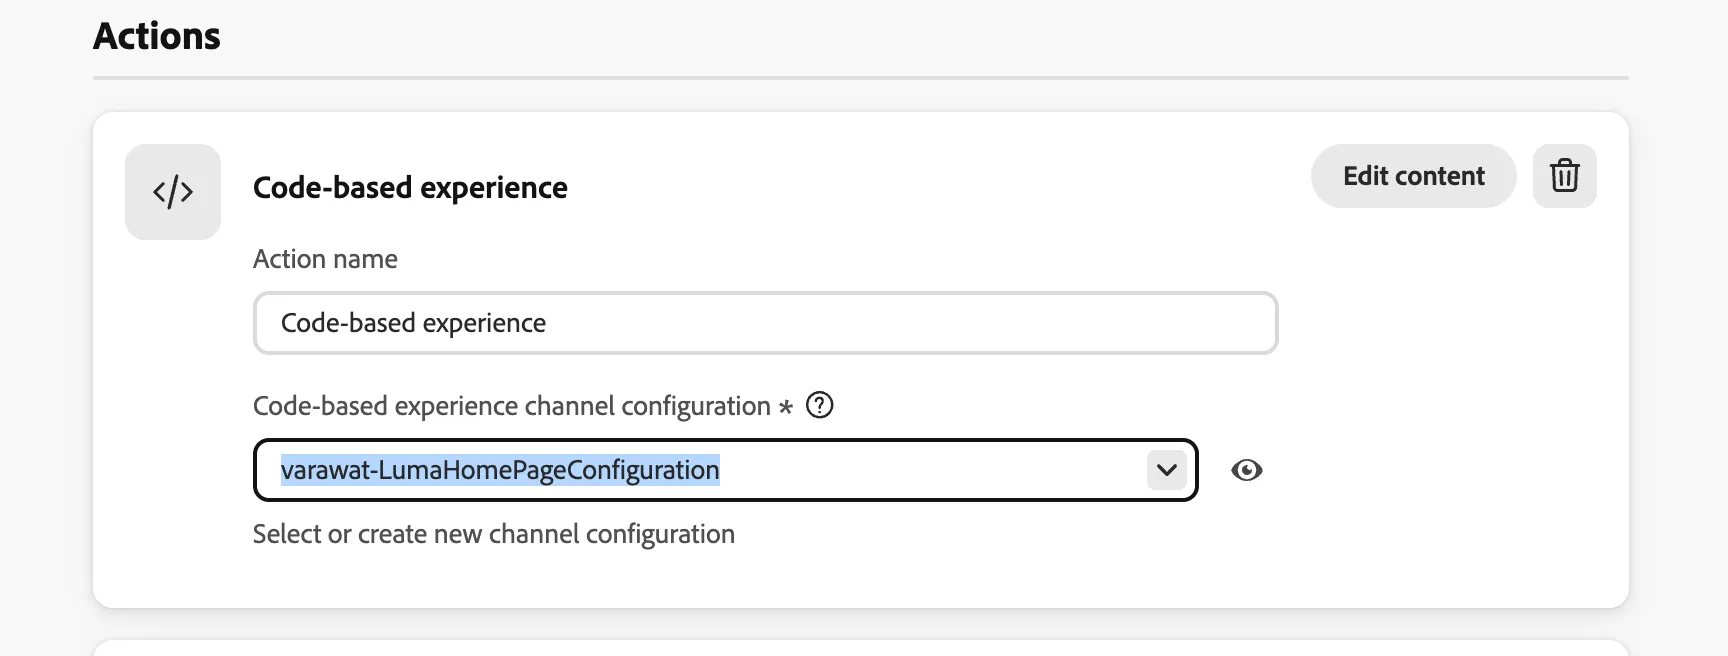
5. Choose the Code-Based experience for the campaign.
6. Select or Create a new Configuration
In our case, select an existing code-based experience configuration- varawat-LumaHomePageConfiguration
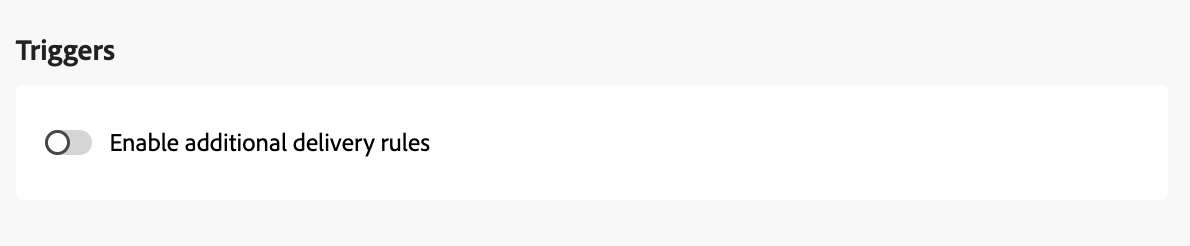
7. Enable Additional Delivery Rules (Optional):
- If needed, toggle Enable additional delivery rules. You can then click Edit triggers to define the events and criteria for message delivery using the rule builder.
Let's keep the triggers empty.
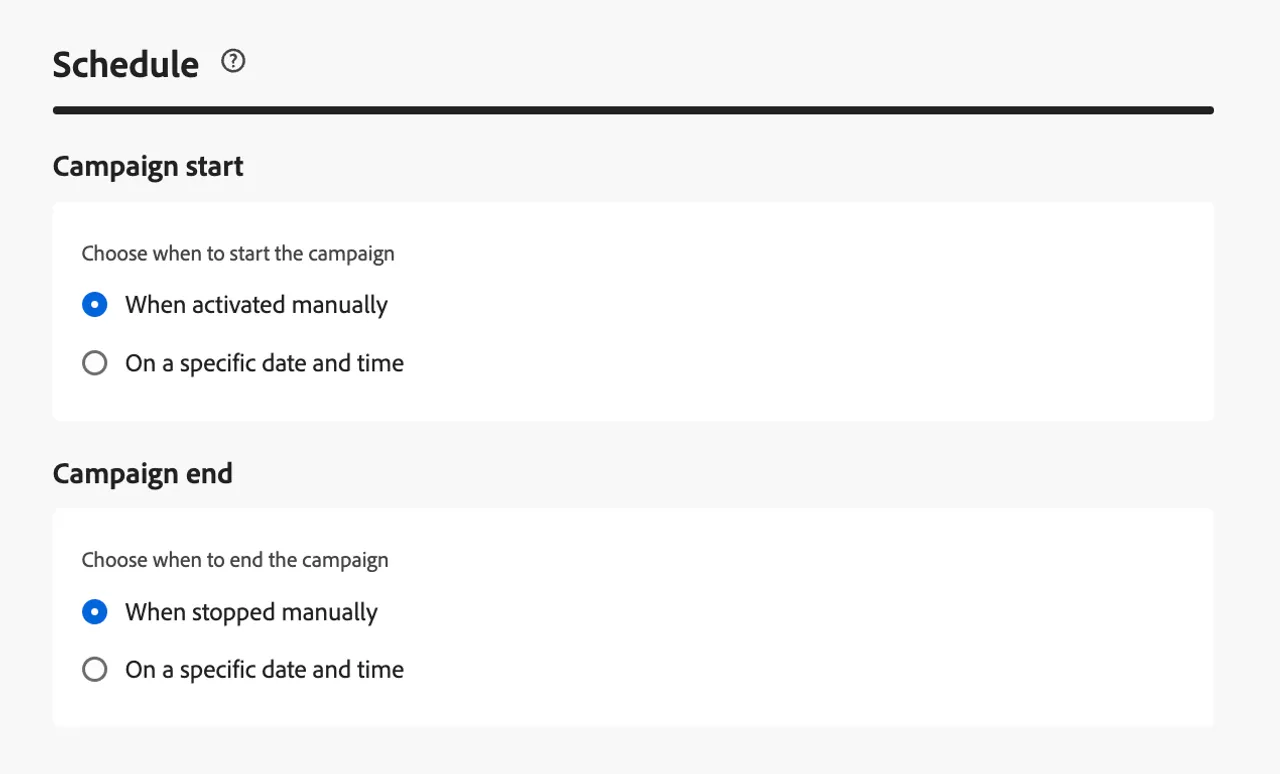
8. Set your campaign to run on a specific date or recur at regular intervals
9. Begin creating the content by clicking Edit content.
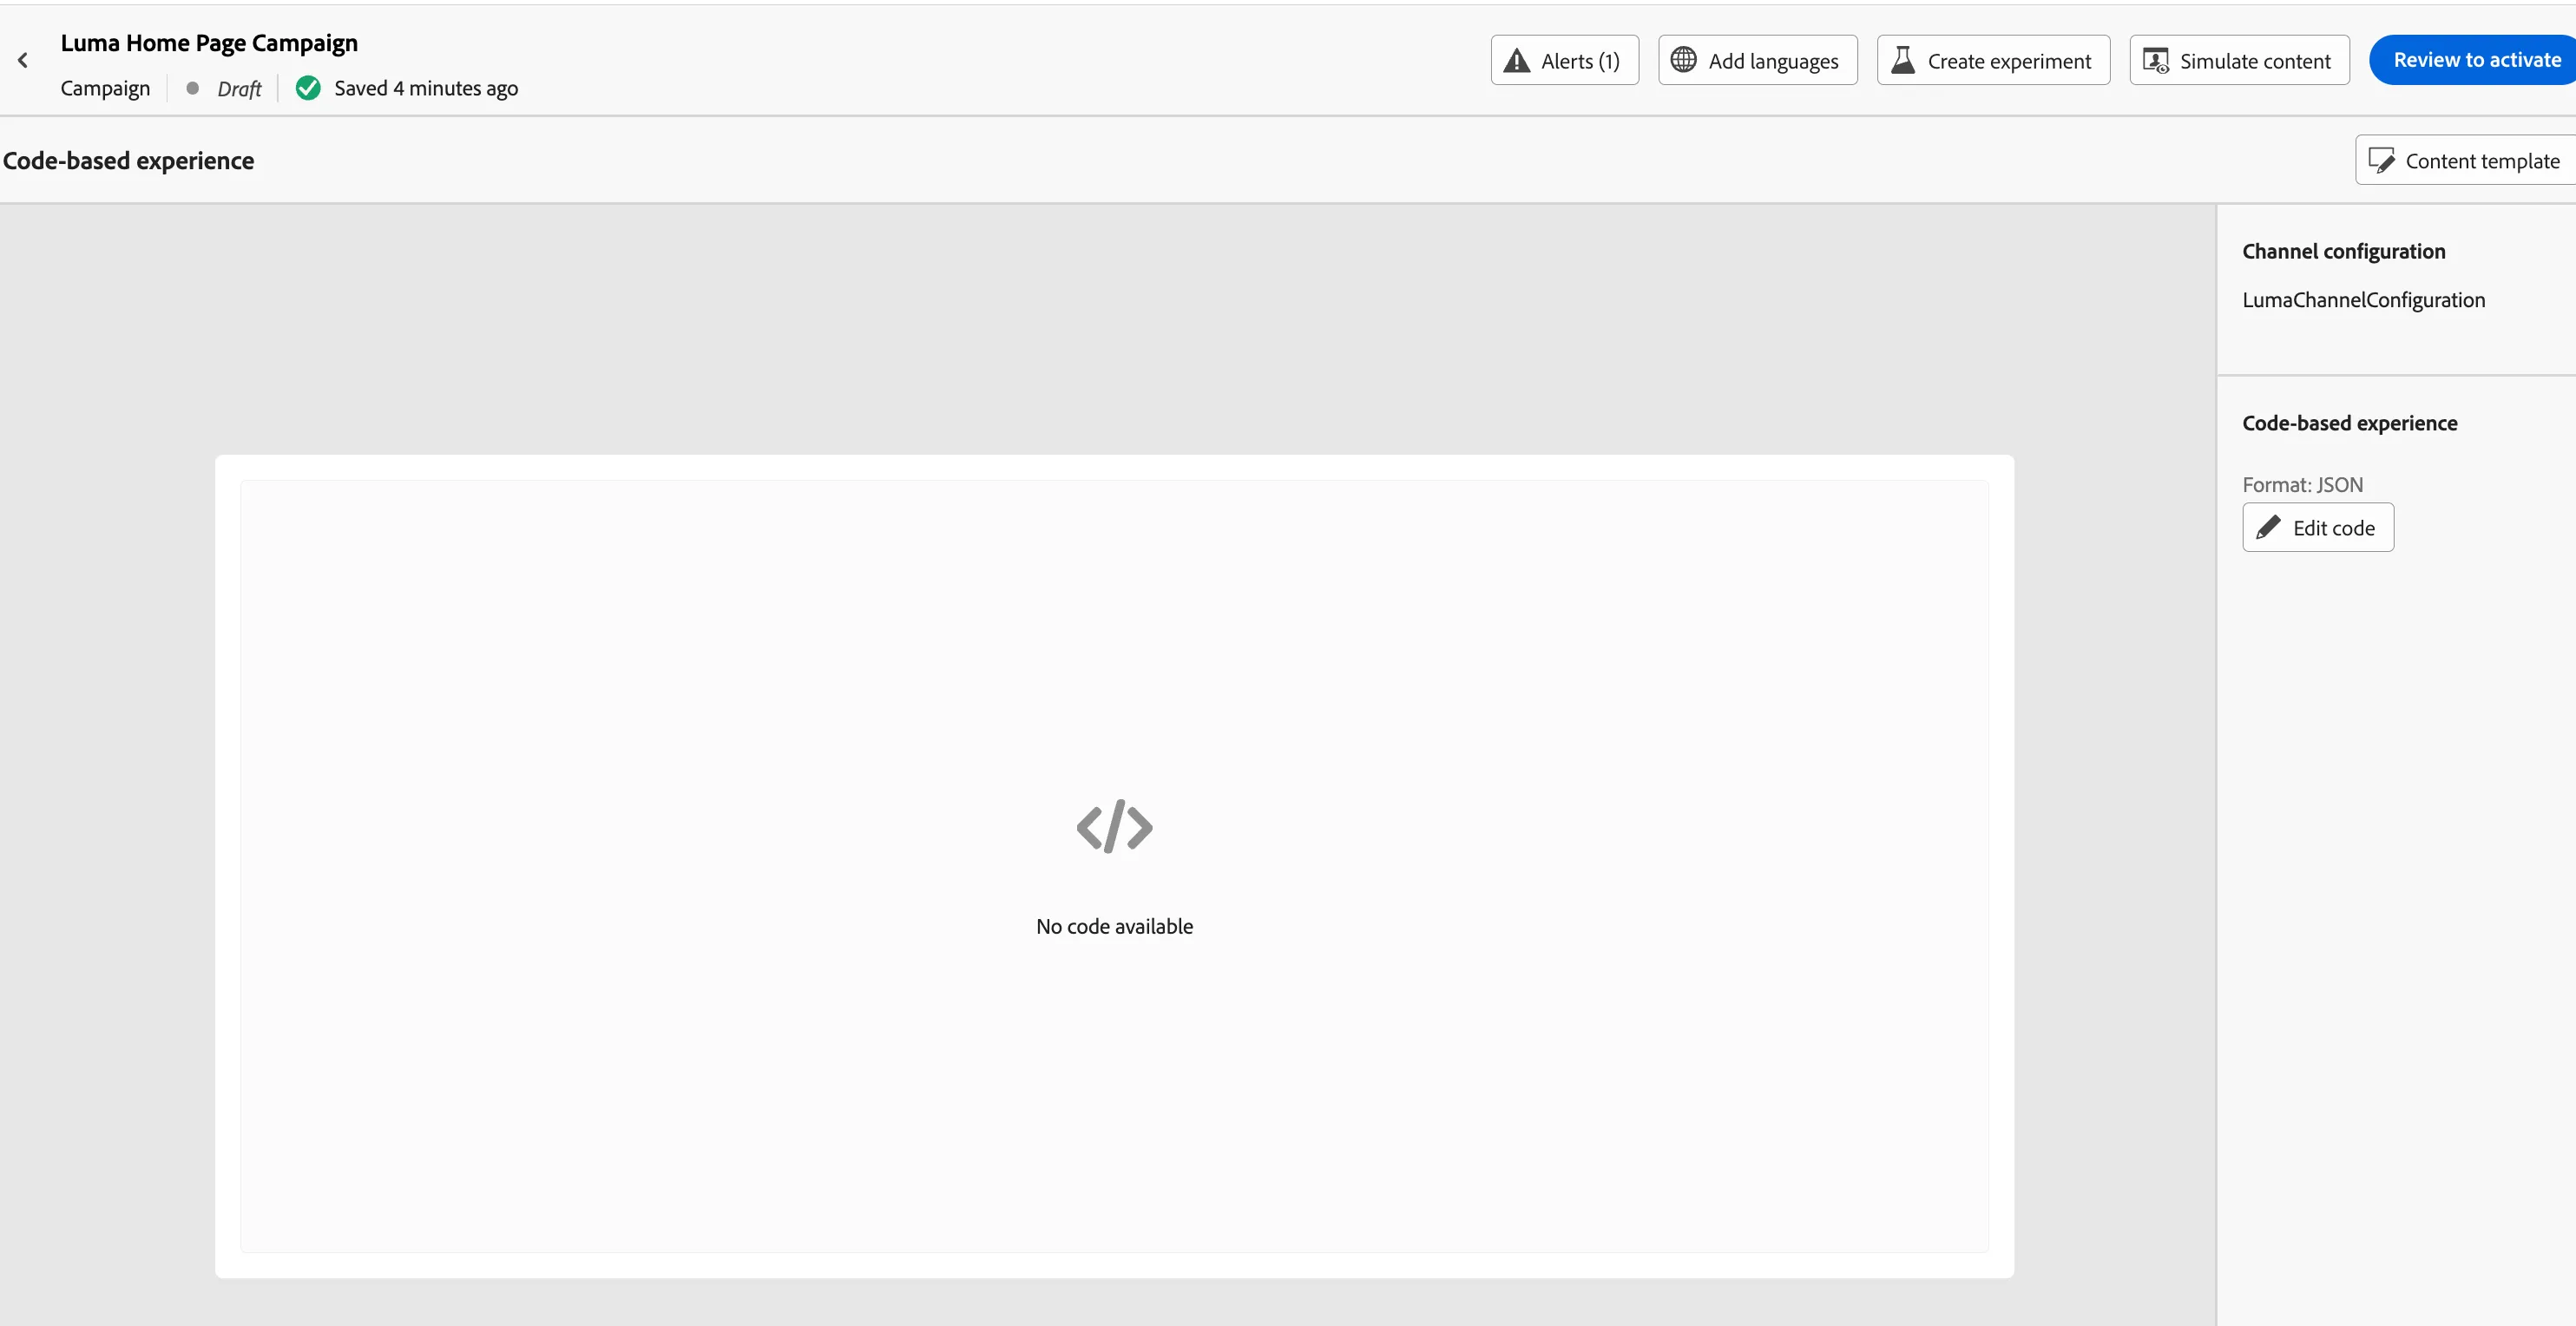
10. Click on Edit Code on the right to provide content
11. Click on Decision Policy to add the same in order to reuse the offers created earlier .
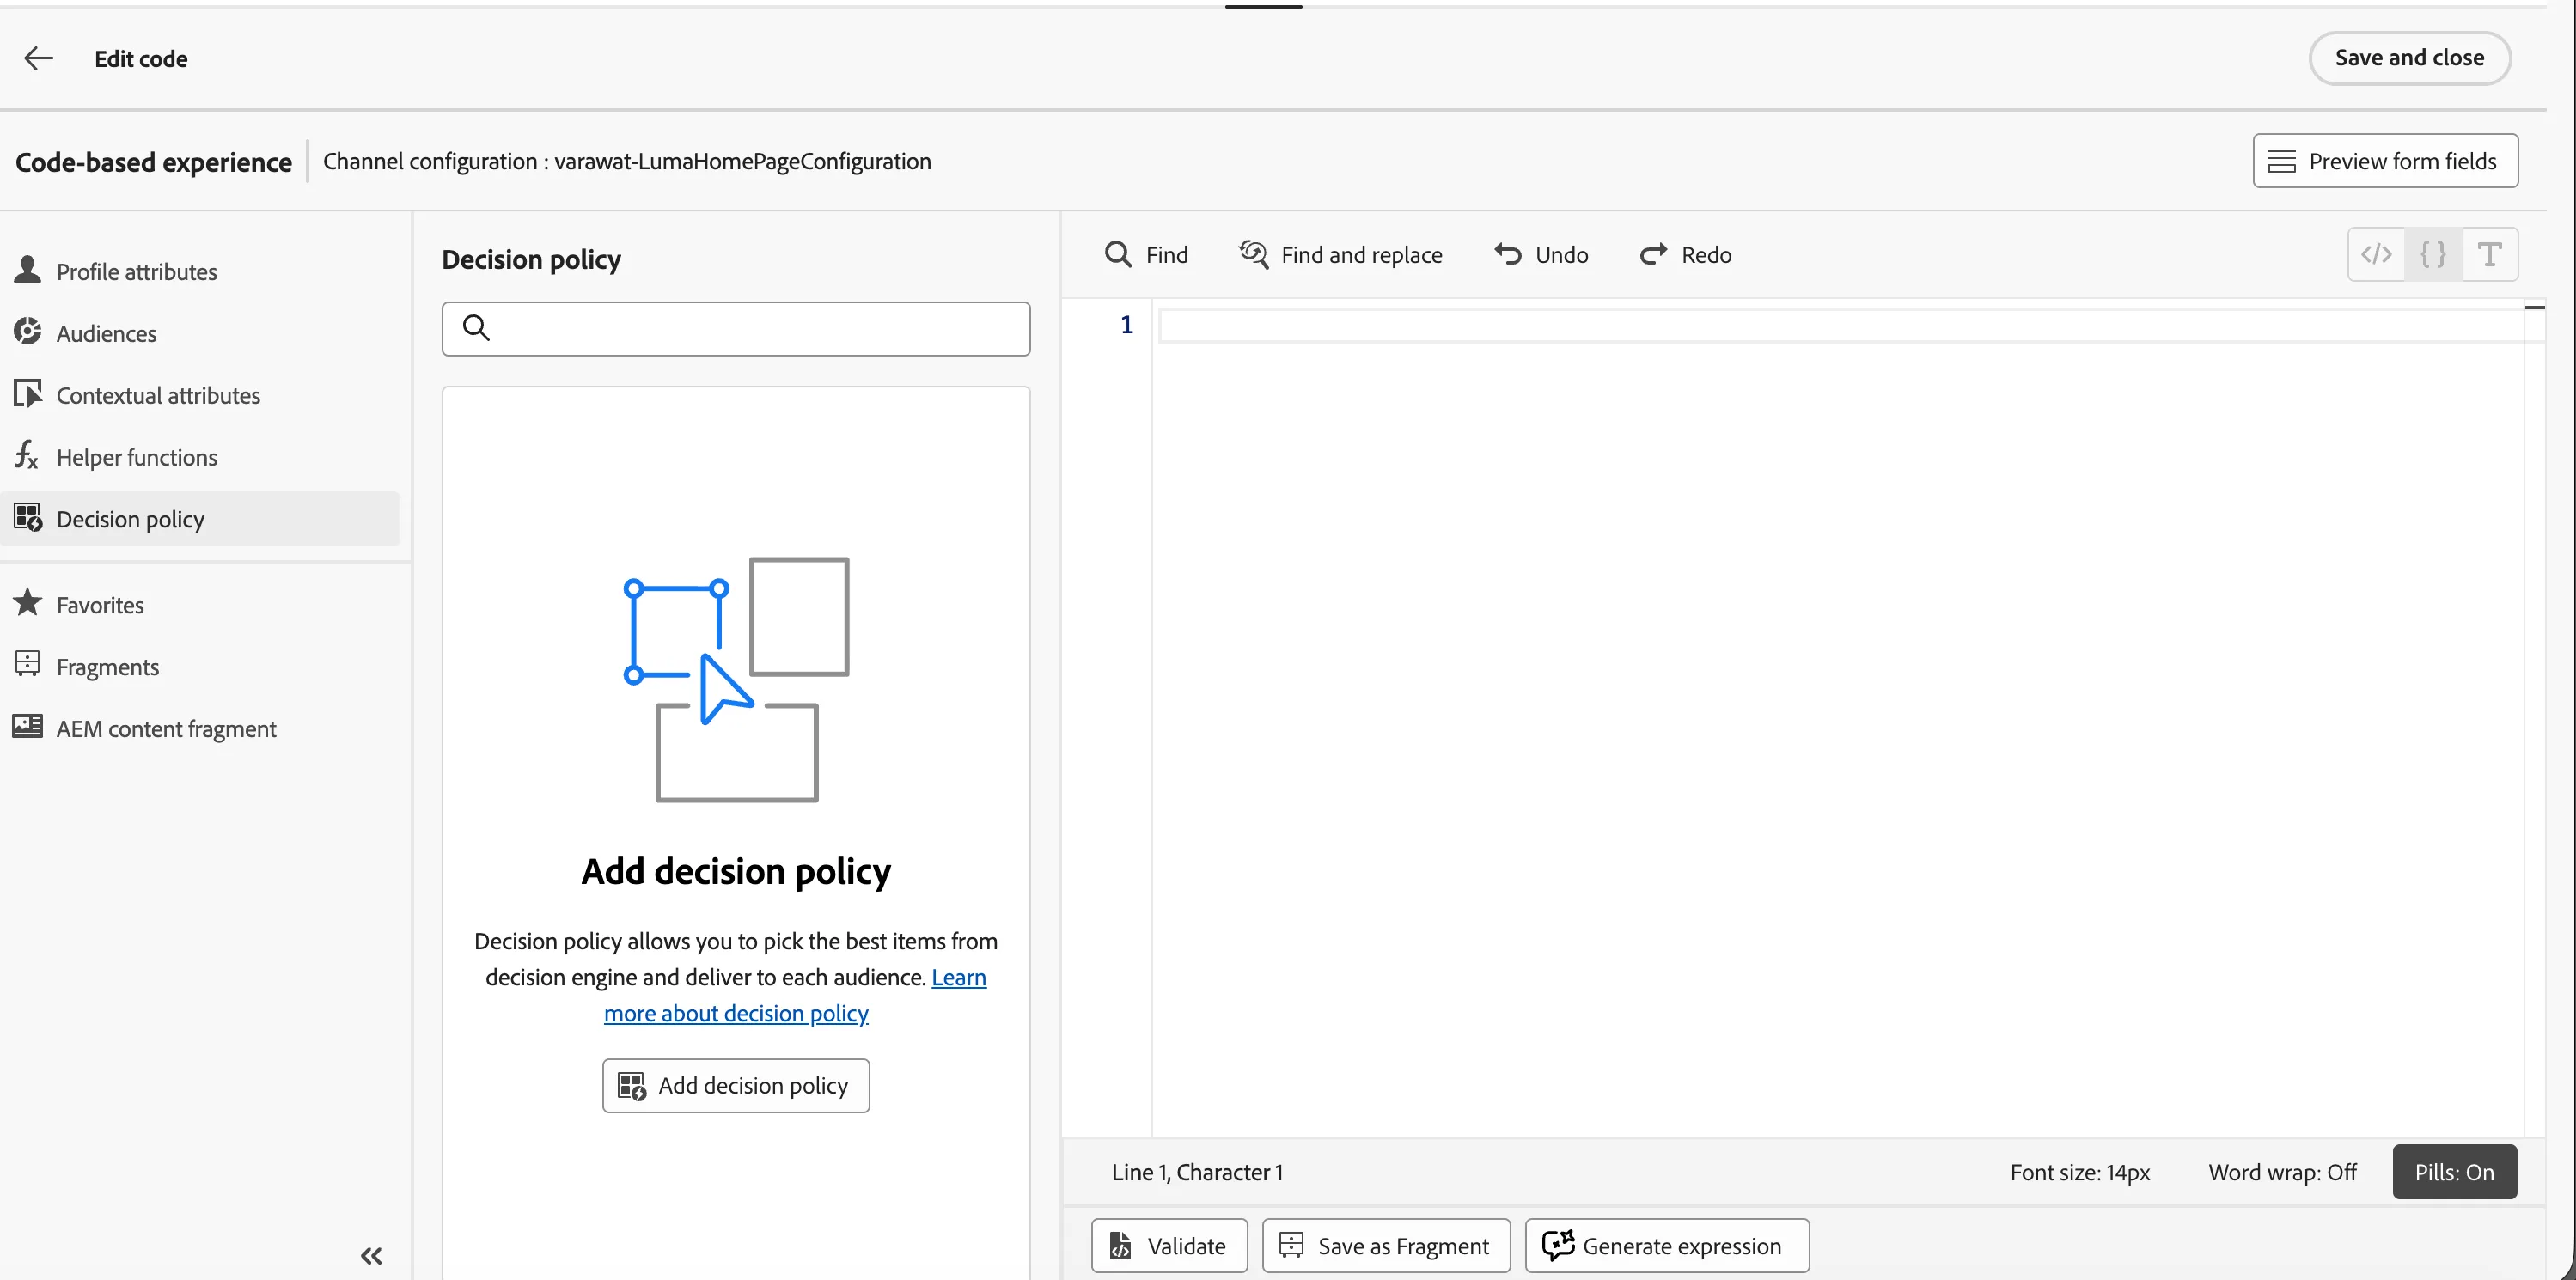
- Click on Insert Policy
-
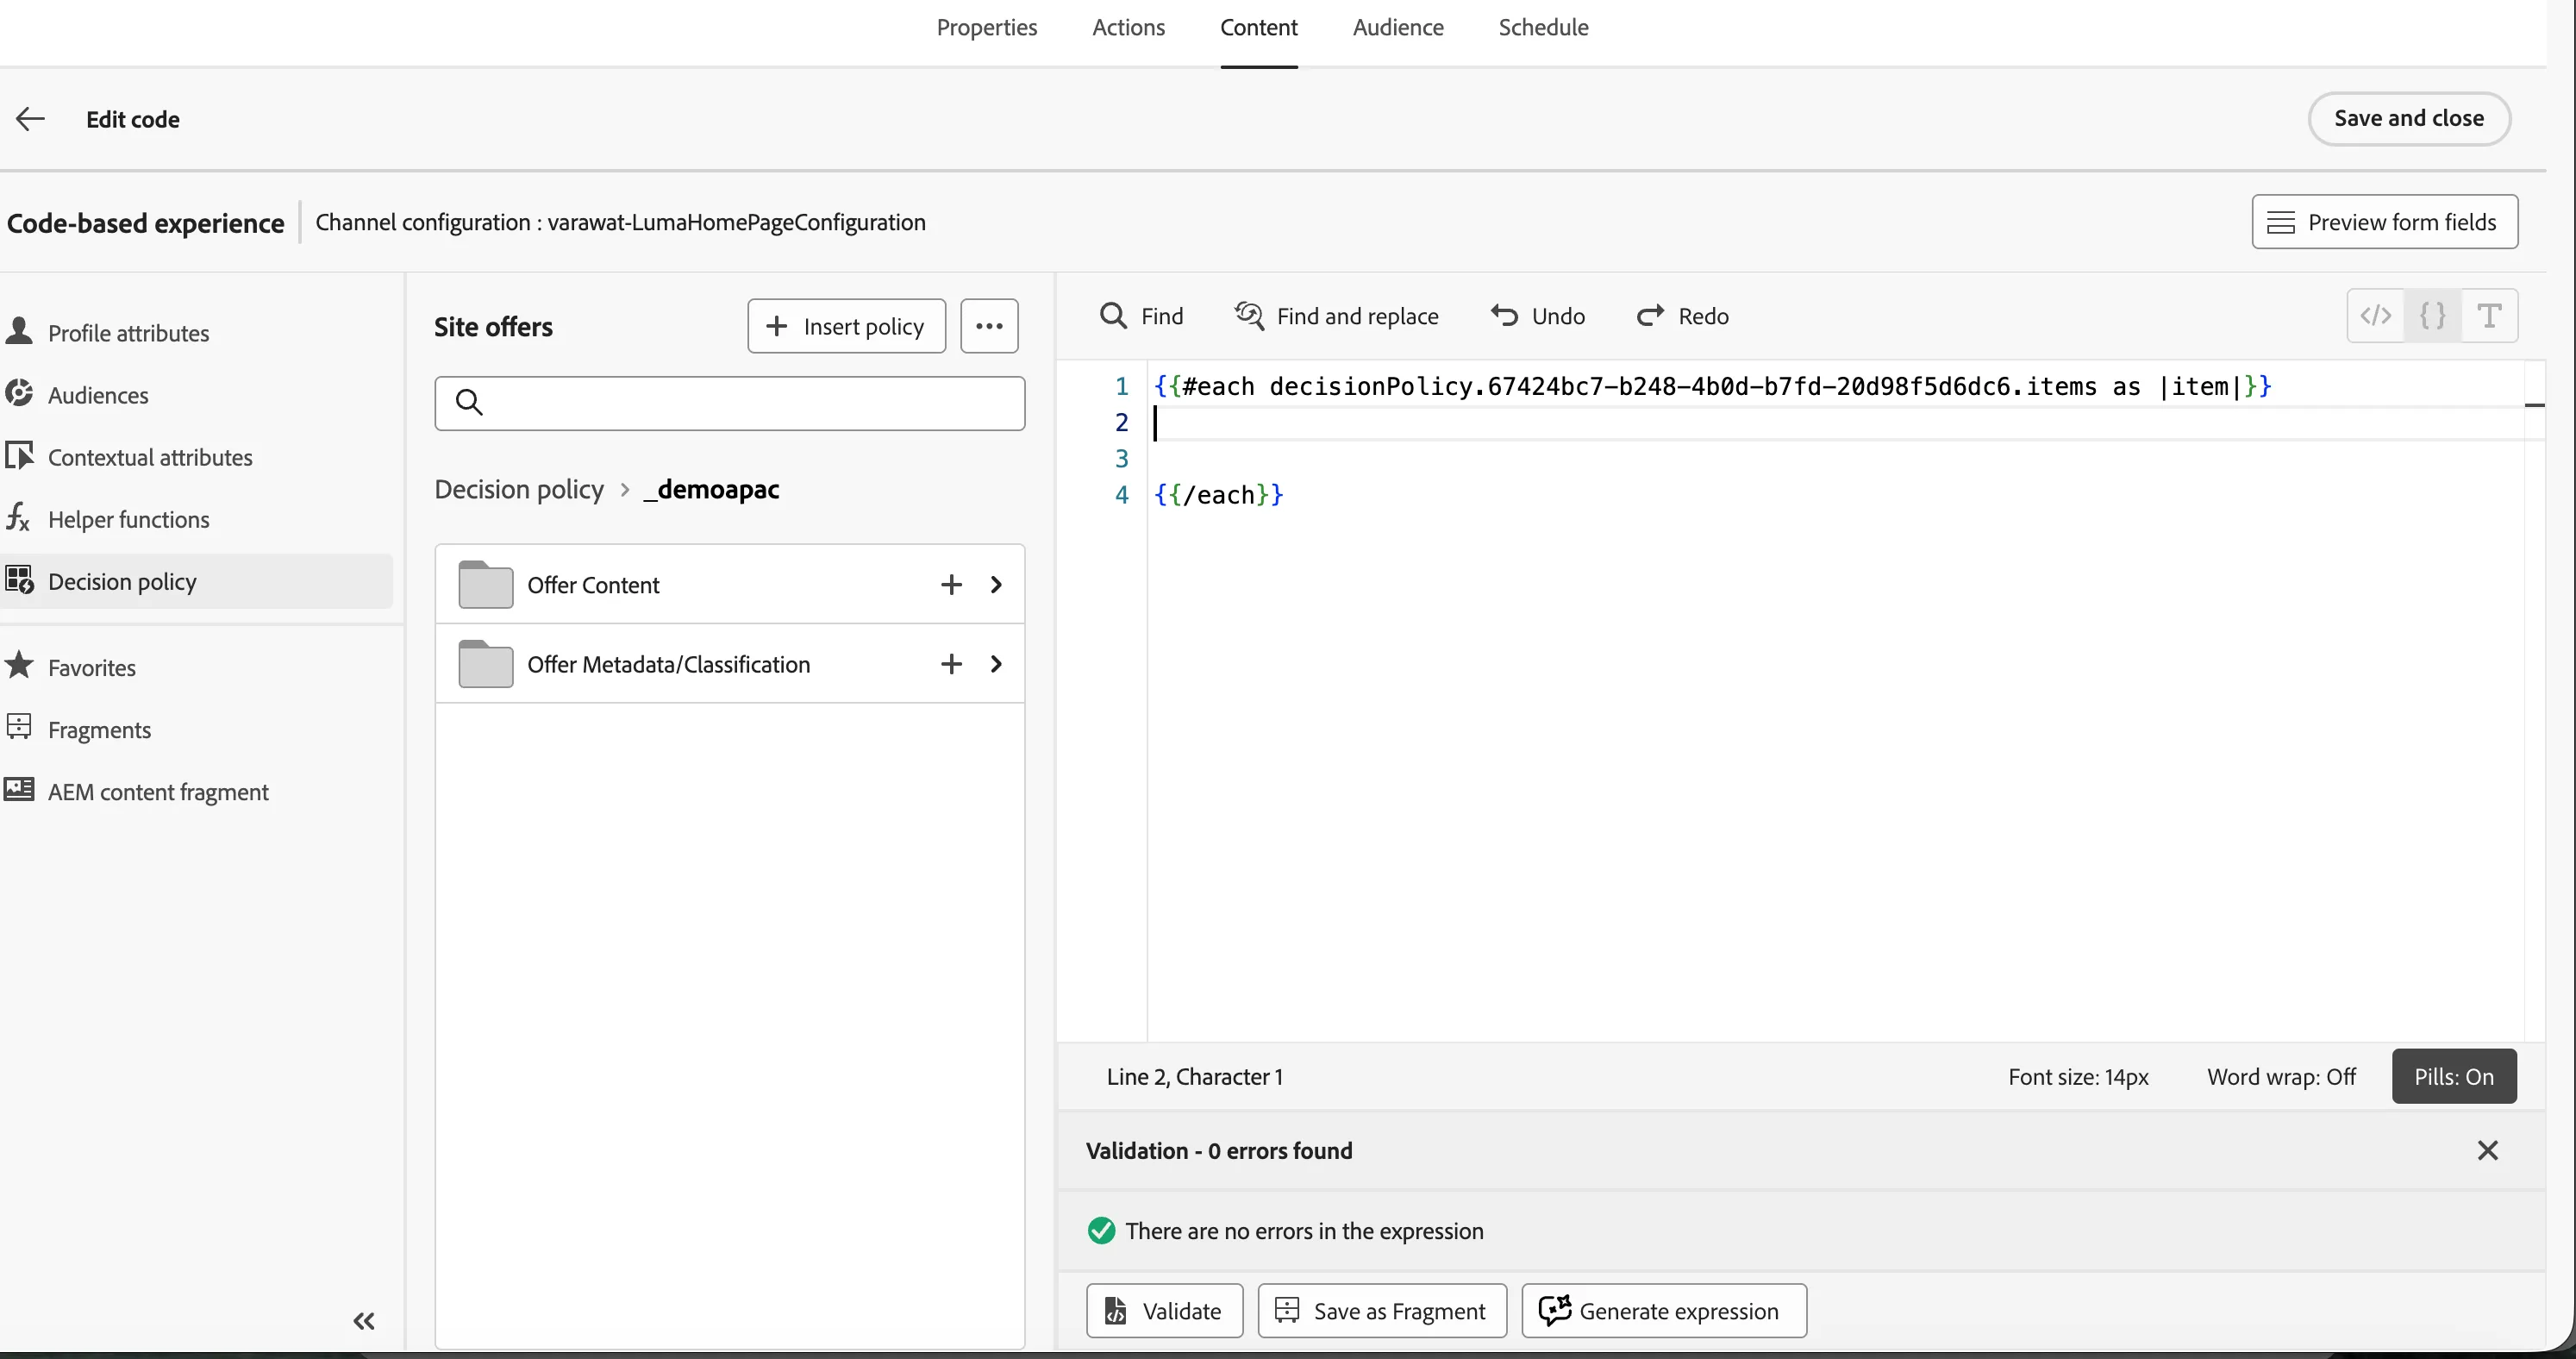
Now add below Content inside decision policy
{
    "image": "{{item._demoapac.content.mediaAssets.imageHighRes.sourceURL}}",
    "text": "{{item._demoapac.content.textContent.title}}",
    "description": "{{item._demoapac.content.textContent.compactDescription}}",
    "link": "{{item._demoapac.content.navigation.webUrl}}",
    "buttonLabel": "{{item._demoapac.content.textContent.fullCTA}}",
}
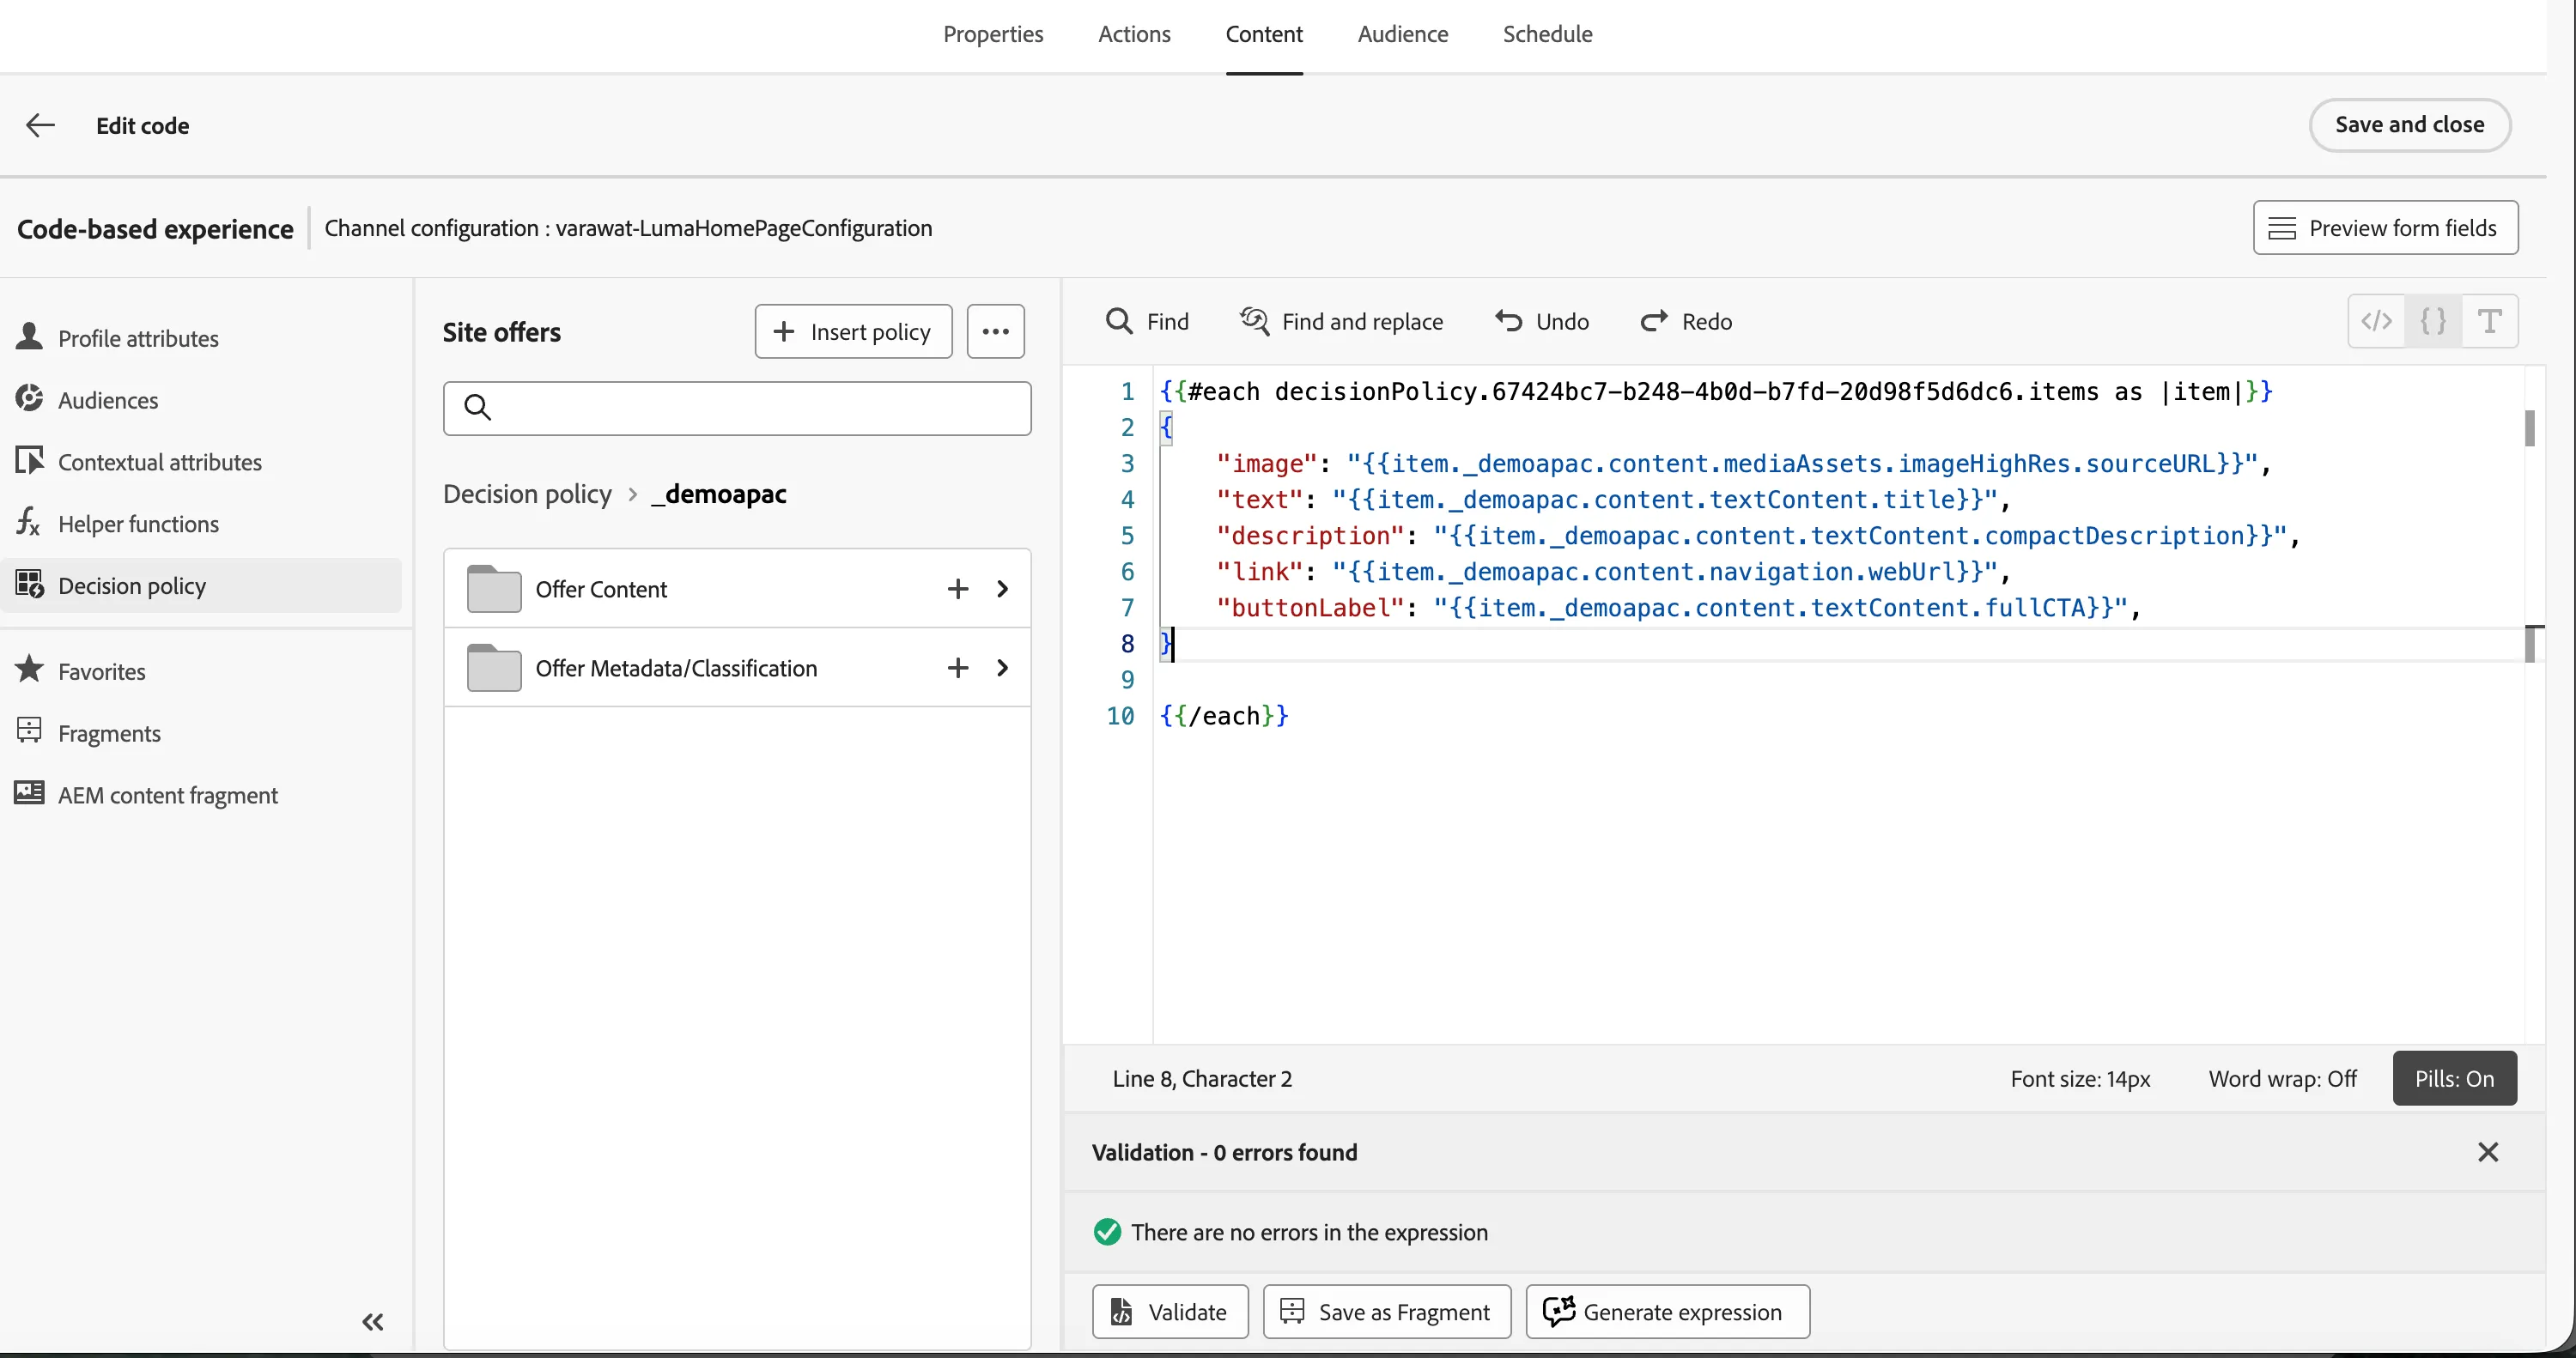
- Click on save
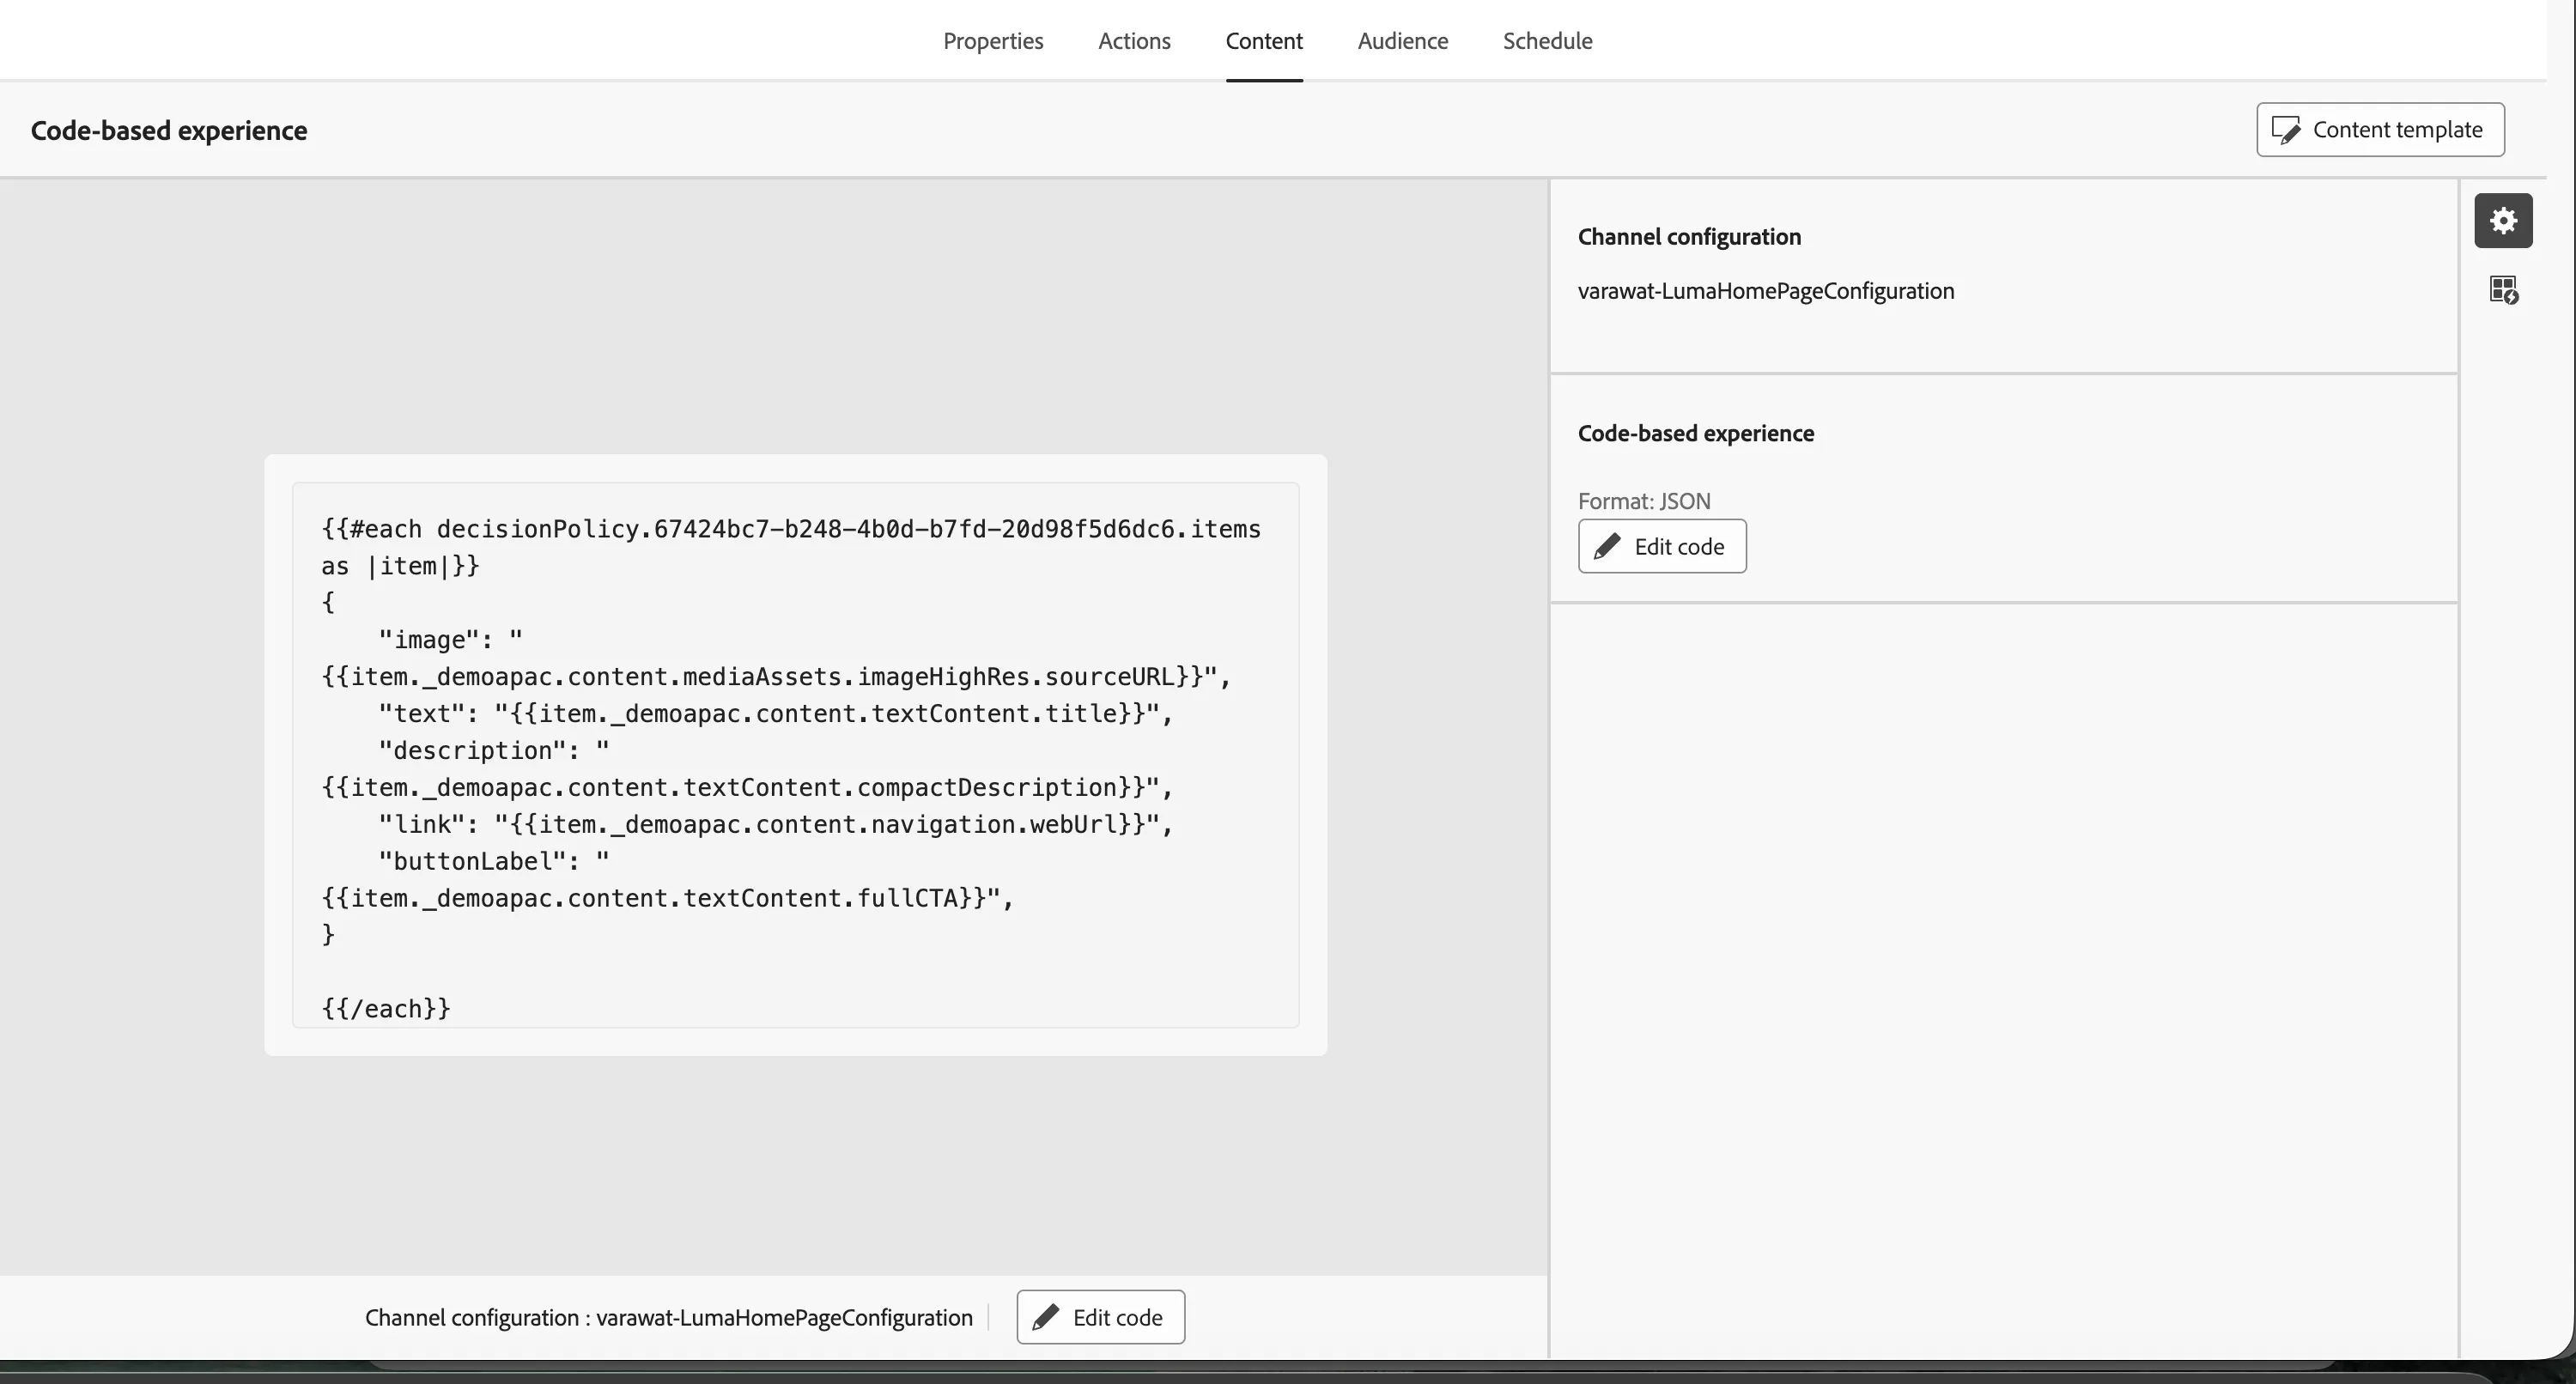
- Click on Review to activate. Then Click on Activate. The campaign should be live now.