Ex2: DA - UI Overview
Step 1 — UI Overview
Document Authoring builds upon the knowledge you likely already have from using other word processors like Microsoft Word or Google Docs. This should give you a head start in being able to make content.
- Go to https://da.live/ and sign in using the provided Adobe ID.
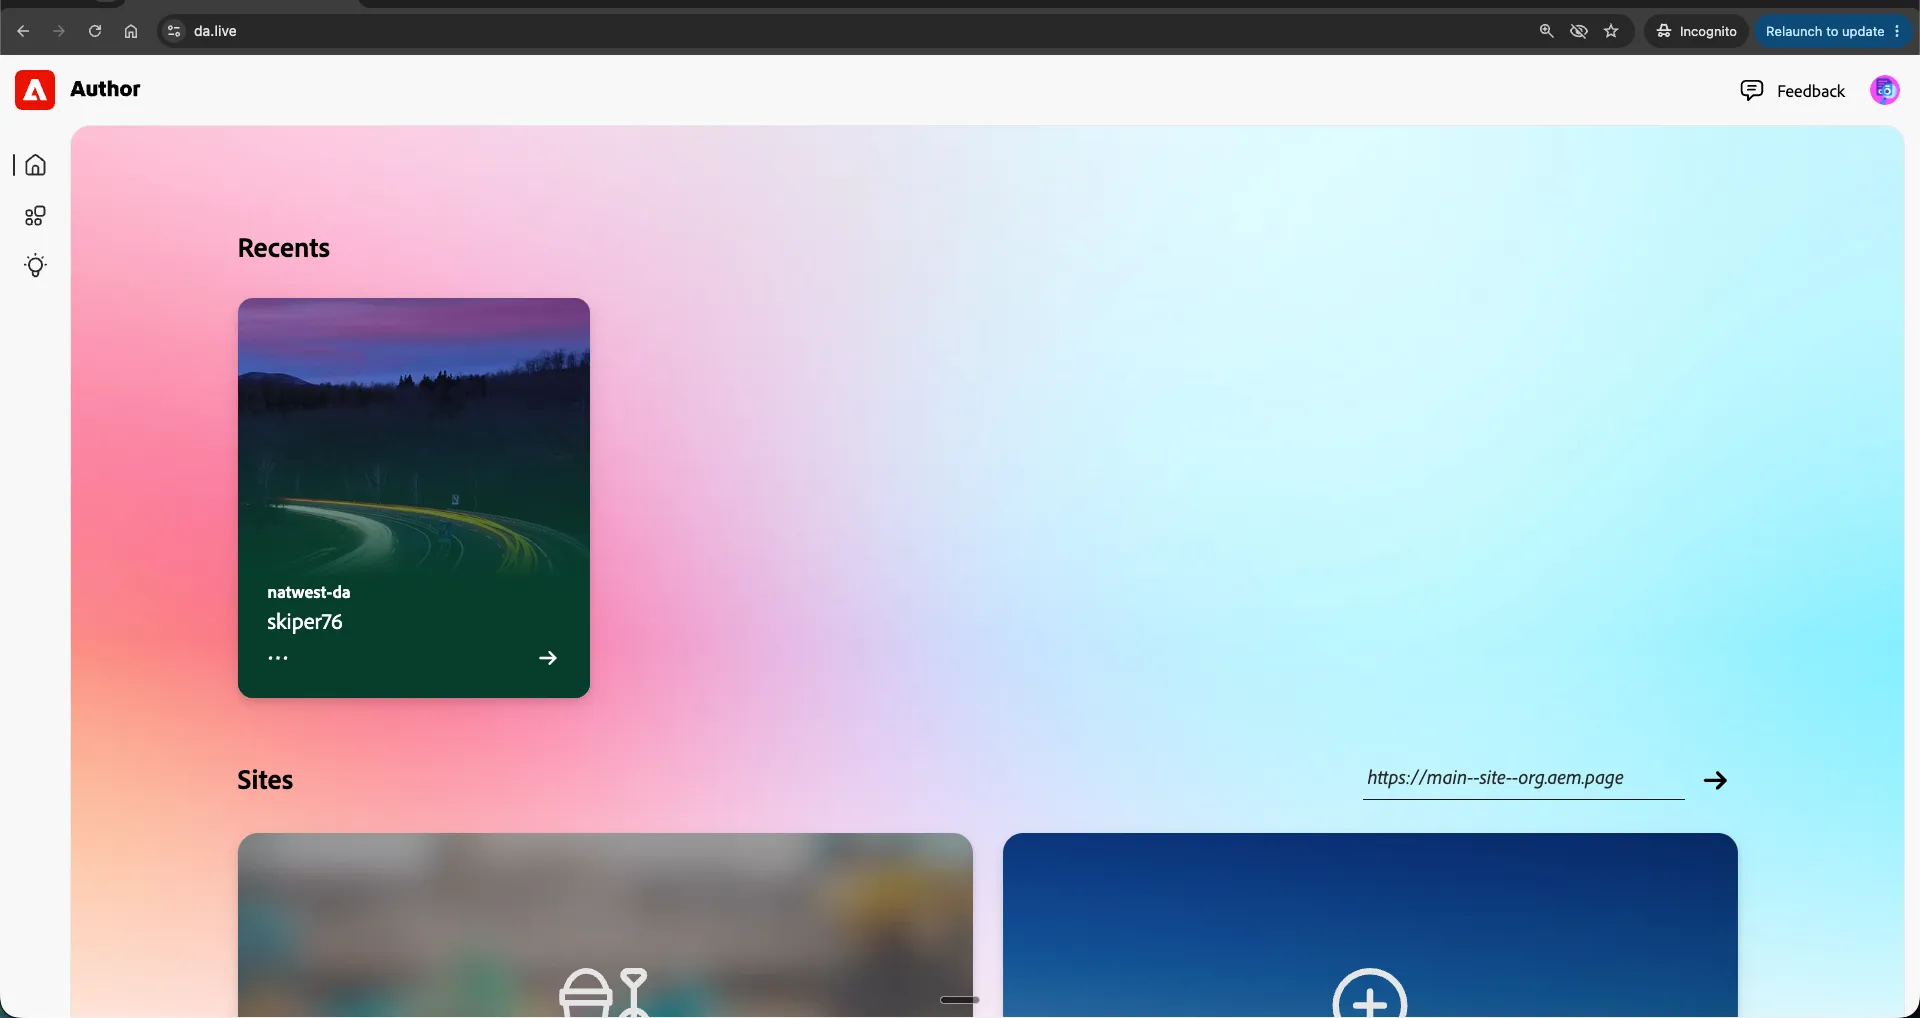
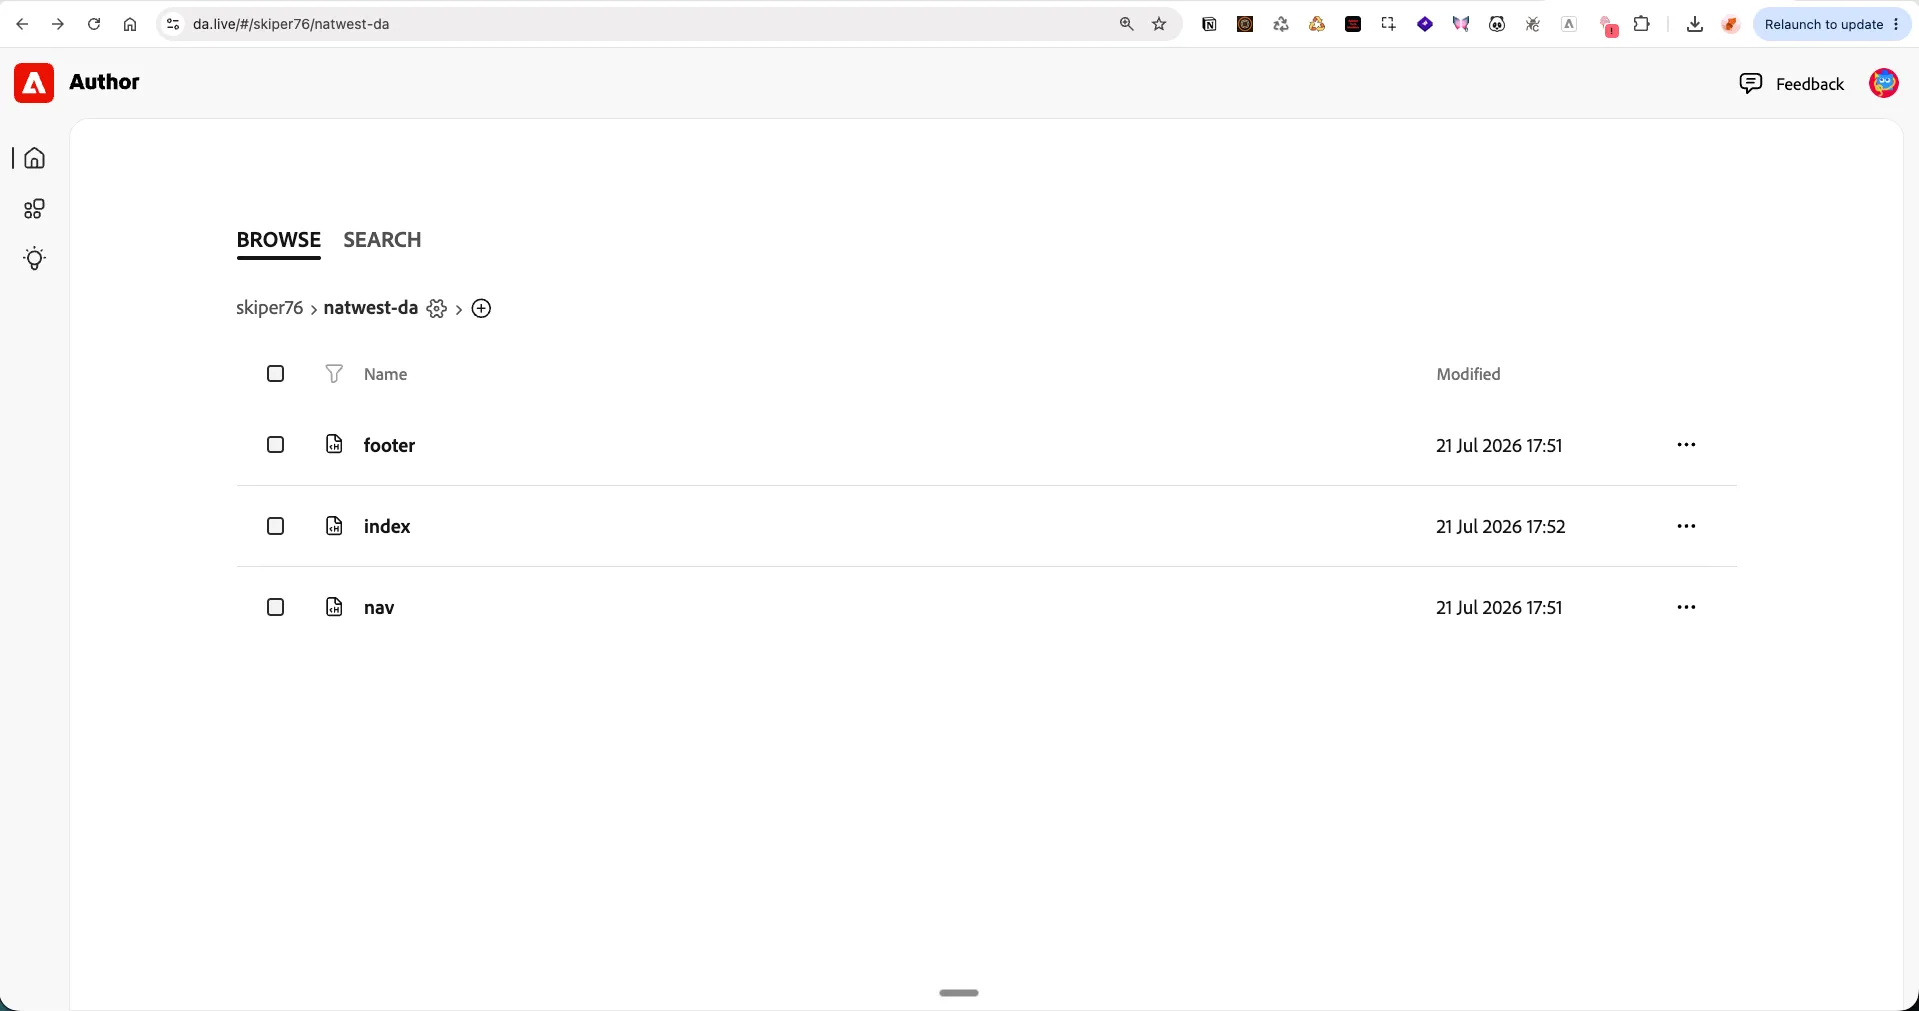
- Let's go to our NatWest demo site. This page shows all the author files that are serving our website. (you may see more pages on our site)
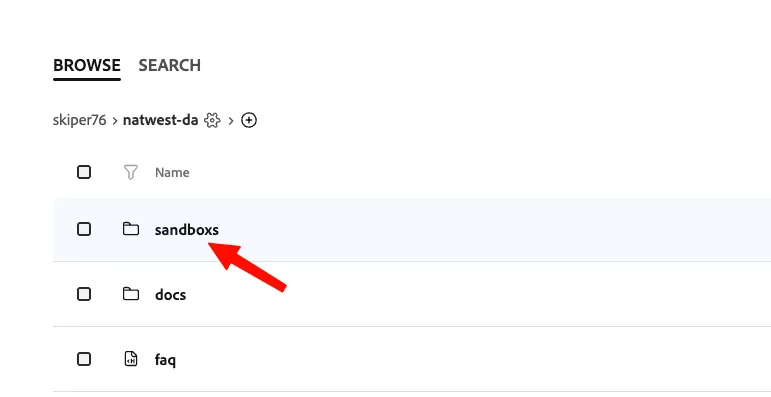
- Let's go to our "sandboxs" folder:
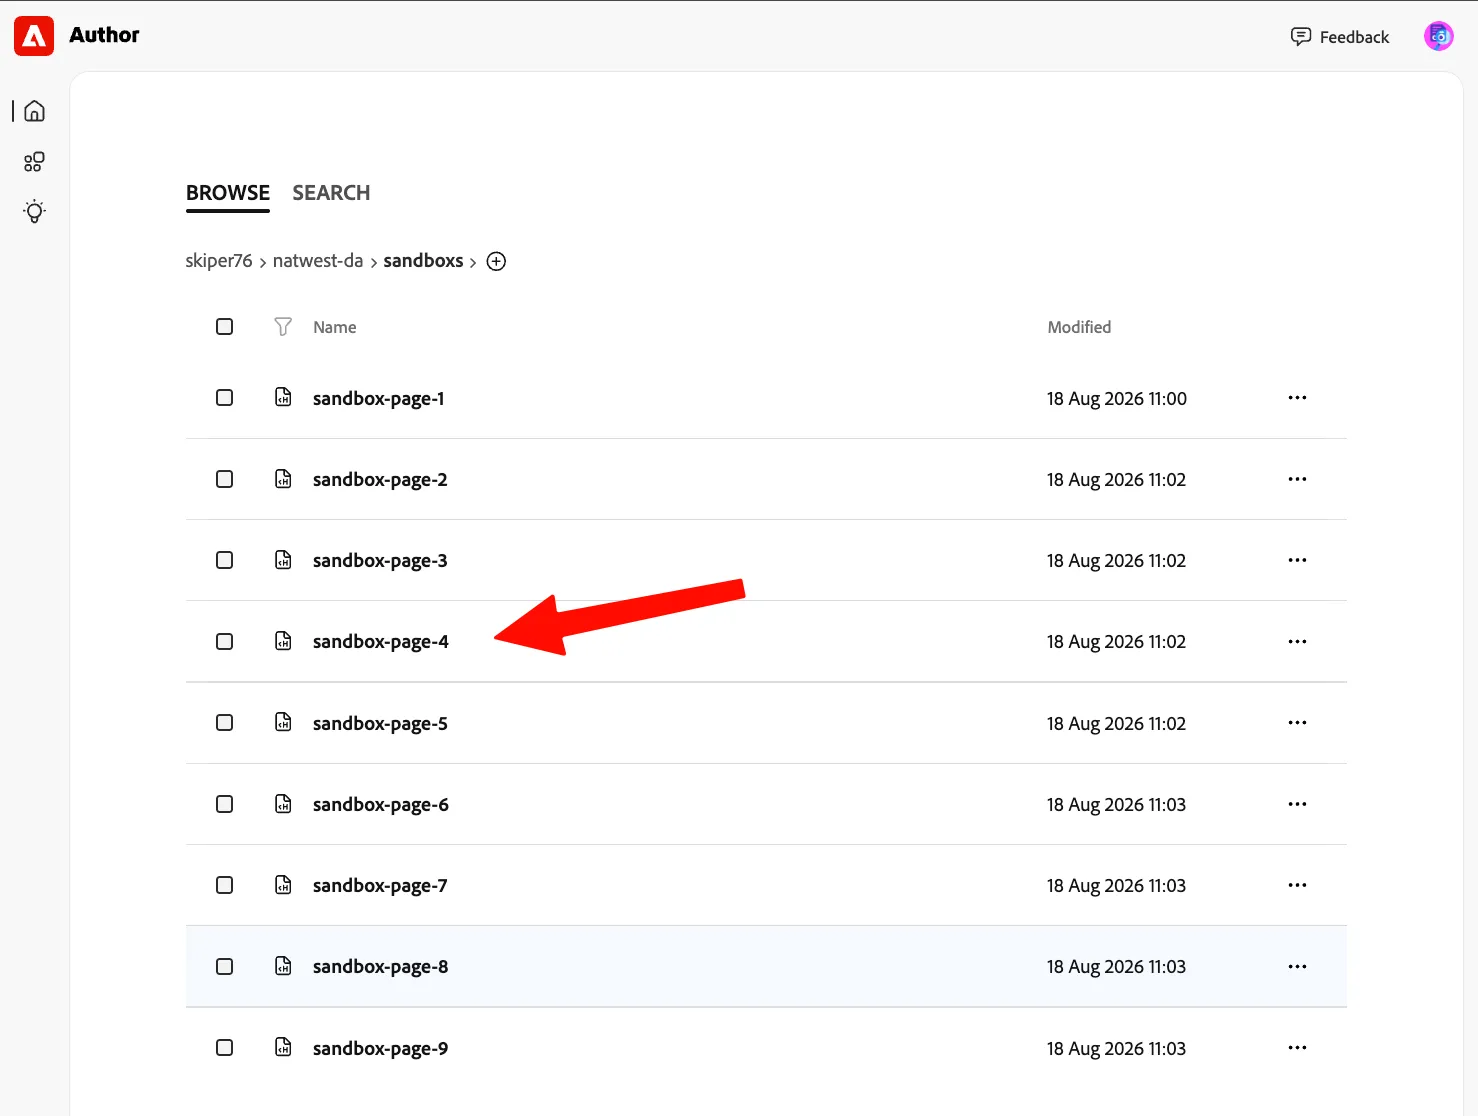
- Choose one of the sandbox pages (randomly):
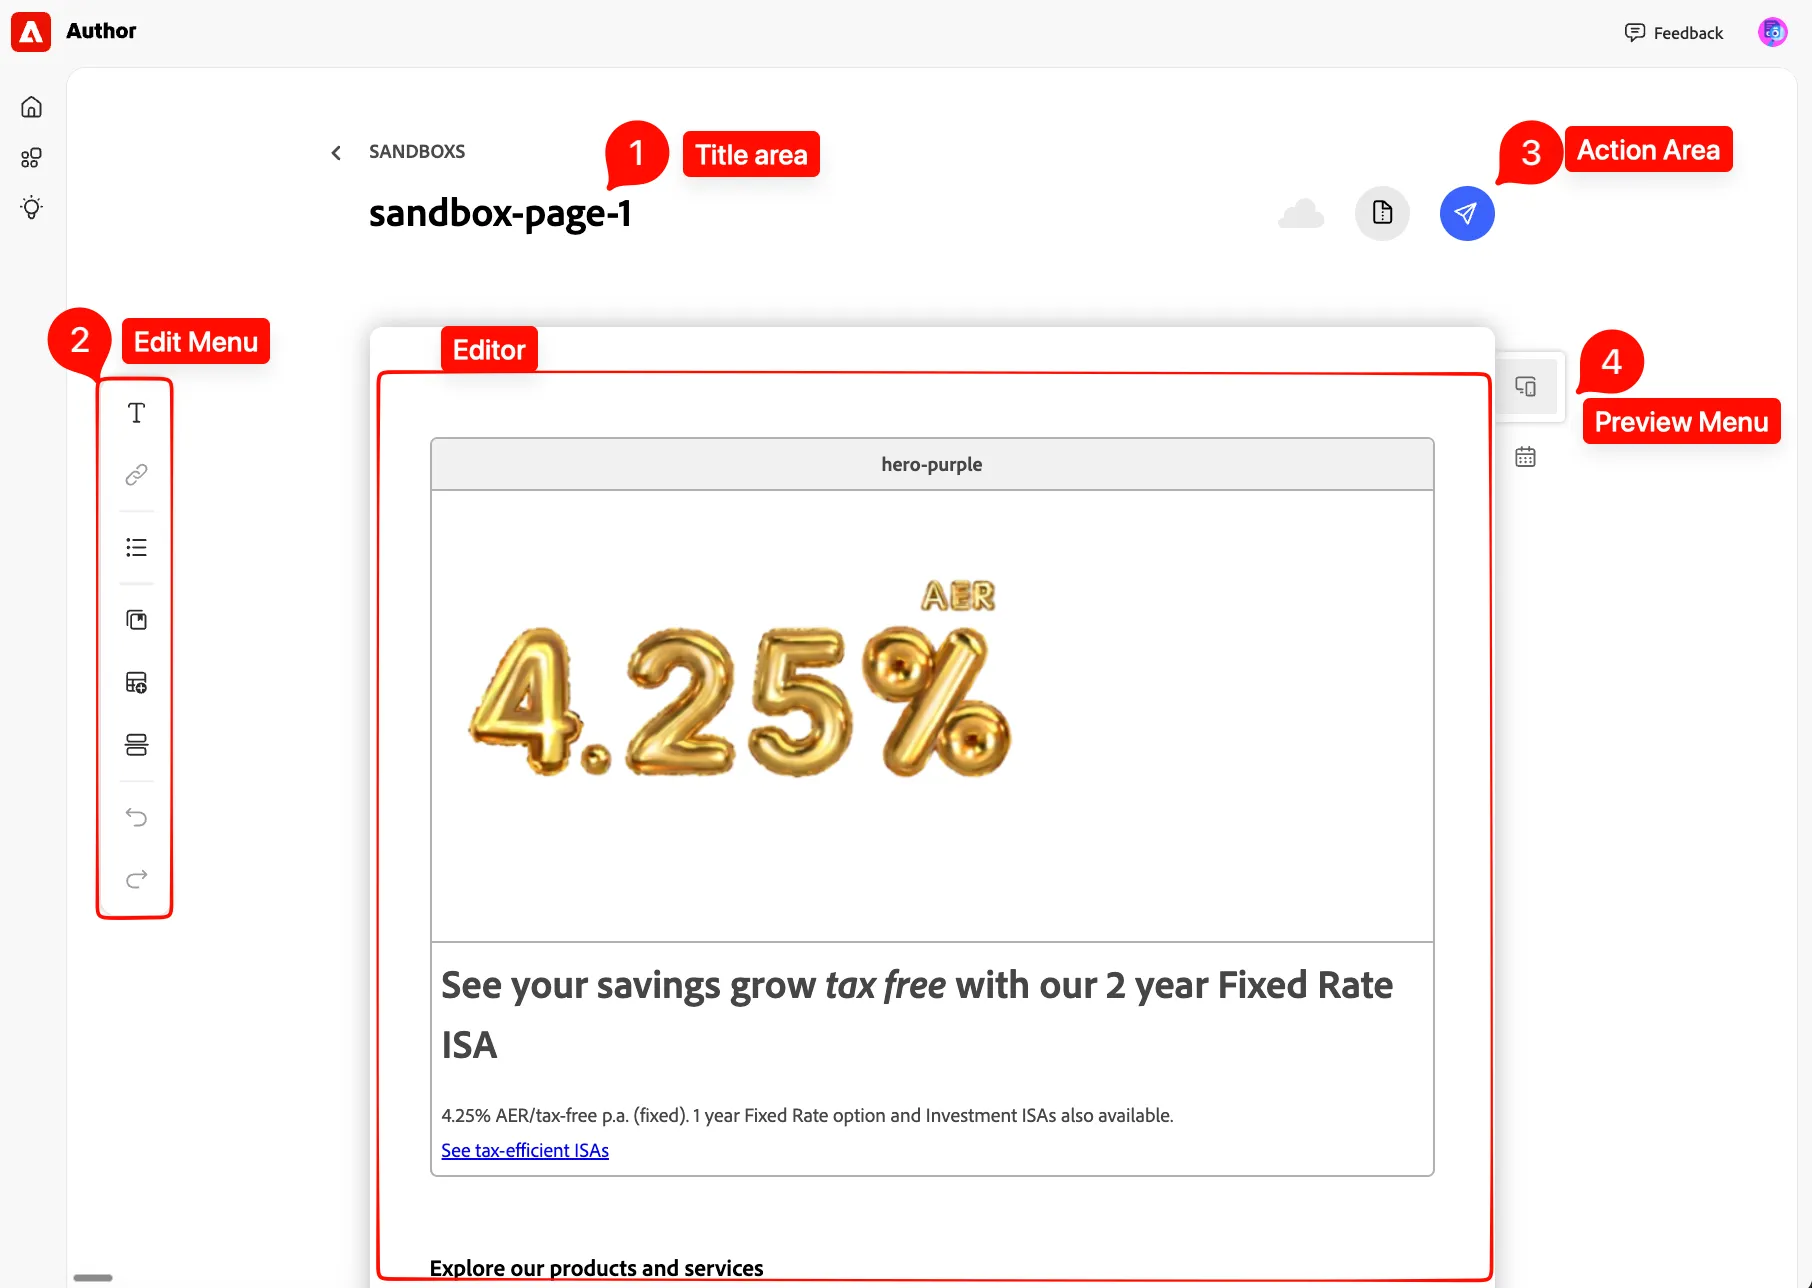
- This will allow you to access the Document Authoring, of our sandbox homepage, have an overview of the UI:
- If there are multiple authors on the same page, you will see their cursors:
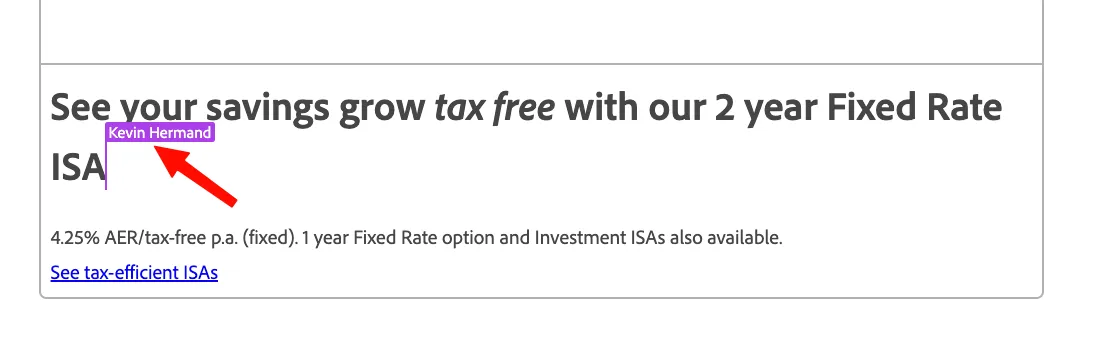
This is a sandbox, so feel free to try some edits. Notice how fast changes from each collaborator appear.
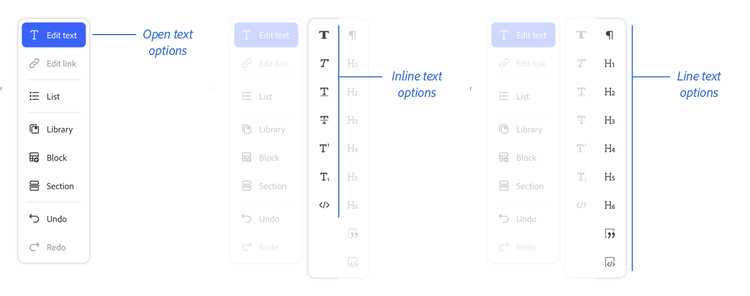
- Working with text should feel natural in Document Authoring.
- Try adding a header. Here is a UI overview of text:
Blocks & tables UI Overview
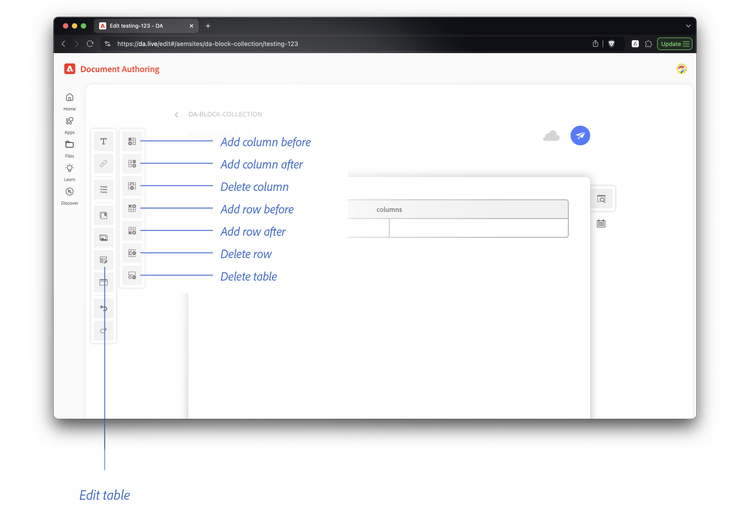
Blocks help add context to the content you are trying to create. Blocks are represented as tables in your document. They have a title row with the name of the block you wish to use.
The block button is contextually aware. Clicking into a table will change the add block button to an edit table button.
Conclusion
By completing this step, you have successfully accessed Document Authoring in AEM, navigated to the NatWest demo site and sandbox content, and explored the authoring interface.
You also experienced real-time collaboration, made basic text edits, added headings, and learned how blocks and tables are used to structure content. Finally, you saw how the authoring toolbar changes contextually when working with blocks.
Next: You are now ready to create and update page content in the EMA lab environment.