Ex2: Authoring Content
In this part, we will add some content to our Page, and you will learn to navigate the Universal Editor.
UI Overview - Universal Editor
The Universal Editor provides a visual, WYSIWYG authoring experience. Authors can select content directly on the page or use the Content Tree to find, add, edit, move, duplicate, and delete page content.
Here is a UI Overview:
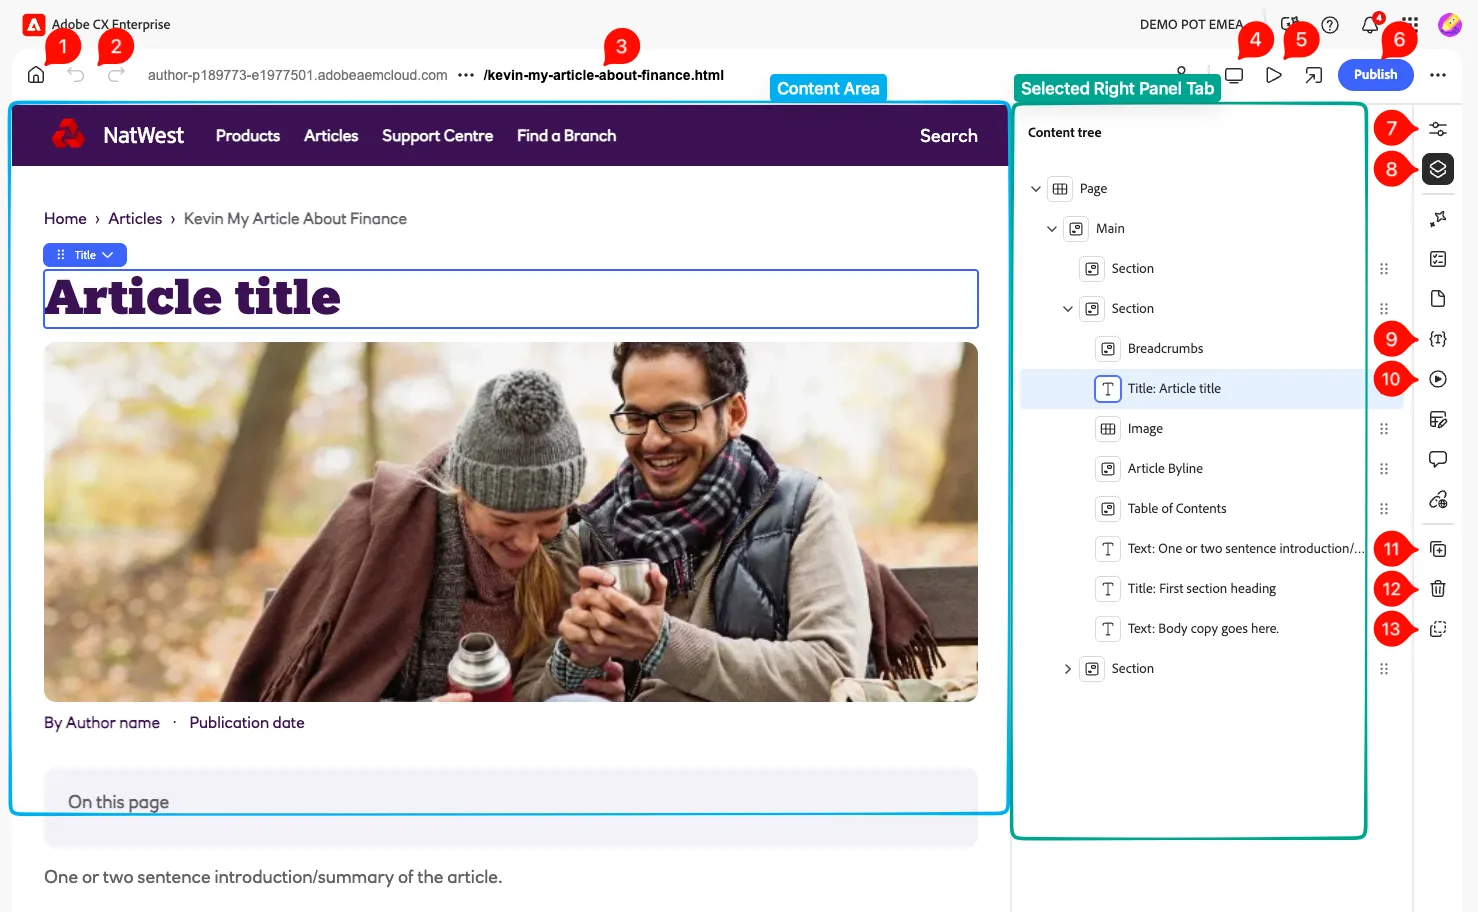
N° | Interface element | What it is used for |
|---|---|---|
1 | Home | Returns to the Universal Editor start page. From there, you can enter the URL of another page to edit. |
2 | Undo and Redo | Reverses or reapplies the most recent authoring action. This can include text edits, property changes, added components, duplicated components, moved components, and deletions. |
3 | Location bar | Displays the URL of the page currently loaded in the editor. Select it to enter another page URL. |
4 | Responsive mode | Changes the viewport used to display the page. Use it to check how the page behaves on desktop, tablet, or mobile screen sizes. |
5 | Preview mode | Hides the editing overlays and displays the page as a visitor would see it while remaining inside the Universal Editor. In Preview mode, page links and interactions can be tested, but content cannot be edited. |
6 | Publish | Publishes the current page and its content to the configured target, such as an Edge Delivery Services preview or production environment. |
7 | Properties panel | Displays the editable fields for the selected page element. Use it to change values such as text, images, links, references, options, and metadata. |
8 | Content Tree | Displays the hierarchical structure of the page. Expand Page, Main, and Section to see the blocks and components inside each container. Selecting an item in the tree selects the corresponding element on the page. |
9  | UE extension (Experimentation) | This is an additional right-rail extension enabled for the lab environment. |
10 | UE extension (preflight) | This is another optional extension. It is not one of the two core Universal Editor panels. |
11 | Duplicate | Creates a copy of the selected component or block inside its container. You can then edit the copy independently. |
12 | Delete | Removes the selected component or block from the page. |
13 | Copy | Creates a copy of the selected component. |
 | Task Management (Workfront) | Extension used to manage work related to the page. Authors can view assigned tasks, check task status, and access Workfront-related information without leaving Universal Editor. |
 | Semrush SEO Extension | Extension to review the page SEO. It provides SEO insights and recommendations related to page content and metadata. |
Note: 11, 12, and 13 are visible only if a Block is selected. Adding a block is visible only if a Section is selected.
Article Template Overview
A page template provides the initial structure and content for a new page. The page created from the template is an independent copy: authors can edit it without changing the template or other pages.
AEM Pages in UE are typically organized as:
The current organisation can be seen in the Content Tree:
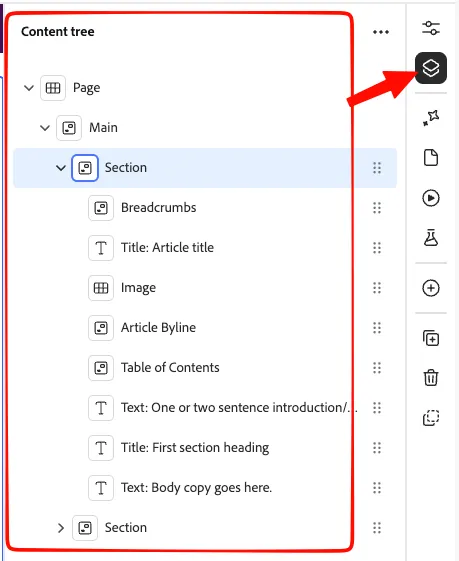
For example, the Article template used in this lab includes:
- A breadcrumb,
- A Title,
- A hero image,
- etc,...
Your Turn! Let's create our Article
First, take a moment to explore the Universal Editor UI.
Step 1 — Edit Title
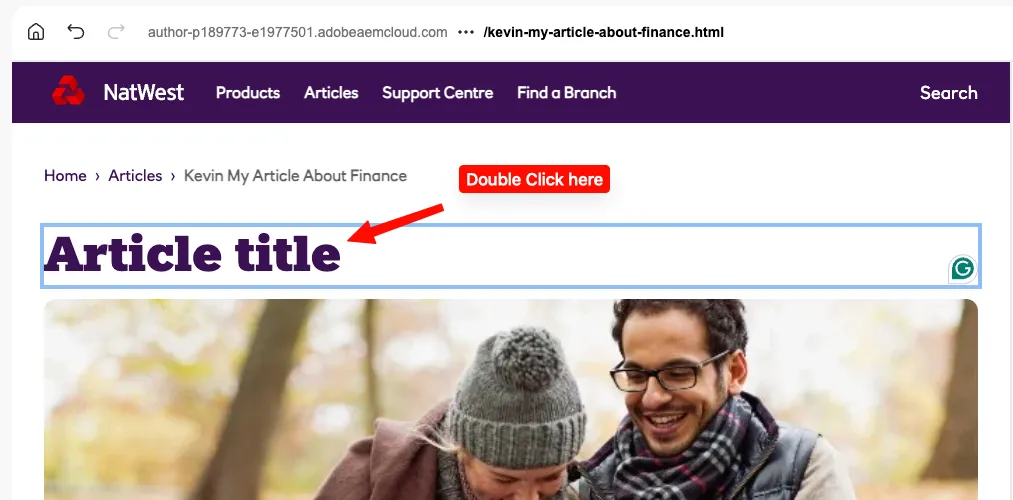
- Click the "Article Title" and then the Properties tab (or keyboard "D")
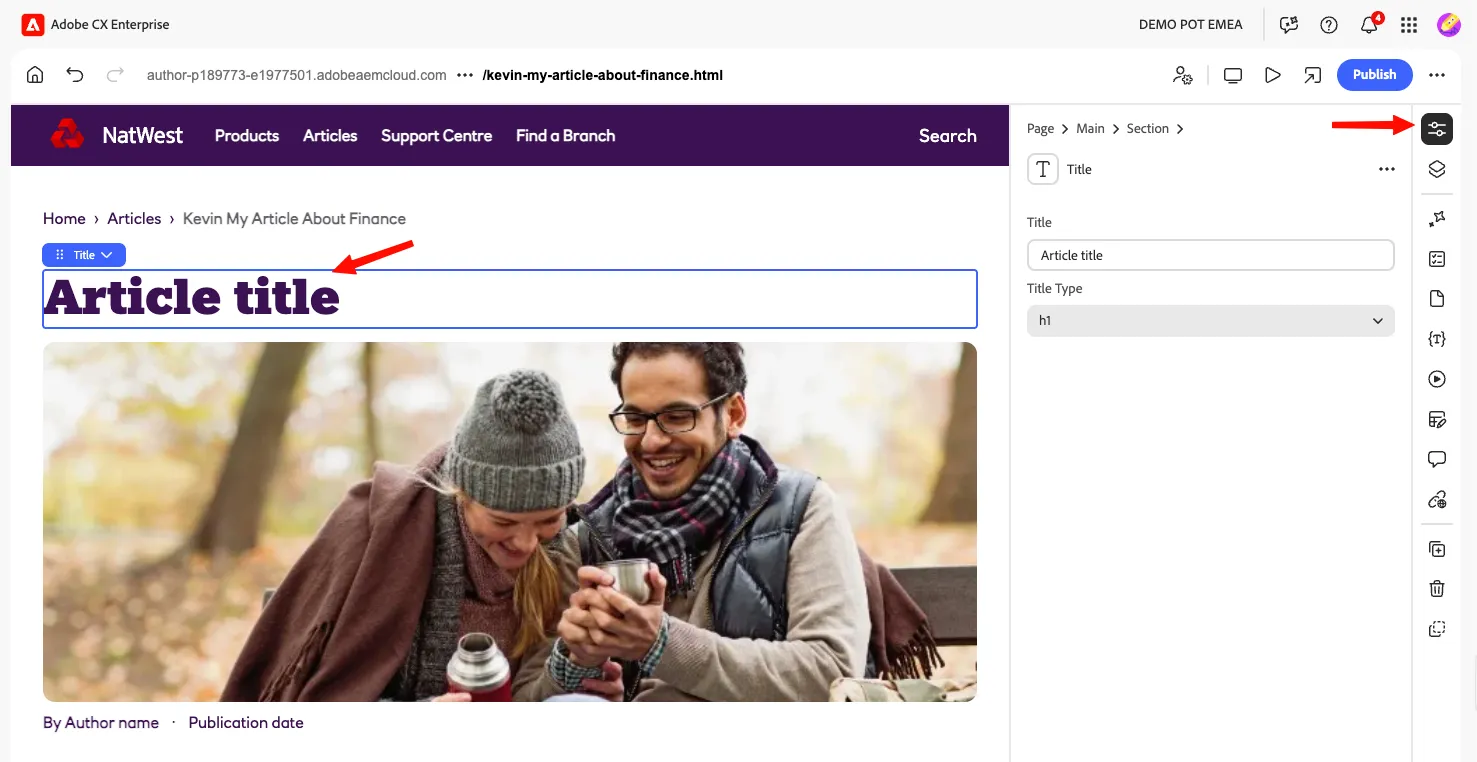
- Give your Article a meaningful name (and different for everyone so you can find it later), by editing the "Title" property, for ex: Invest to become a billionaire
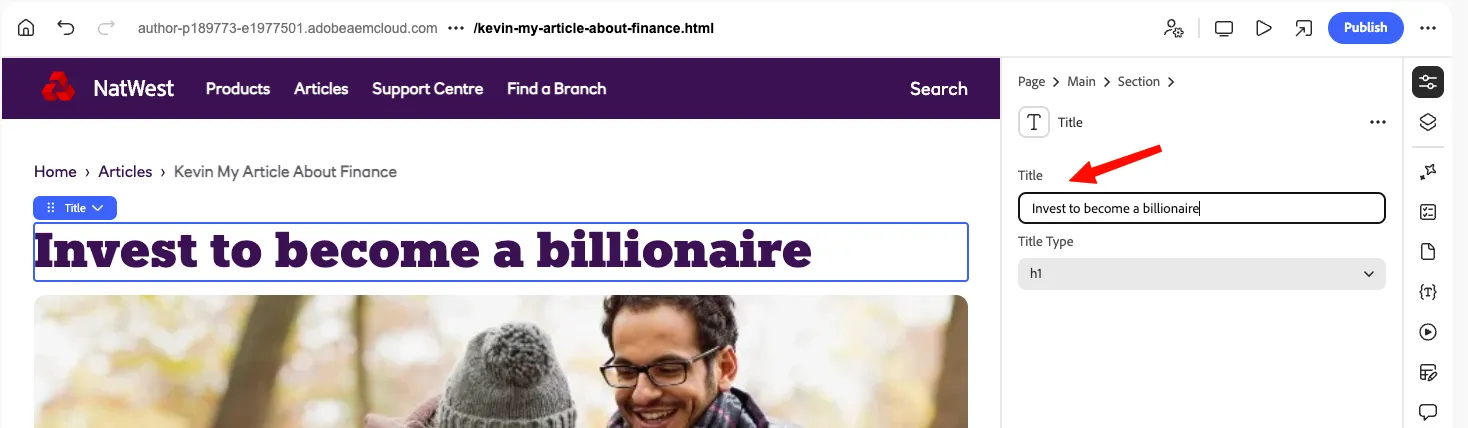
Note: You can also edit text by double-clicking on it directly in the Content Area:
Step 2 — Edit Hero Image
- We want to change the default image header. Click on the Image, and then in the Image property:
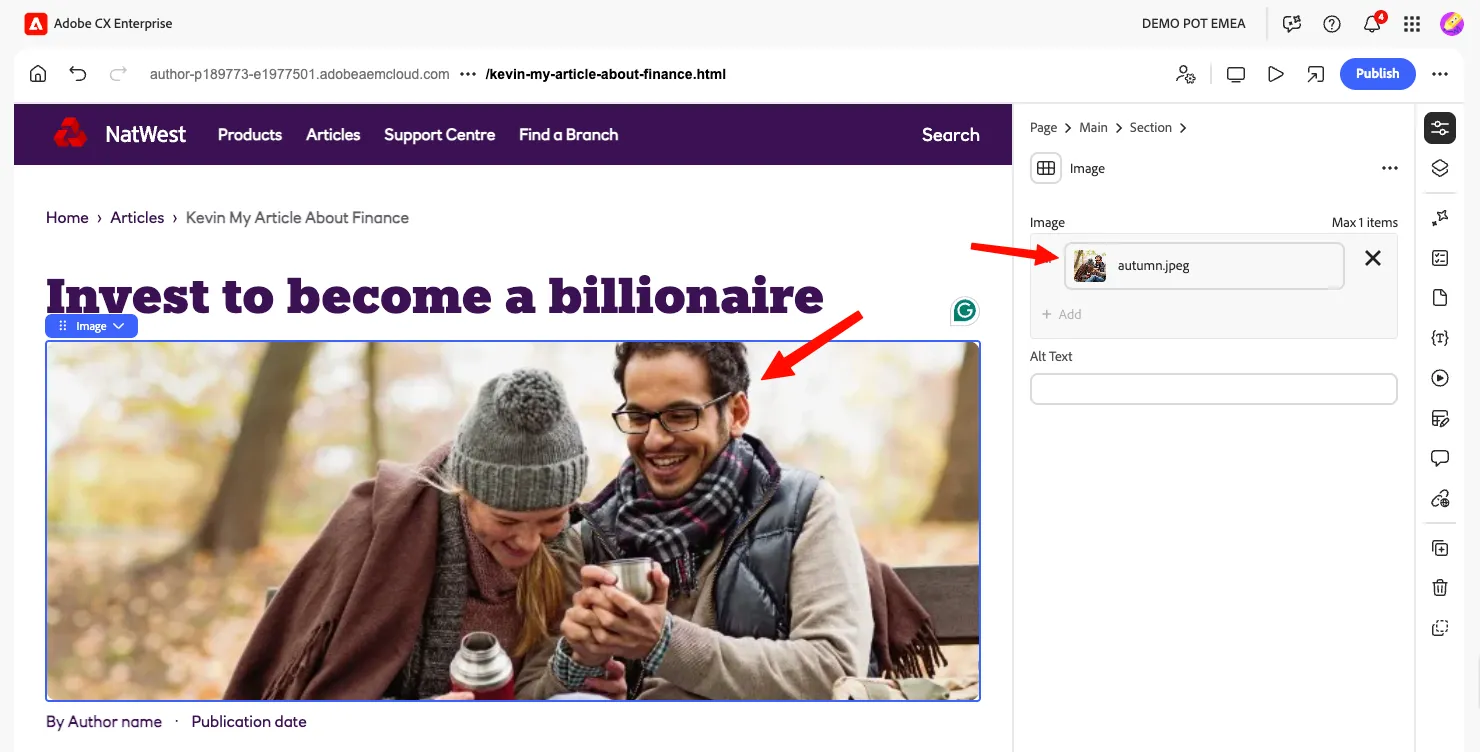
- This will open the Content Advisor.
- Open the "natwest-xwalk" folder. We have pre-populated this folder with assets from NatWest.
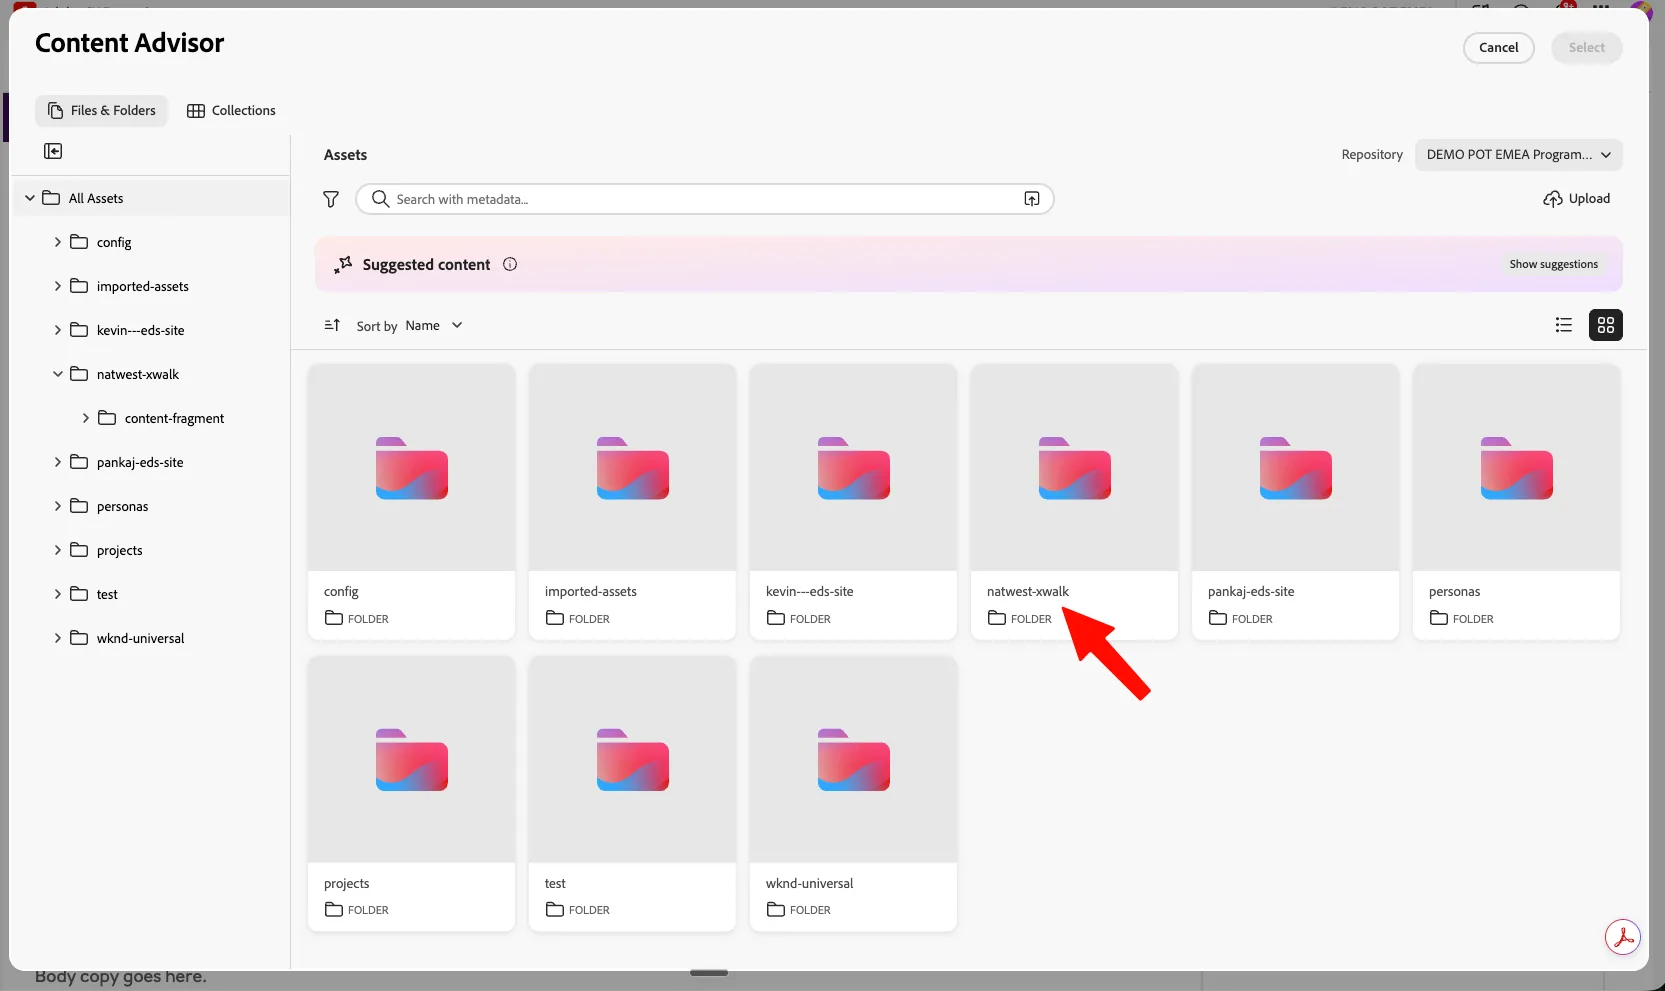
Content Advisor lets authors find and select assets from the AEM Assets repository directly from the Universal Editor (or any Apps). In older AEM versions, this function was commonly called the Asset Picker / Asset Selector.
Step 3 — Content Advisor Overview
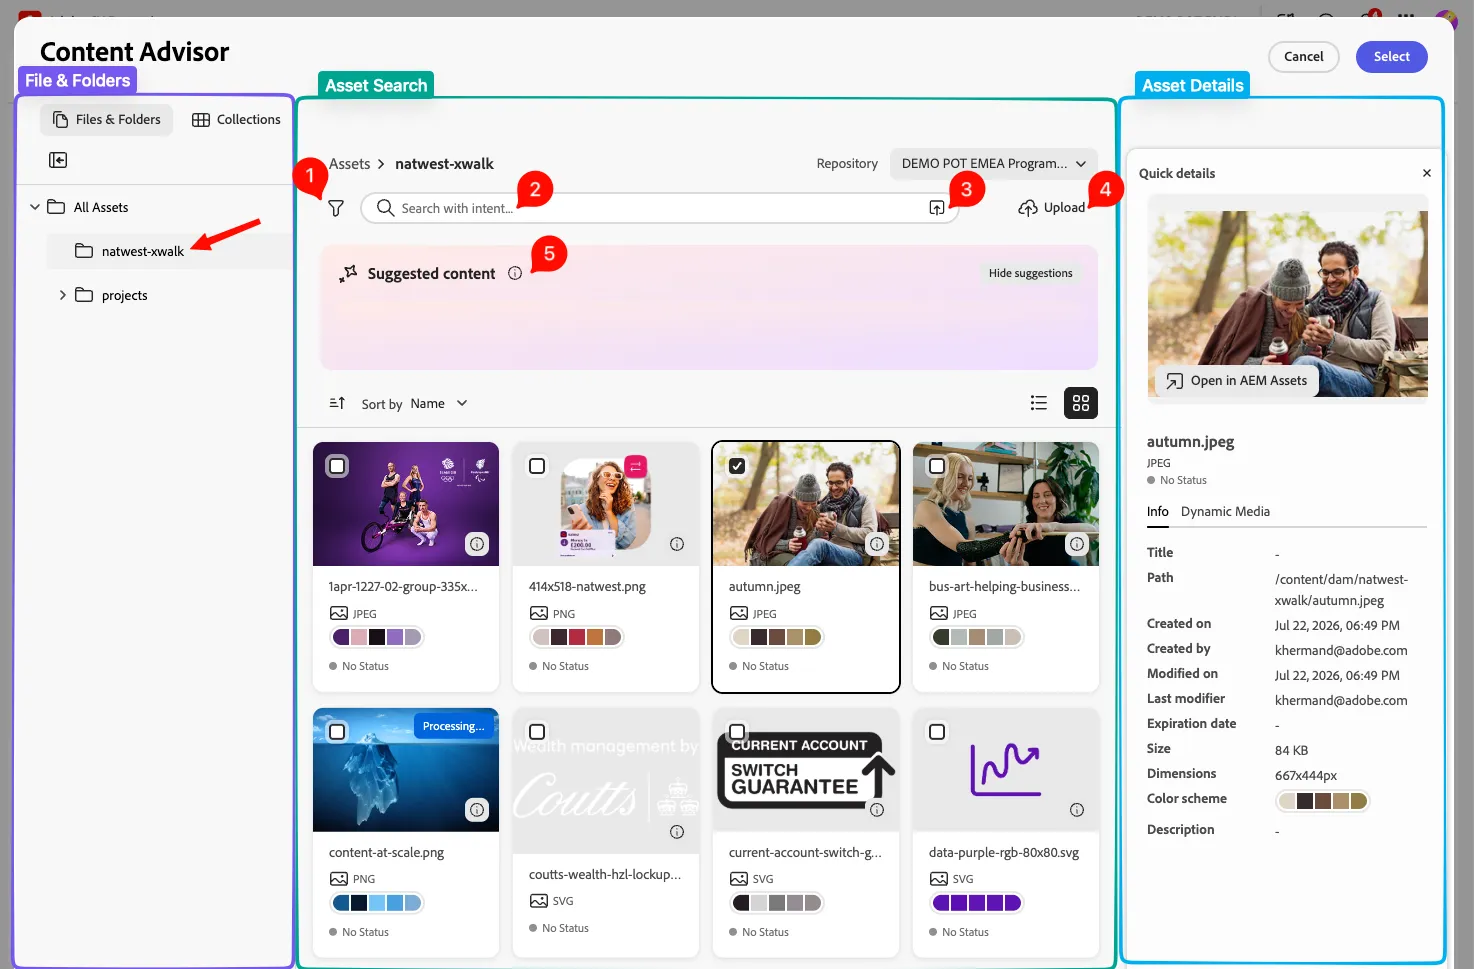
Area | Purpose |
|---|---|
File & Folders | Browse assets by folder or view curated collections. |
1. Filters | Narrow results by file type, format, status, dimensions, size, or date. |
2. Asset Search | AI Search using keywords or natural-language intent, such as "people outdoors, logo, or man wearing an apron holding a wooden cutting board " |
3. Campaign brief | Upload a brief to help Content Advisor suggest relevant assets, when enabled. |
4. Upload | Upload an asset to the selected AEM Assets folder, if you have permission. |
5. Suggested content | Use AI to recommend assets from the current context. |
Asset cards | Preview and select an image, video, or other asset. The selected asset is outlined. |
Asset Details | Review the preview and metadata before using the asset. |
Select | Confirm the asset and return it to the Universal Editor field. |
- We generated an Asset using Adobe Firefly some time ago, but it has no name and is hard to find. Use the AI-Search feature to find this asset again in natural language: Businessman on a yoat
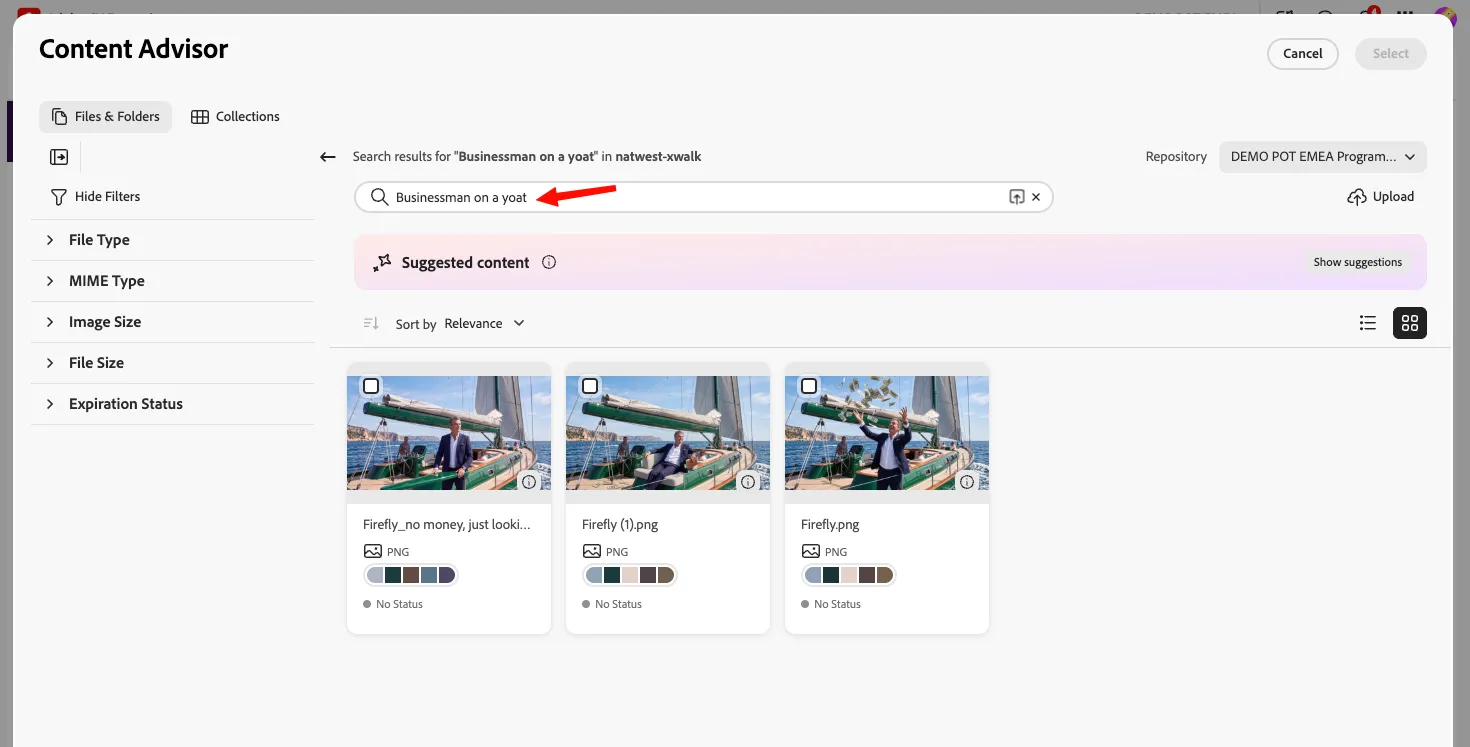
Notice that I misspelled "yacht" and wrote "yoat" instead, but the AI understands what I mean in natural language even with typos.
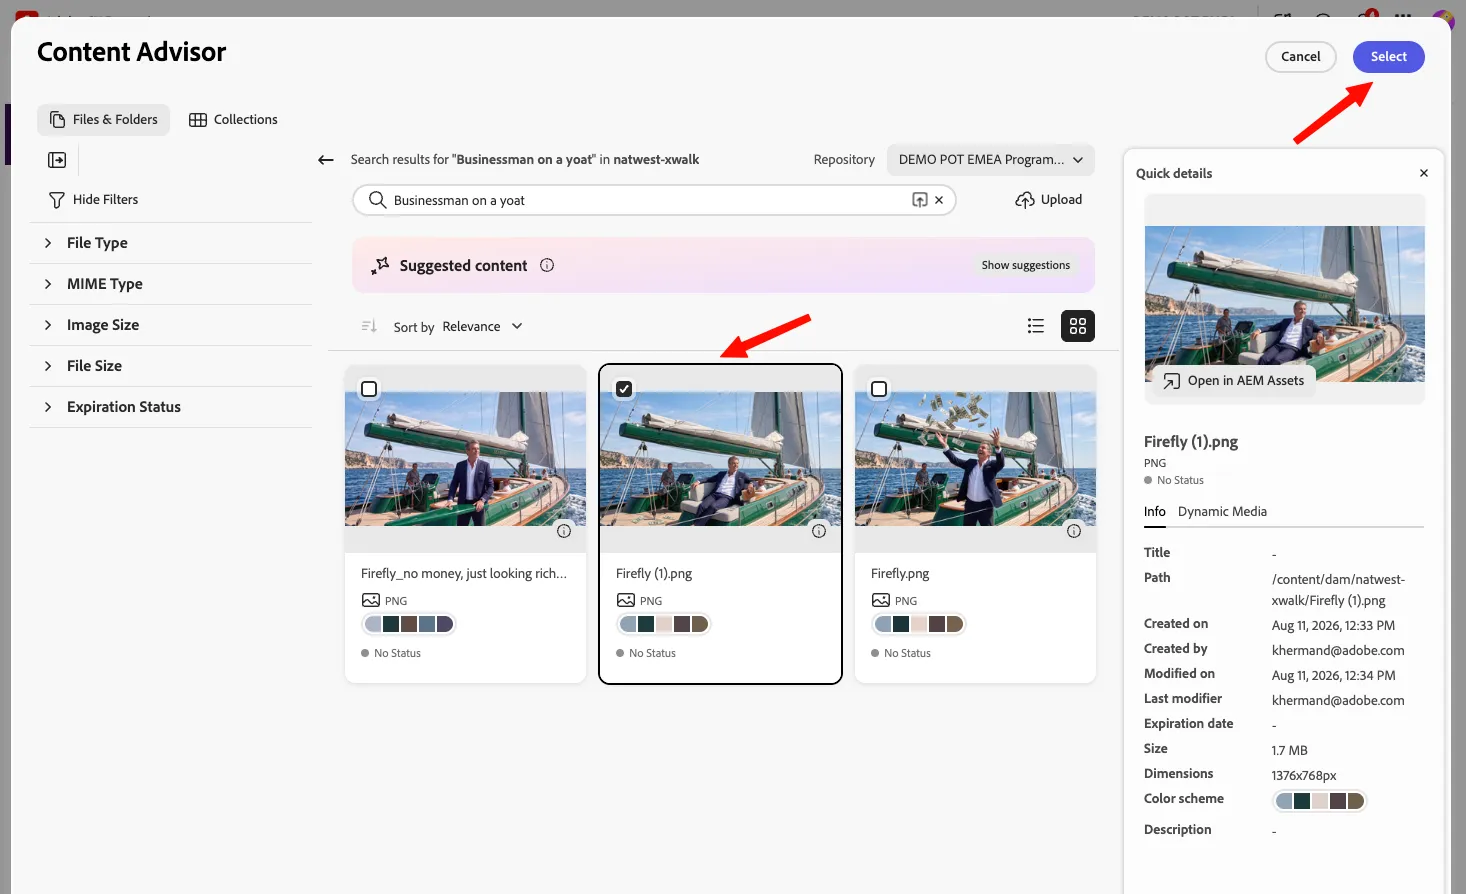
- Select this asset or look for any asset that fits your article title best; you can use the AI Search, filters, or just browse for one asset.
- Select the asset you want to use to illustrate your Article, and then click on Select.
- Let's author our custom block named "Article Byline":
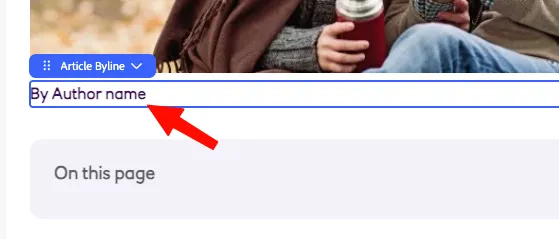
- Click on the block "Article Byline":
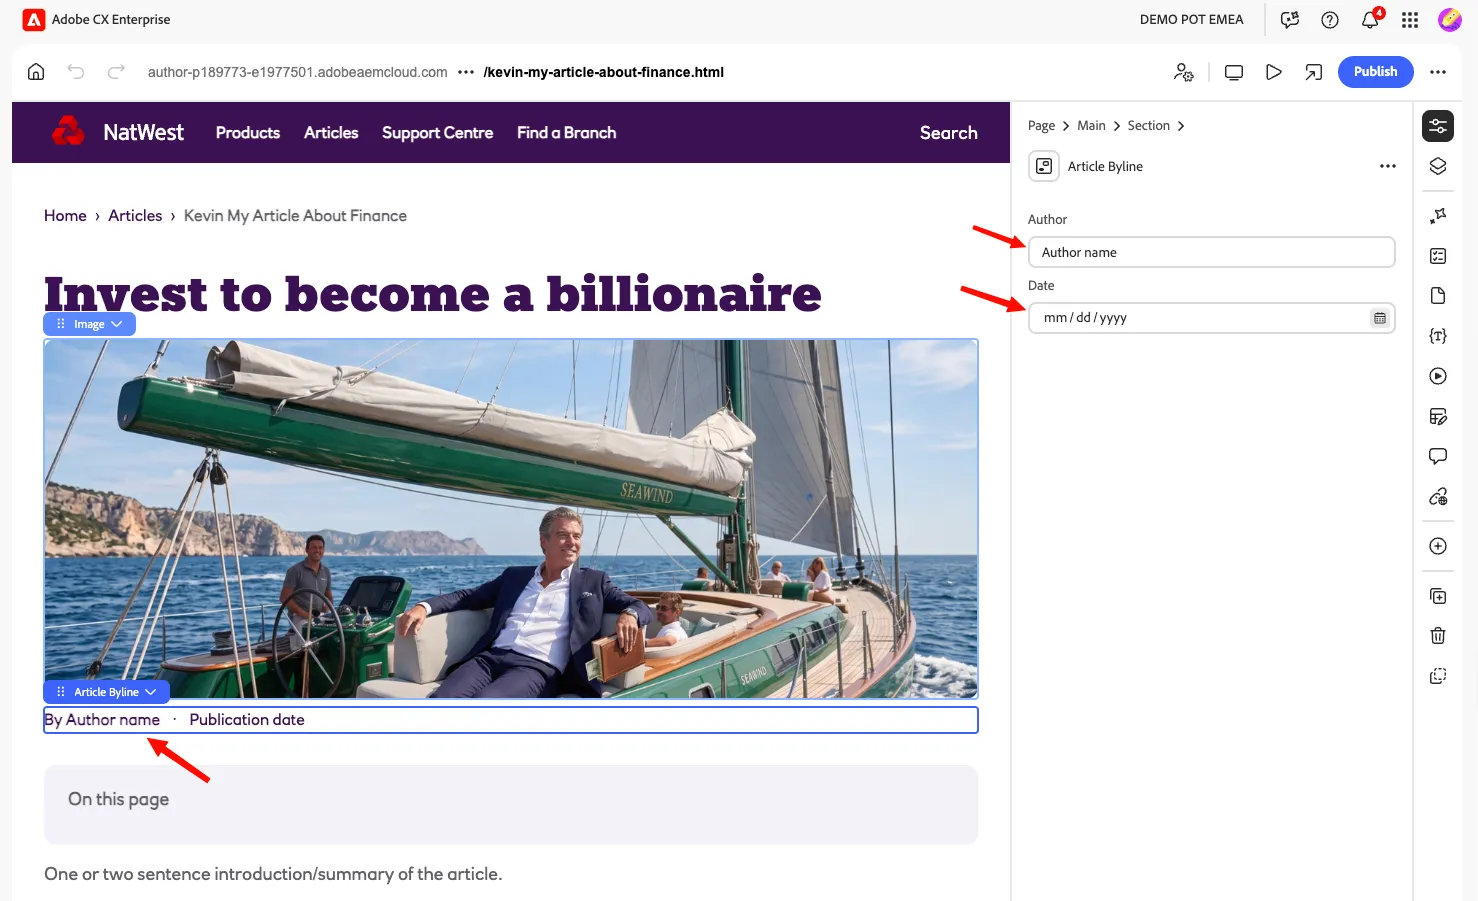
- Change the custom properties, on the right:
- Add an Author Name,
- Add an article publication date:
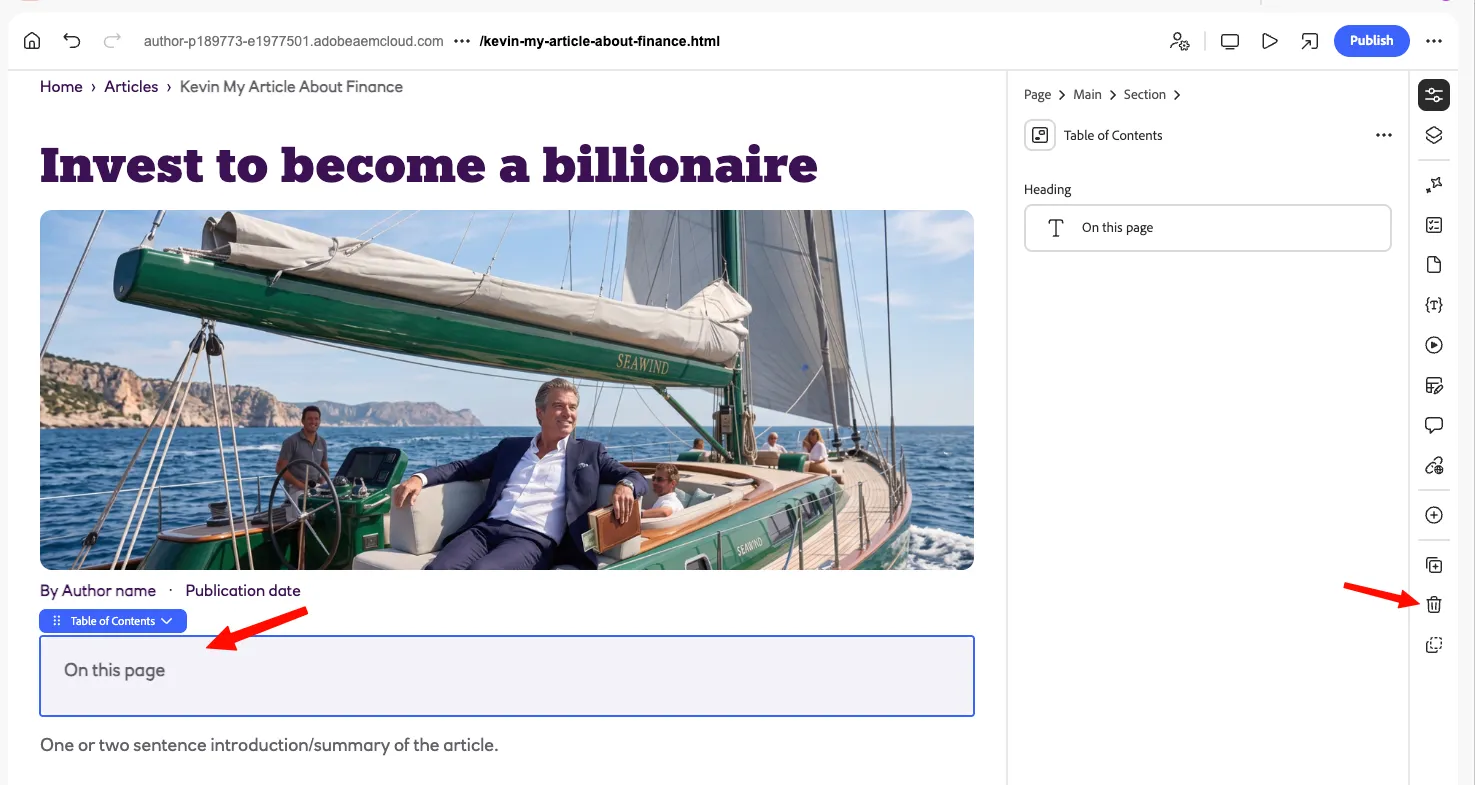
- We won't be needing the "Table of Content" for this article, as it will be quite short. So click on the Table of Contents block and delete it:
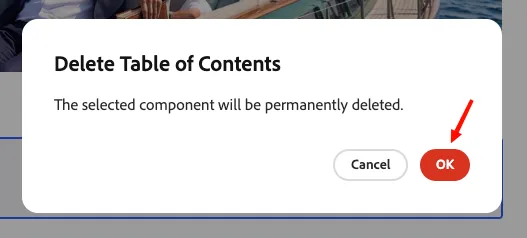
- Click on Ok to confirm deletion.
Step 4 — Edit Article Content
In this part, use your content (for a customized article), or copy-paste the proposed content.
- Double-click on the first text block to create an introduction to your article:
Building wealth over time is less about picking winners and more about consistent habits, patience, and understanding the risks involved.
Here's what a disciplined, long-term approach to investing typically looks like.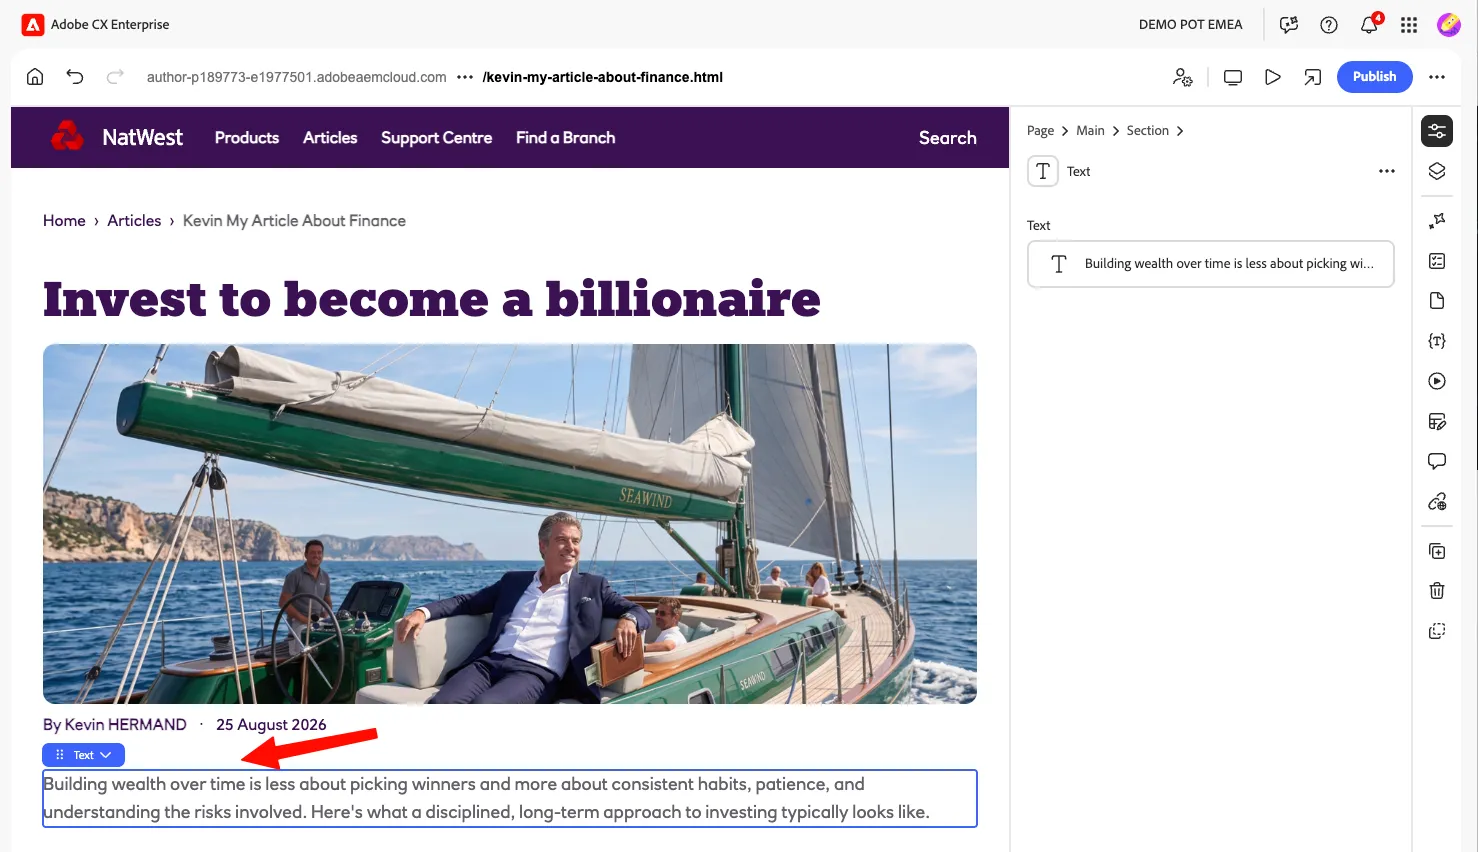
- Rename the first Title block, and change it from "h1" to "h2":
Principles for long-term investing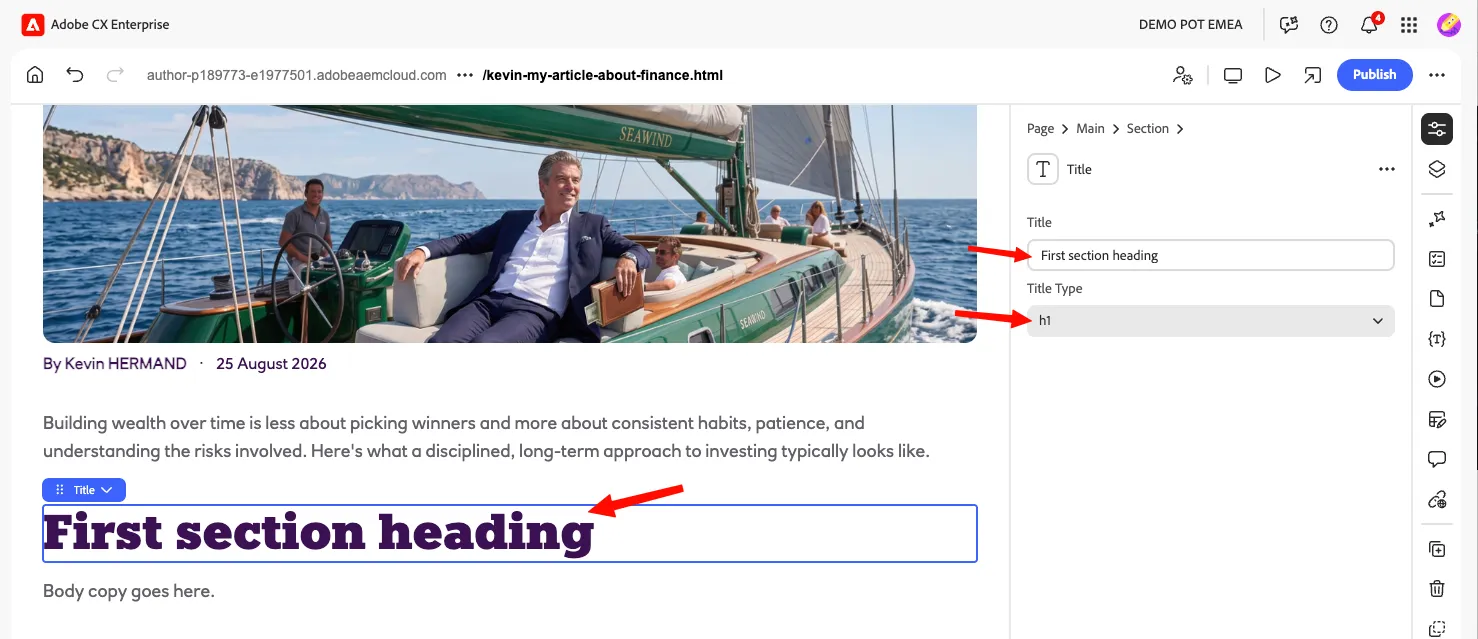
- Click on the Text block below the title, and then click on the text property.
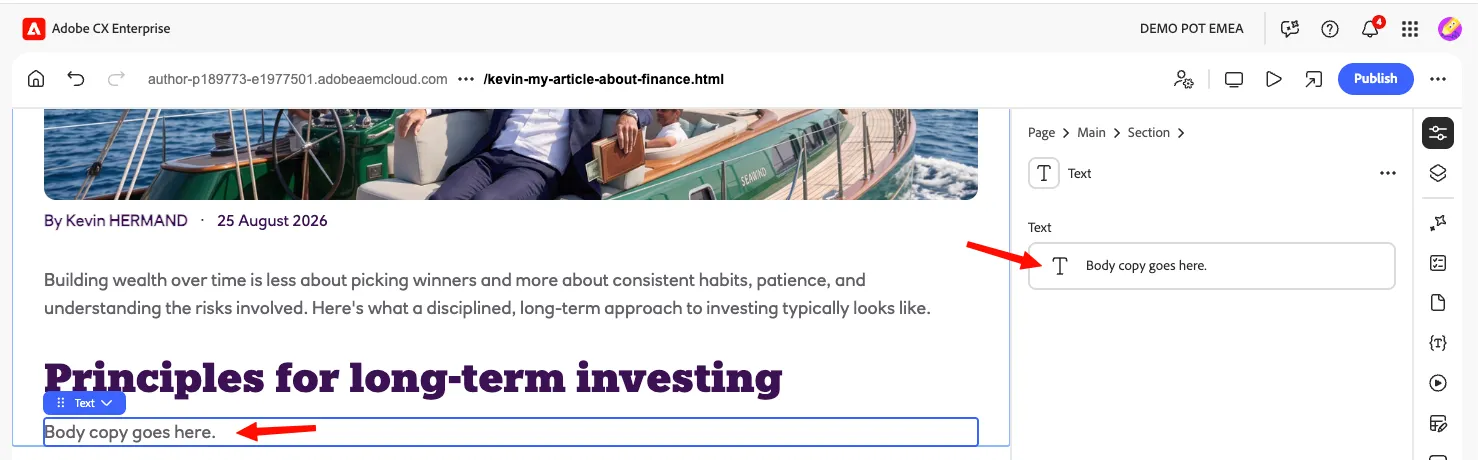
- This action will open the text editor.
- Create or paste the body content, format it using h2 and paragraphs, and click on done:
The value of starting early
Time in the market is one of the few factors within an investor's control. Money invested earlier has longer to benefit from compounding, where returns are reinvested and have the potential to generate further returns. This doesn't guarantee a specific outcome, but starting sooner rather than later is generally considered advantageous, provided you're comfortable with the associated risks

Important information
This article is provided for general information only and does not constitute financial advice or a personal recommendation. If you are unsure whether an investment is right for you, please seek advice from a qualified financial adviser.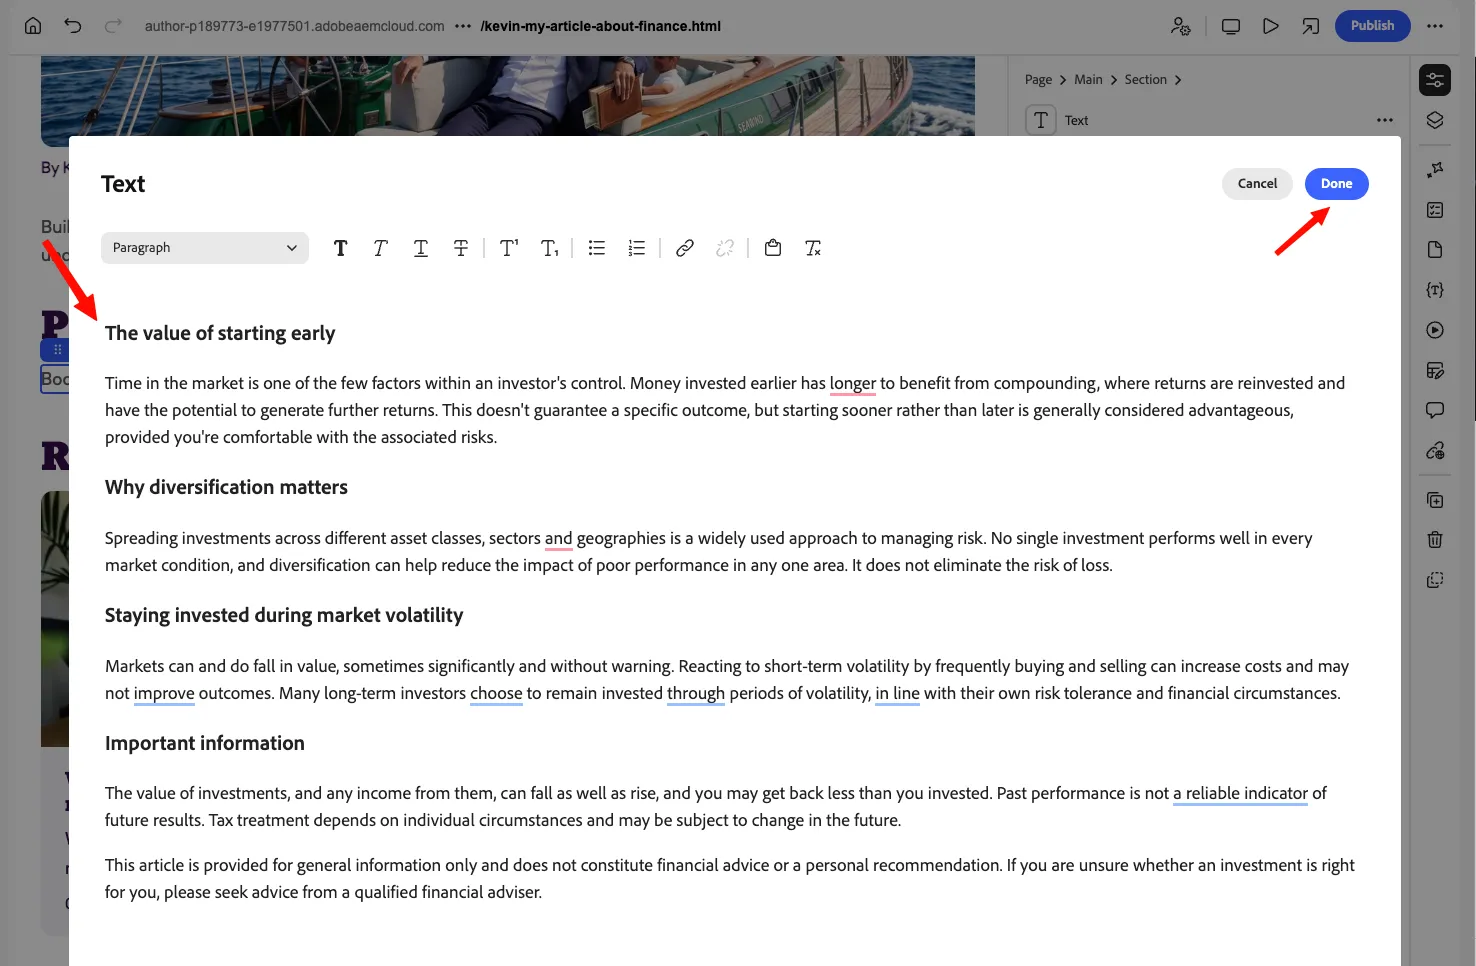
Step 5 — Add a Section & Block
We want to add a custom block called "Related Articles", that will display similar articles at the end of our article.
- Click:
- on the Content Tree (1),
- on the Main (2),
- and click on Add (3).
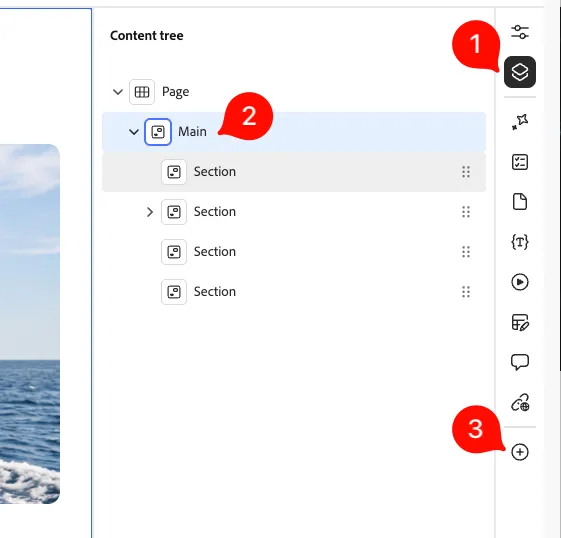
- This will add a new section we can populate with blocks.
- Click on the last Section, and click on Add:
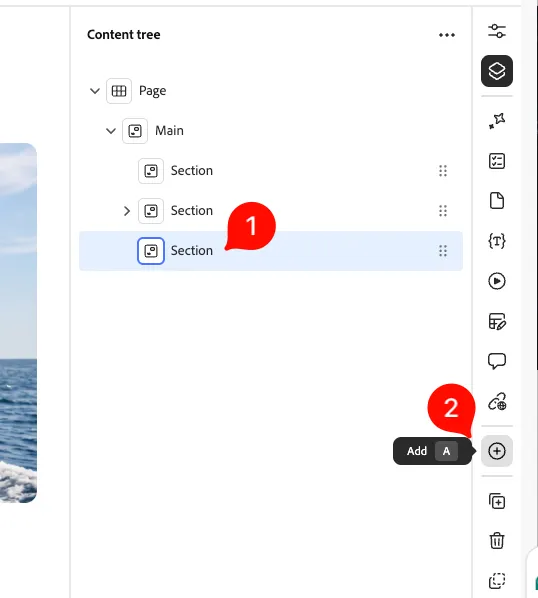
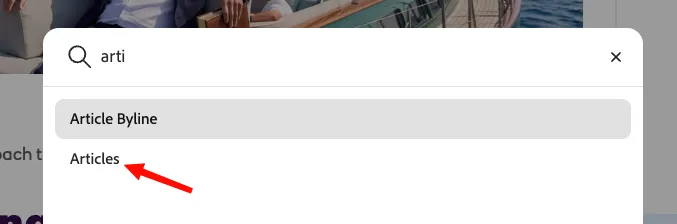
- Search for the "Articles" Block, and click on it to add it to the page section:
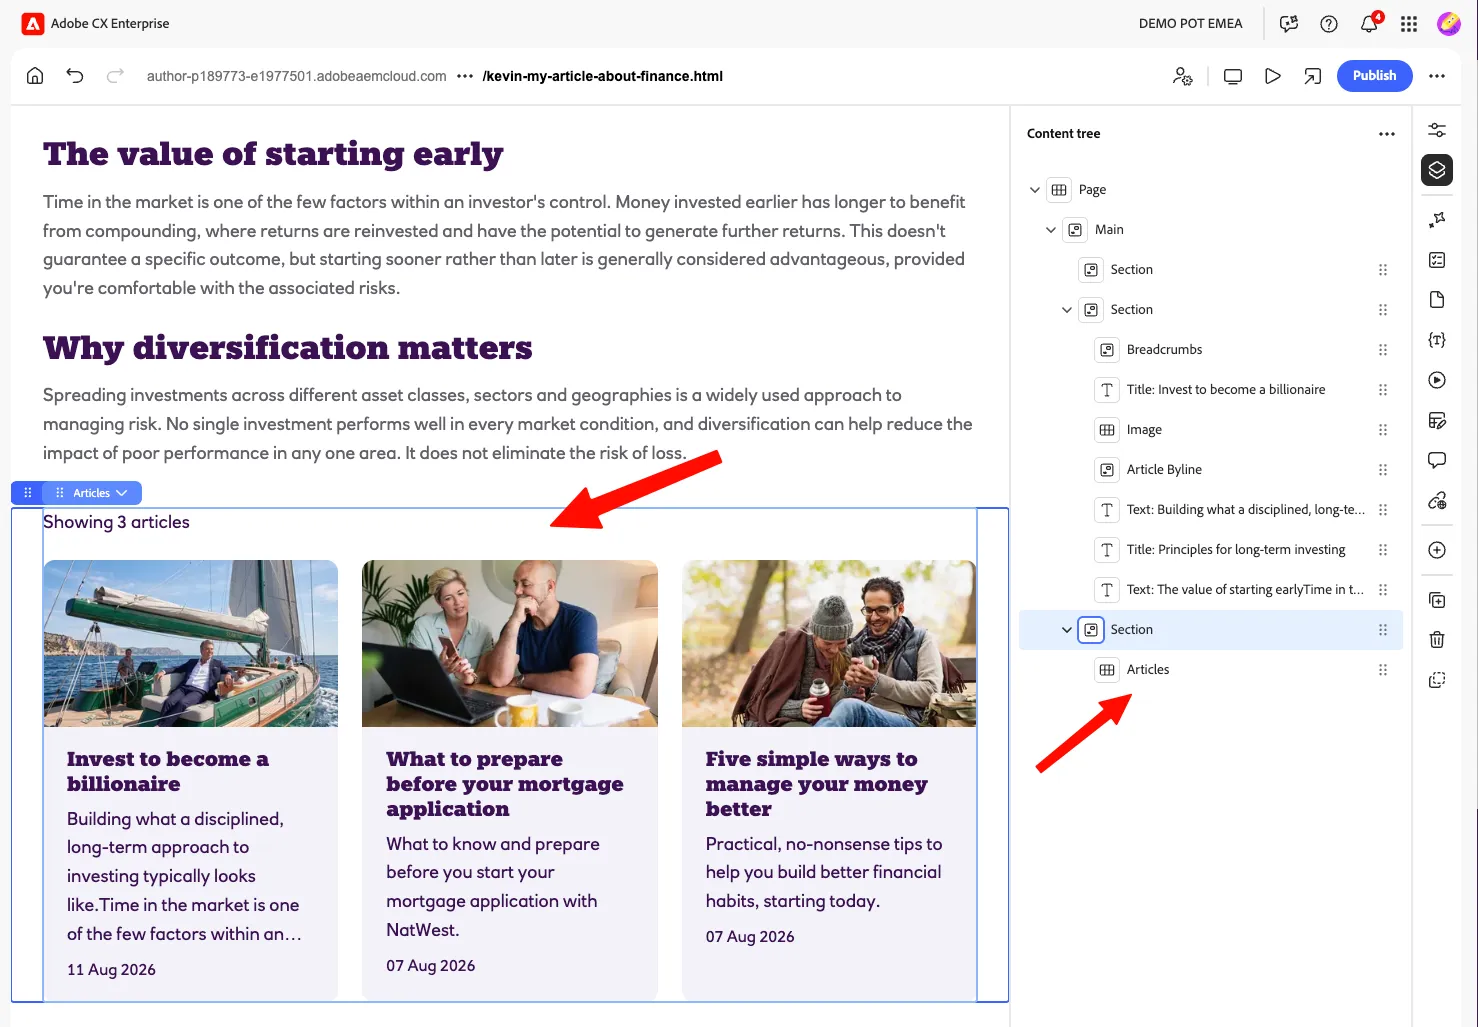
- You will see the Articles block has been added in the Content Tree:
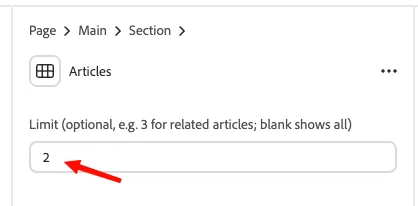
- Double-click on the block to edit its property; you can choose how many related articles you want to be displayed. Enter 2.
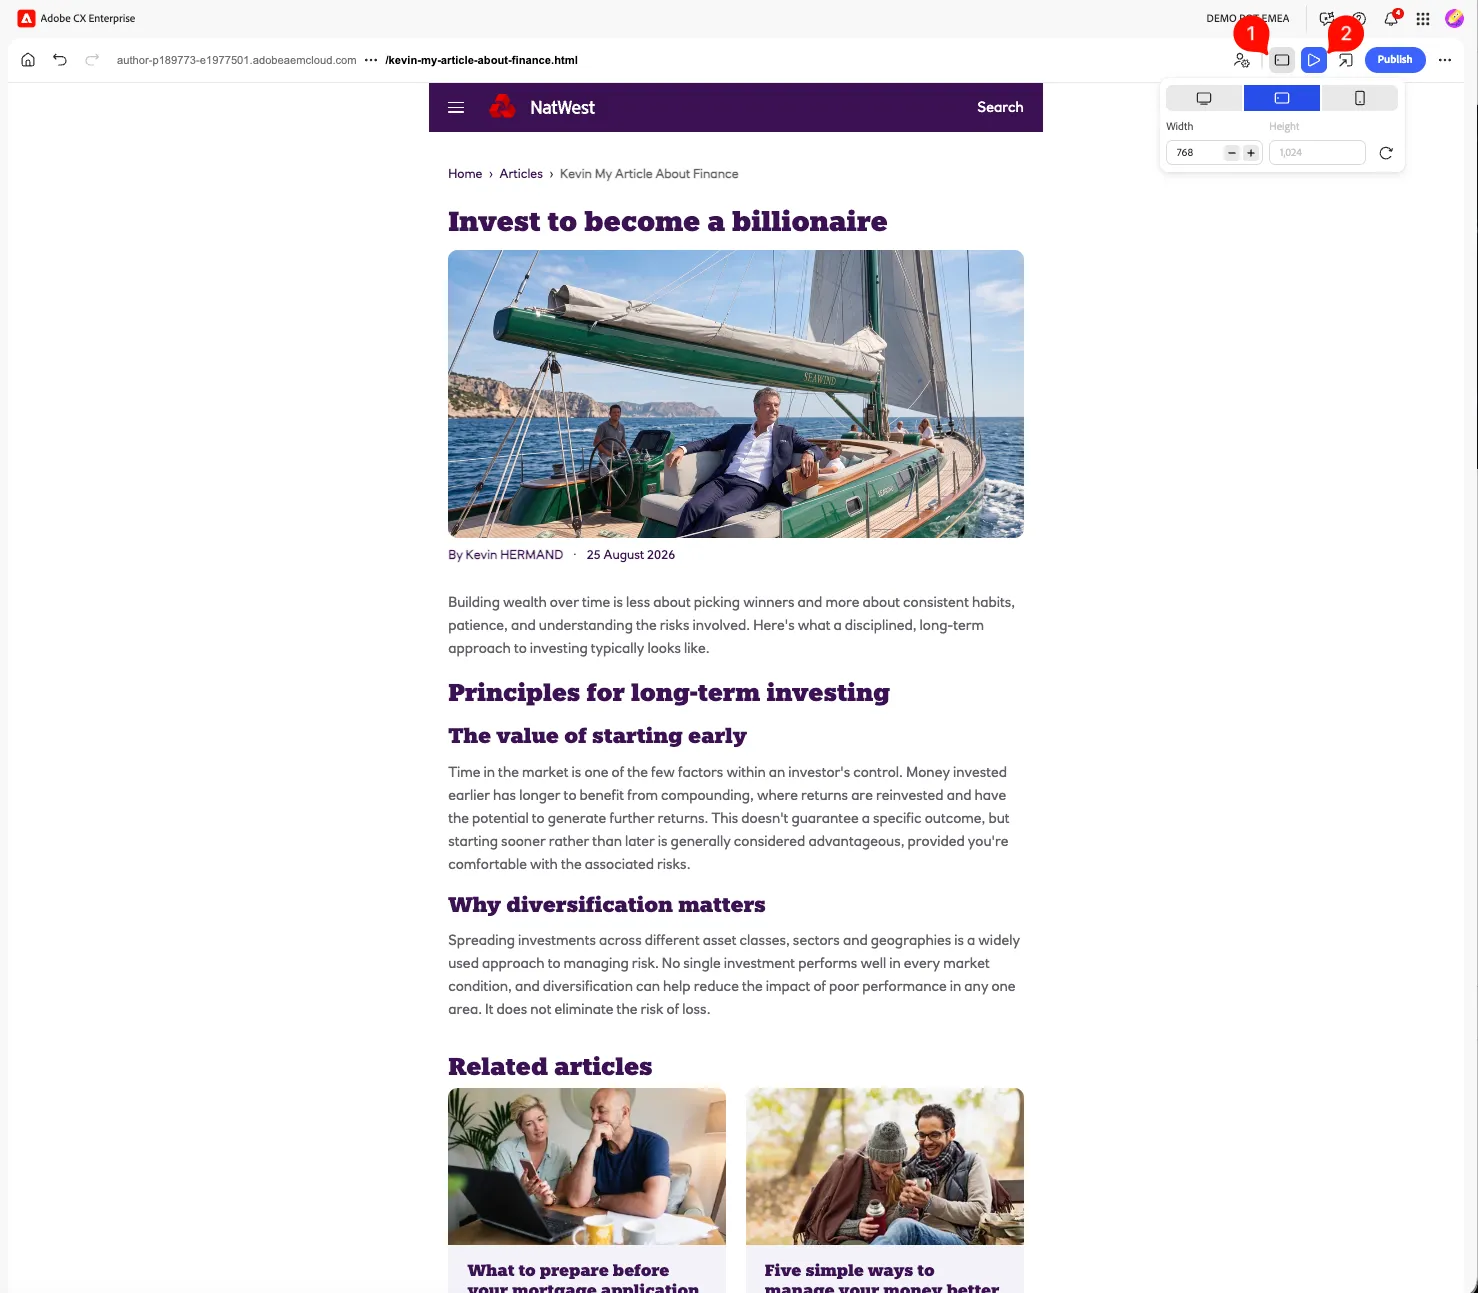
- You can preview the page by clicking on (2), and take a look at its responsiveness on different screen formats using (1).
Congrats! You have created your Article in Universal Editor. Next step, we will be publishing this site to the Edge Delivery Services.
Do not close the AEM page, as we will need it in the next exercise.