Ex2: Create a New AEM Site
In this section, you will create an AEM site that connects your authored content in AEM to the GitHub repository you prepared in the previous section.
Why This Step Matters
The AEM site is where your content is created and edited in the Universal Editor. The final website experience is produced by combining:
- content from AEM
- front-end code from GitHub
Step 1 — Sign in to AEM Author
- Open our AEM as a Cloud Service authoring instance here: https://author-p189773-e1977501.adobeaemcloud.com/
- Sign in with the provided Adobe credentials.
- Navigate to the Sites console.
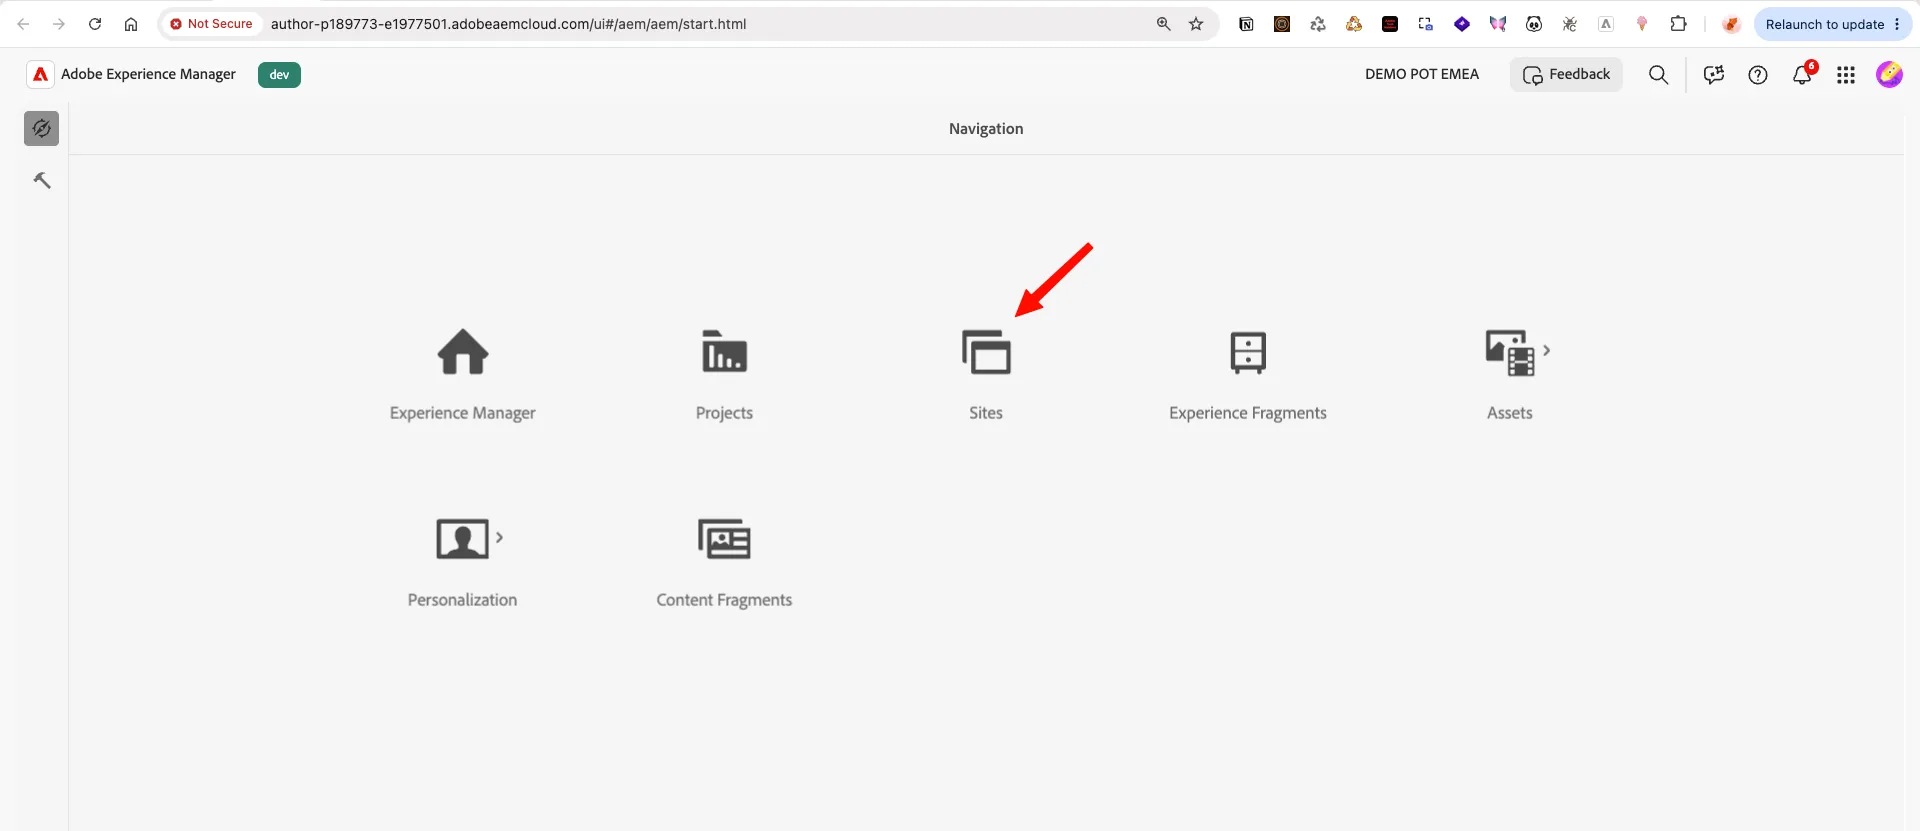
Step 2 — Start site creation
- In the Sites console, click Create, and select Site from template:

Step 3 — Select the Edge Delivery site template
- In the template selection screen, locate the lab template:
- AEM Site with Edge Delivery Services Template 0.2.0
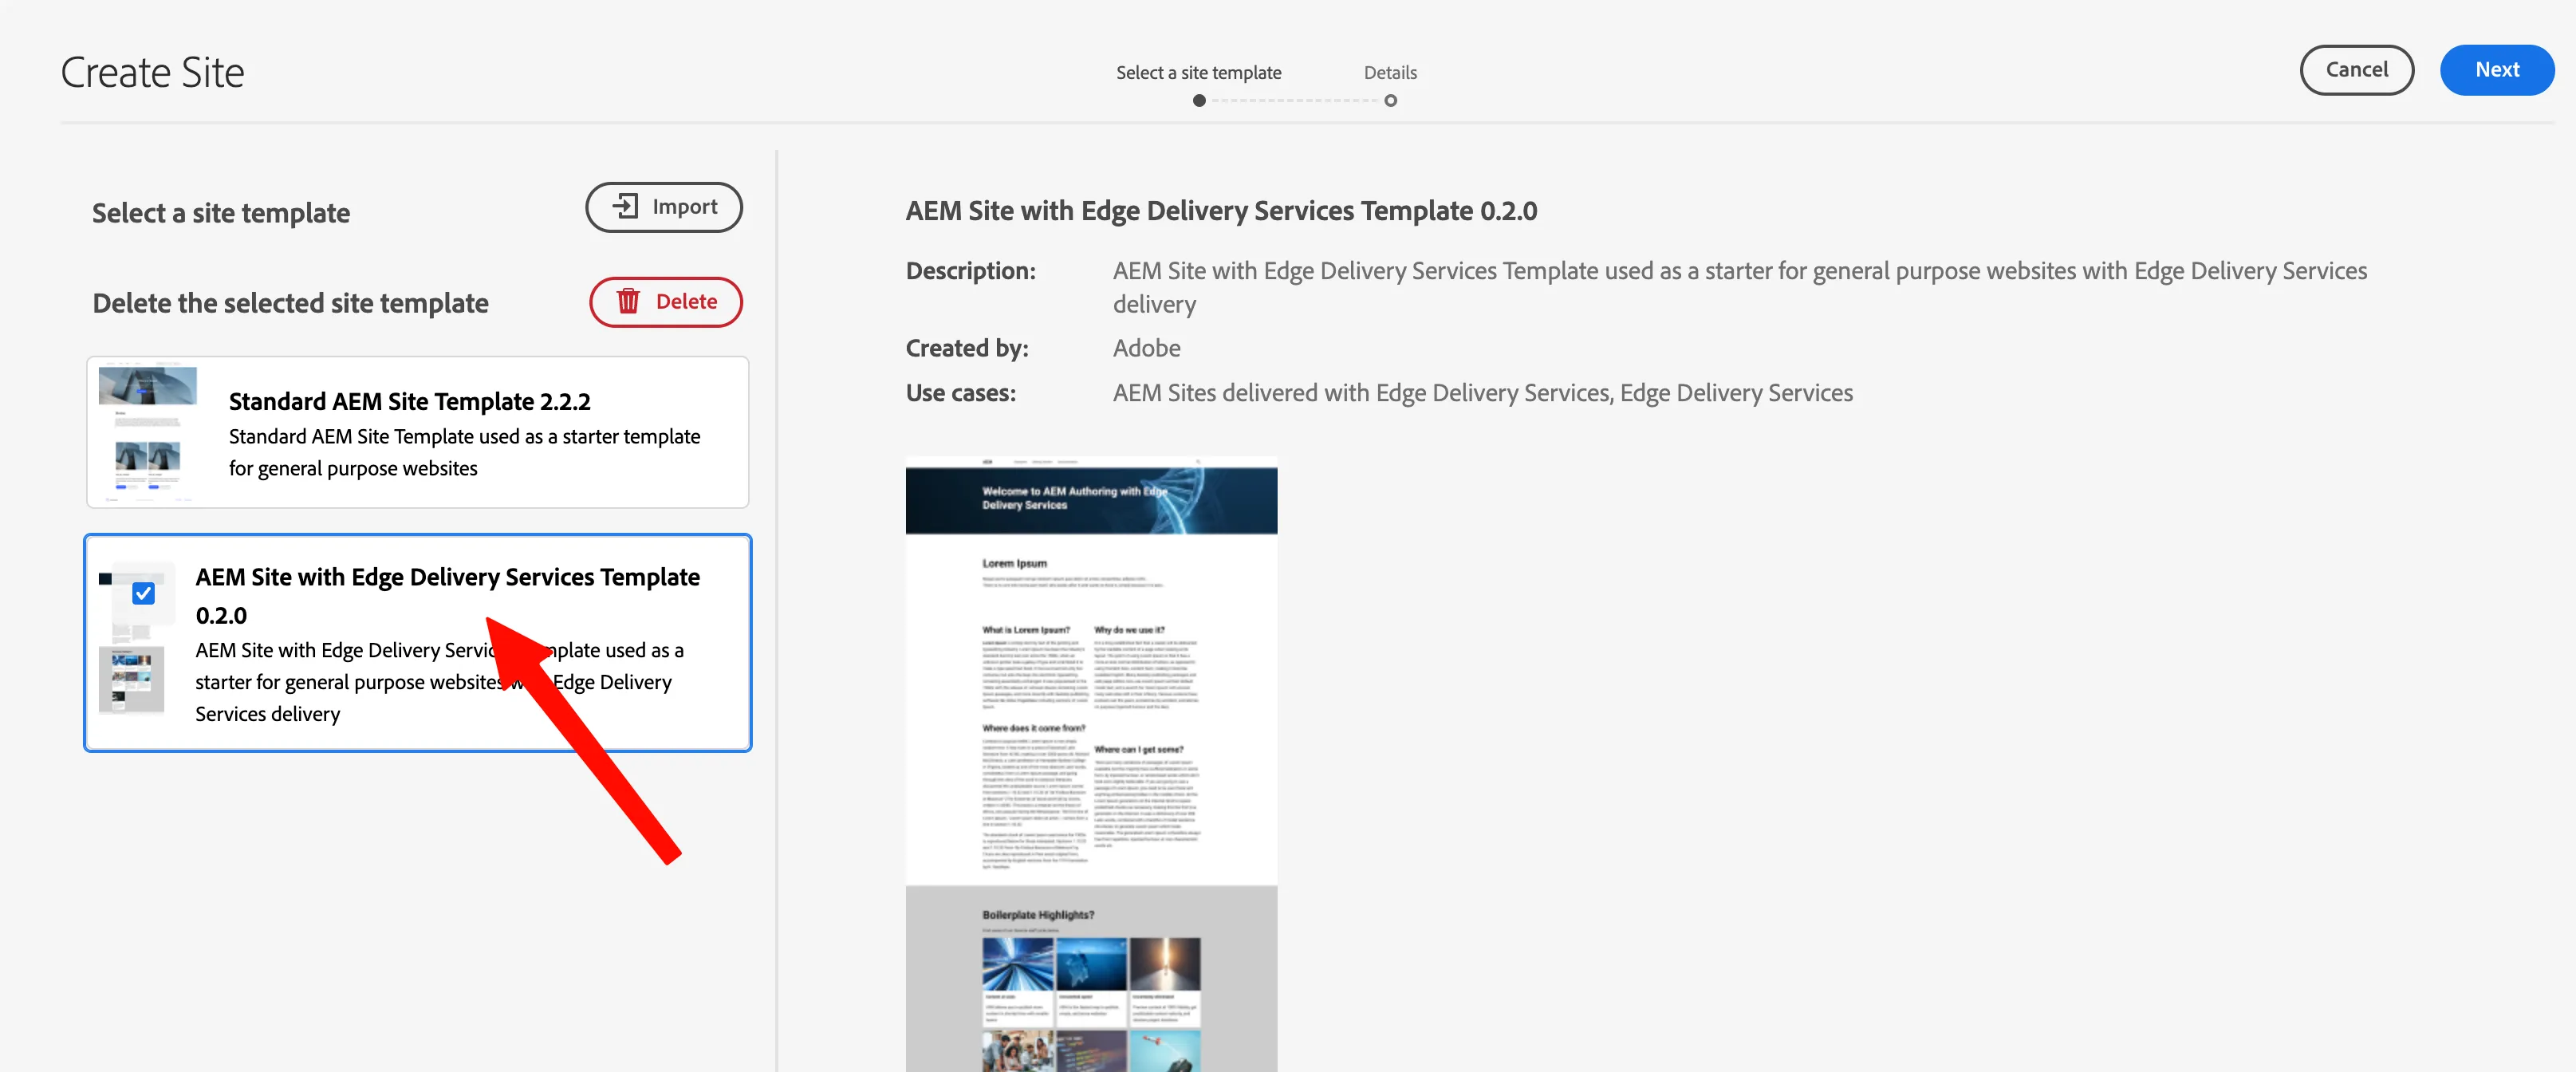
- Select the template, and click Next.
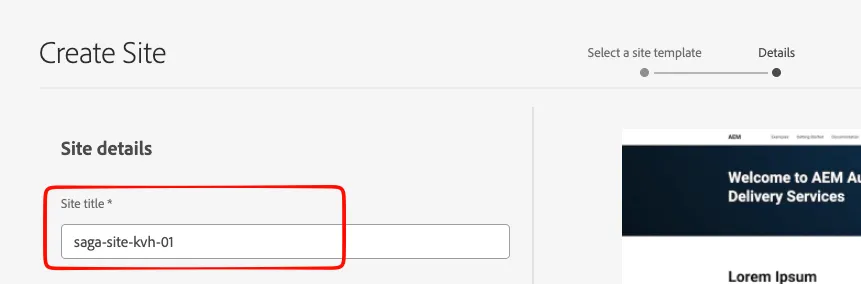
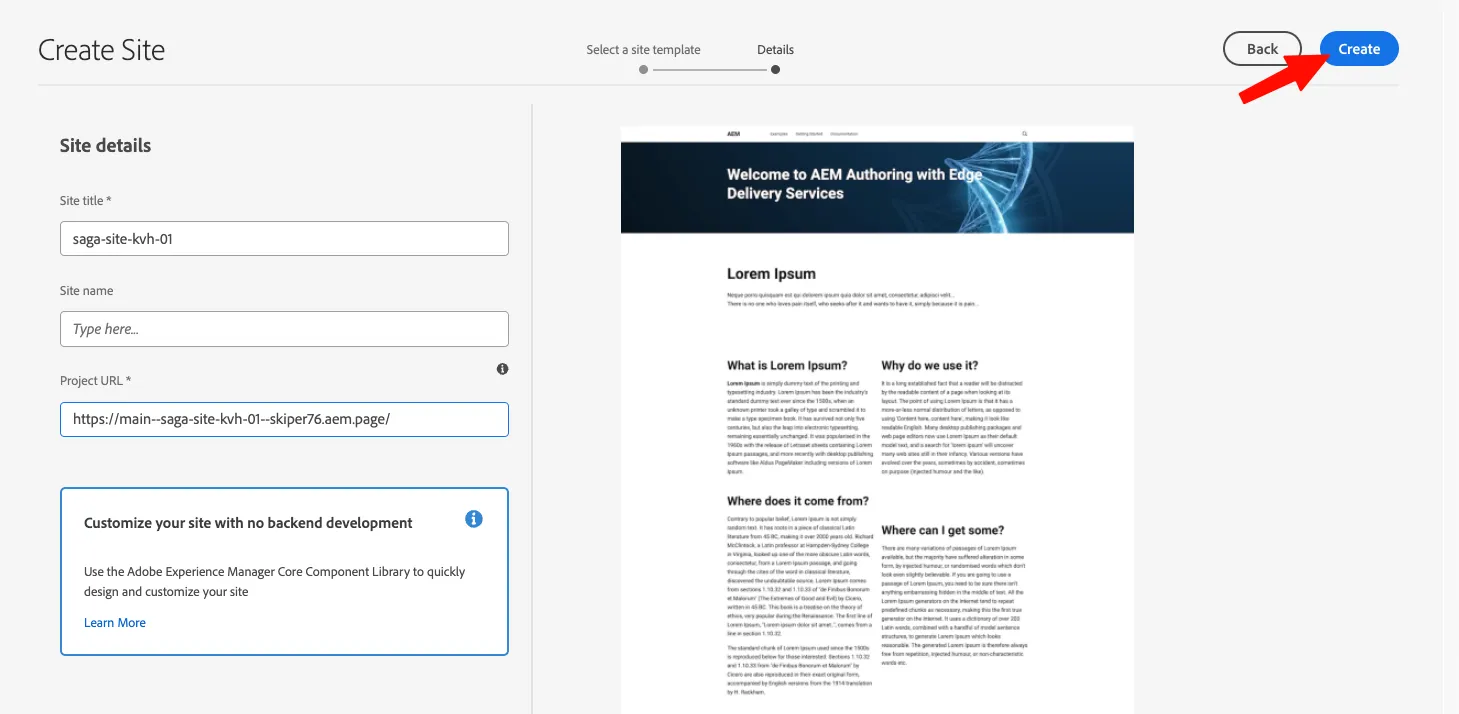
- Name the Site Title as sga-site-{CUSTOMER_NAME}}-{{USER_NUMBER}} :
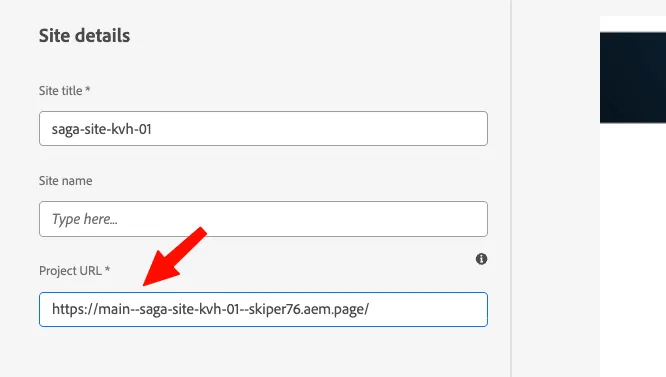
- Add the Project URL as the EDS Site link we copied previously:
- Click Create:
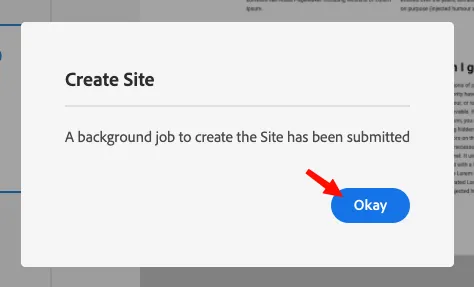
- AEM starts the site creation in the background. Click OK or Done to dismiss the confirmation dialog.
Step 4 — Set the technical account
The technical account is a unique, read-only account automatically generated for each AEM as a Cloud Service instance. You must configure its access control so that it has the privileges required to publish and read content from EDS.
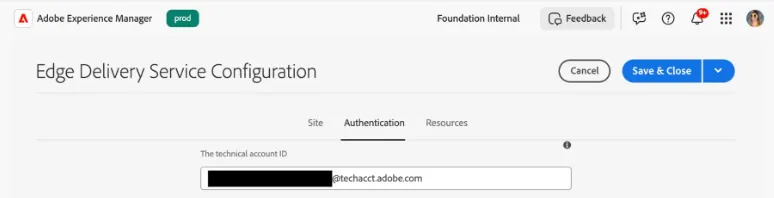
- Copy this Technical Account: [email protected]
This Technical account can be find in your AEM author instance in: Tools → Cloud Services → Edge Delivery Services Configuration → <yoursite> → Authentication tab:
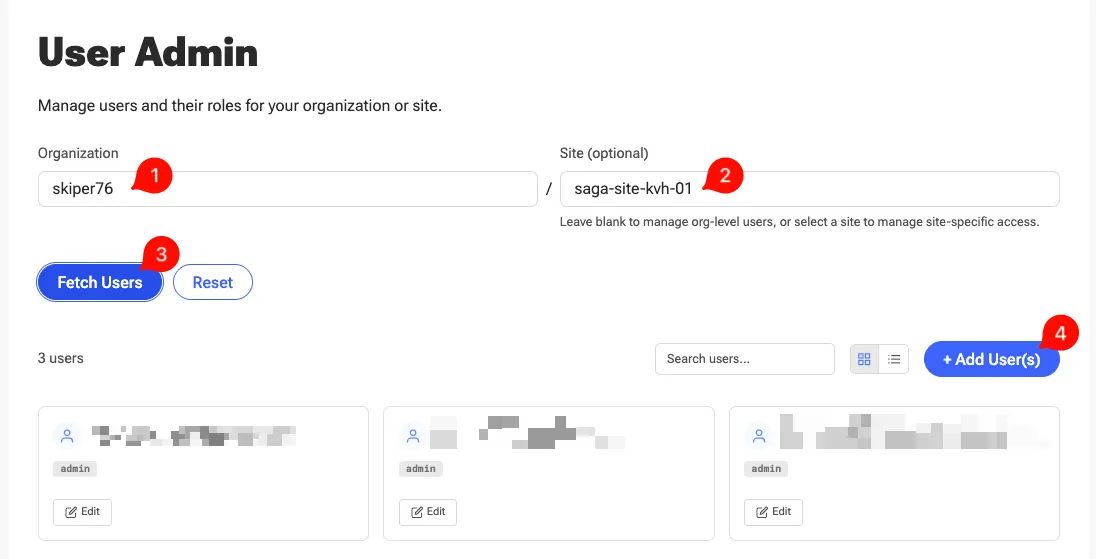
- Connect and click on Add User(s):
- (1) should be filled with your org (github account name)
- (2) should be filled with your site name (github repo name)
- (3) fetch actual users of your site
- (4) add a new user
If you get Error 403, be sure you are connected with the right account you provided access in Ex1.
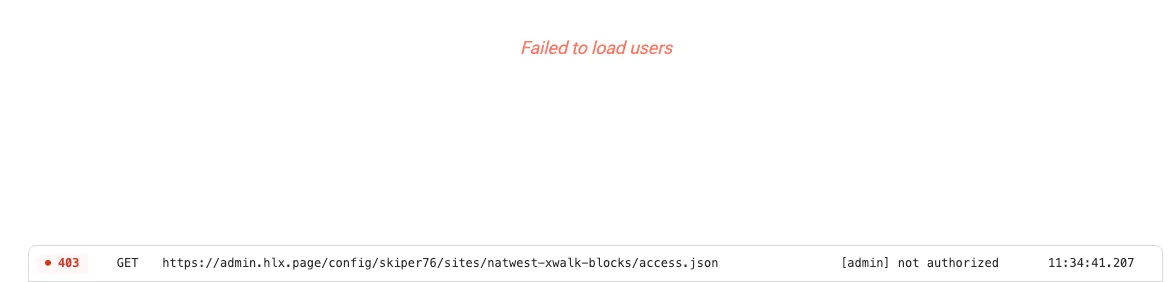
- Click Add User(s).
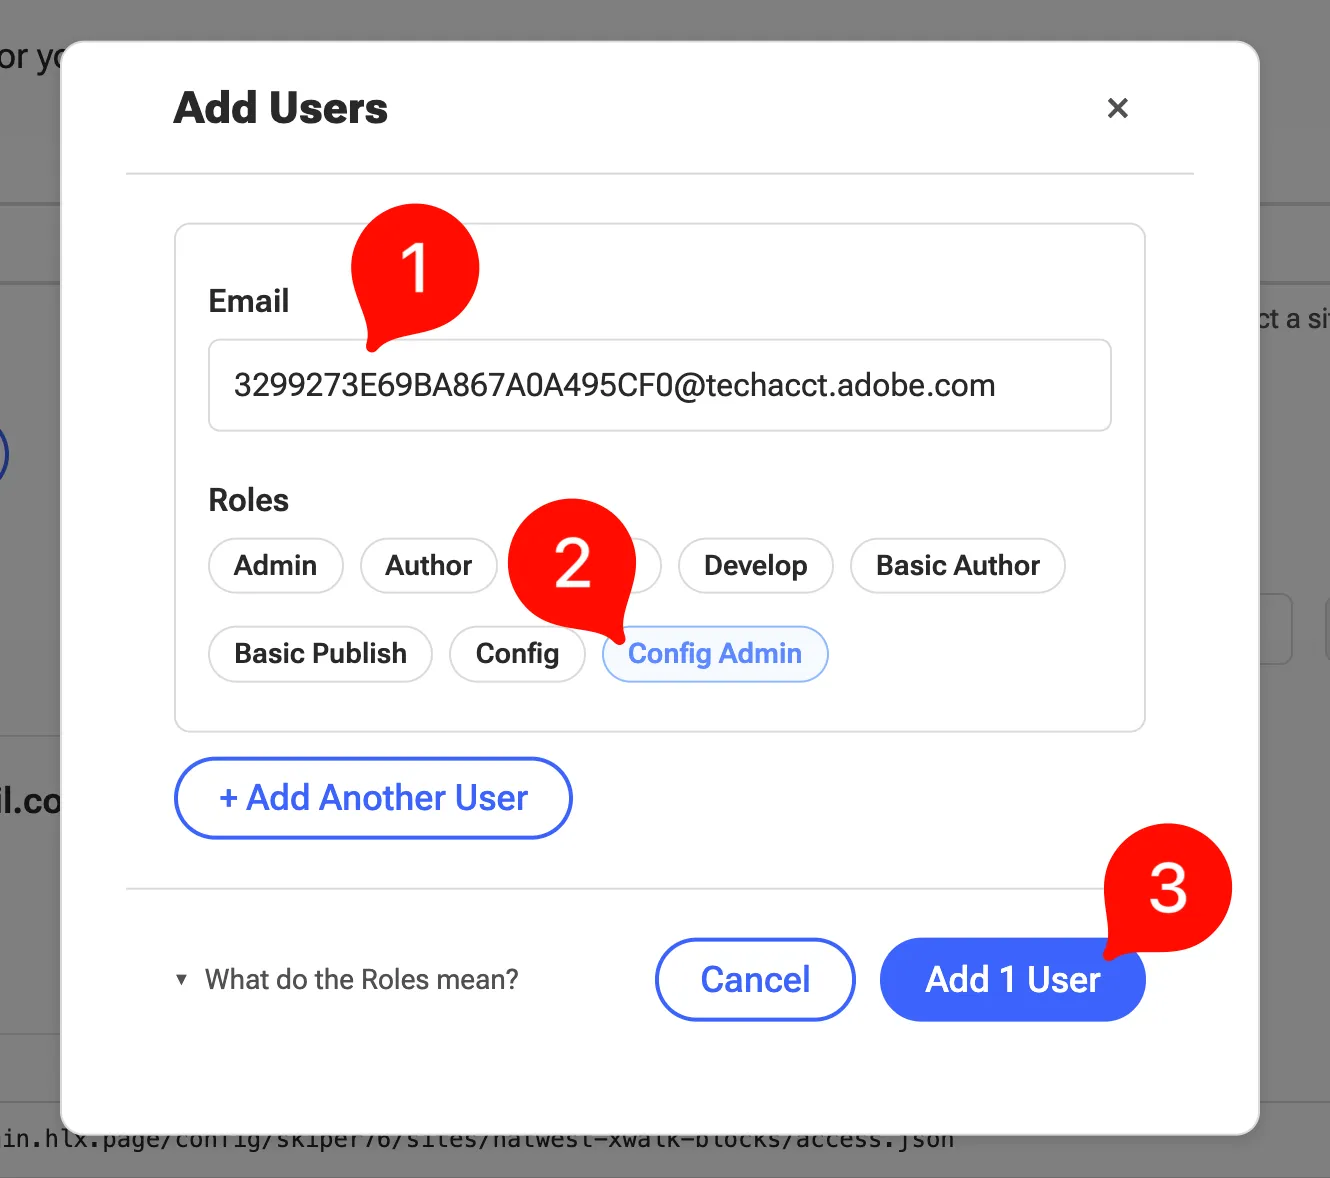
- Paste here the technical account email (1), add roles as Config Admin (2), and click Add 1 User (3).
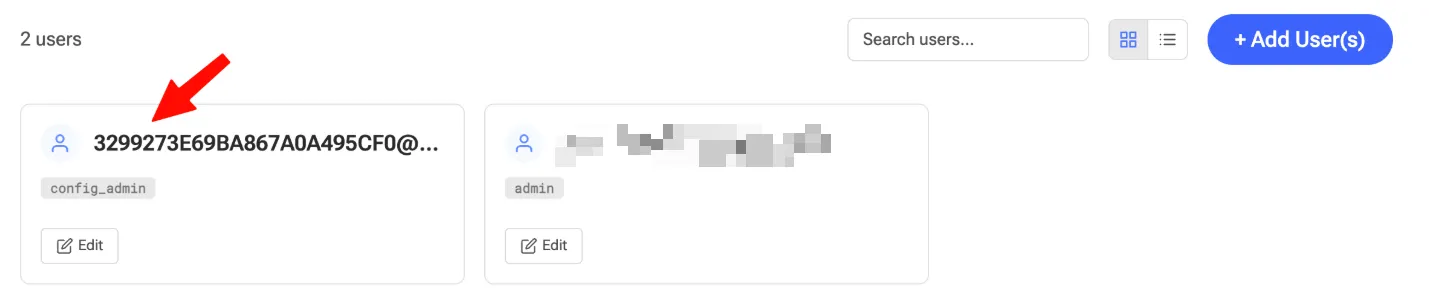
- Confirm that the Technical Account user is added as config_admin:
Step 5 — Verify the site was created
- In your Sites console, you will see your site created: (click here if you are not on this page)
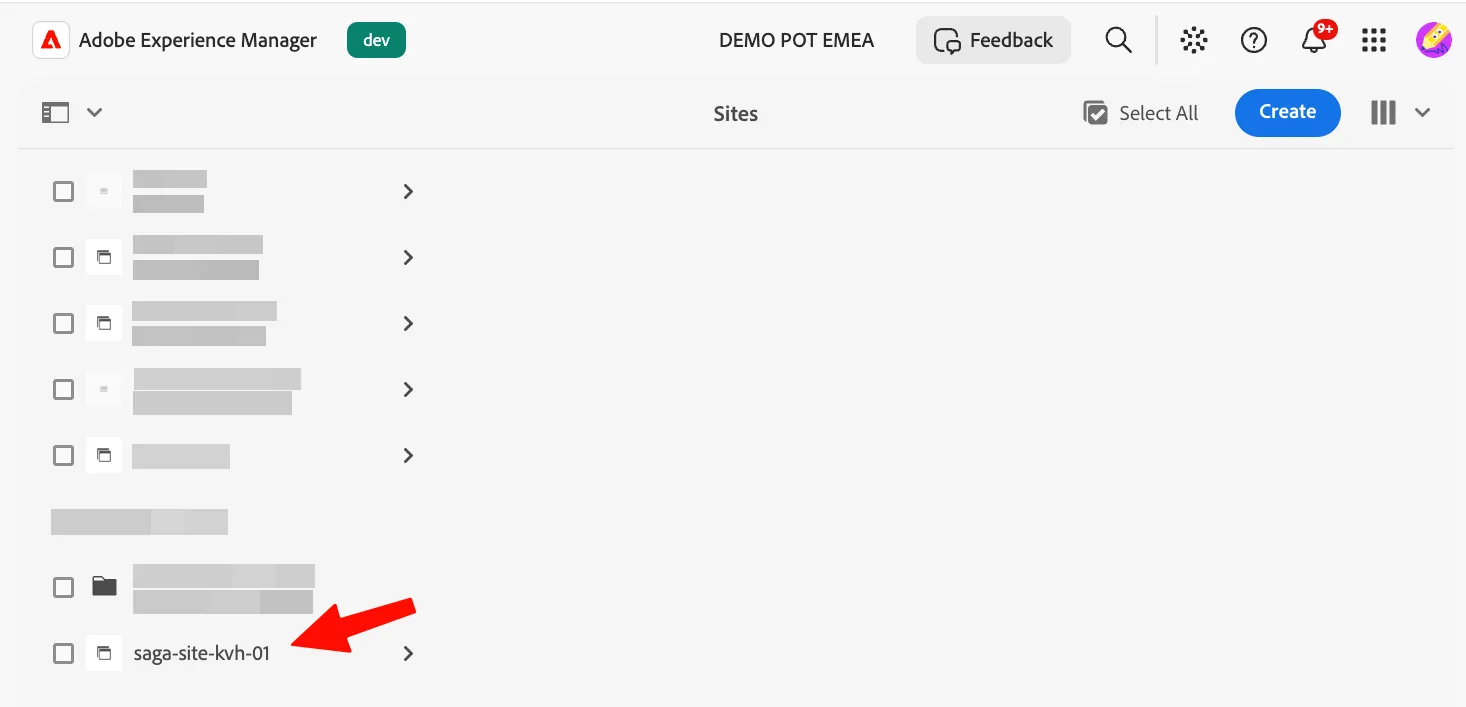
- Open the site structure, by clicking on it:
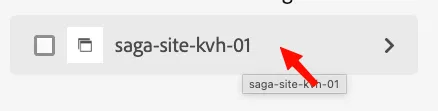
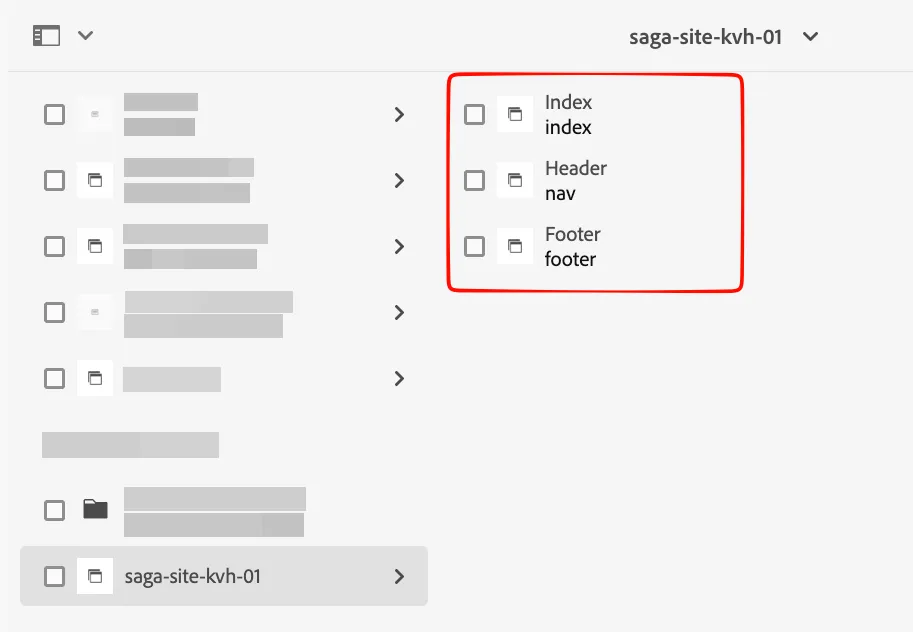
- You will see that you already have an Index, Header, and Footer page:
- Select the index page (1), then click on Edit (2):
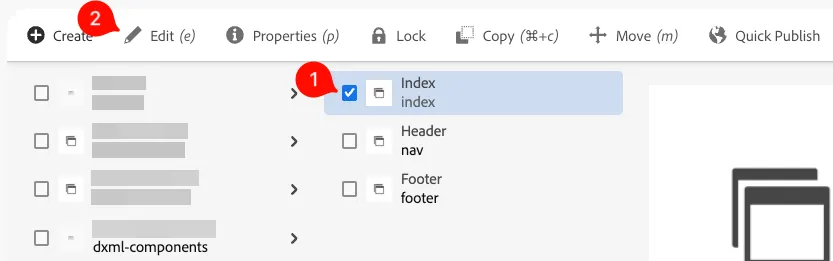
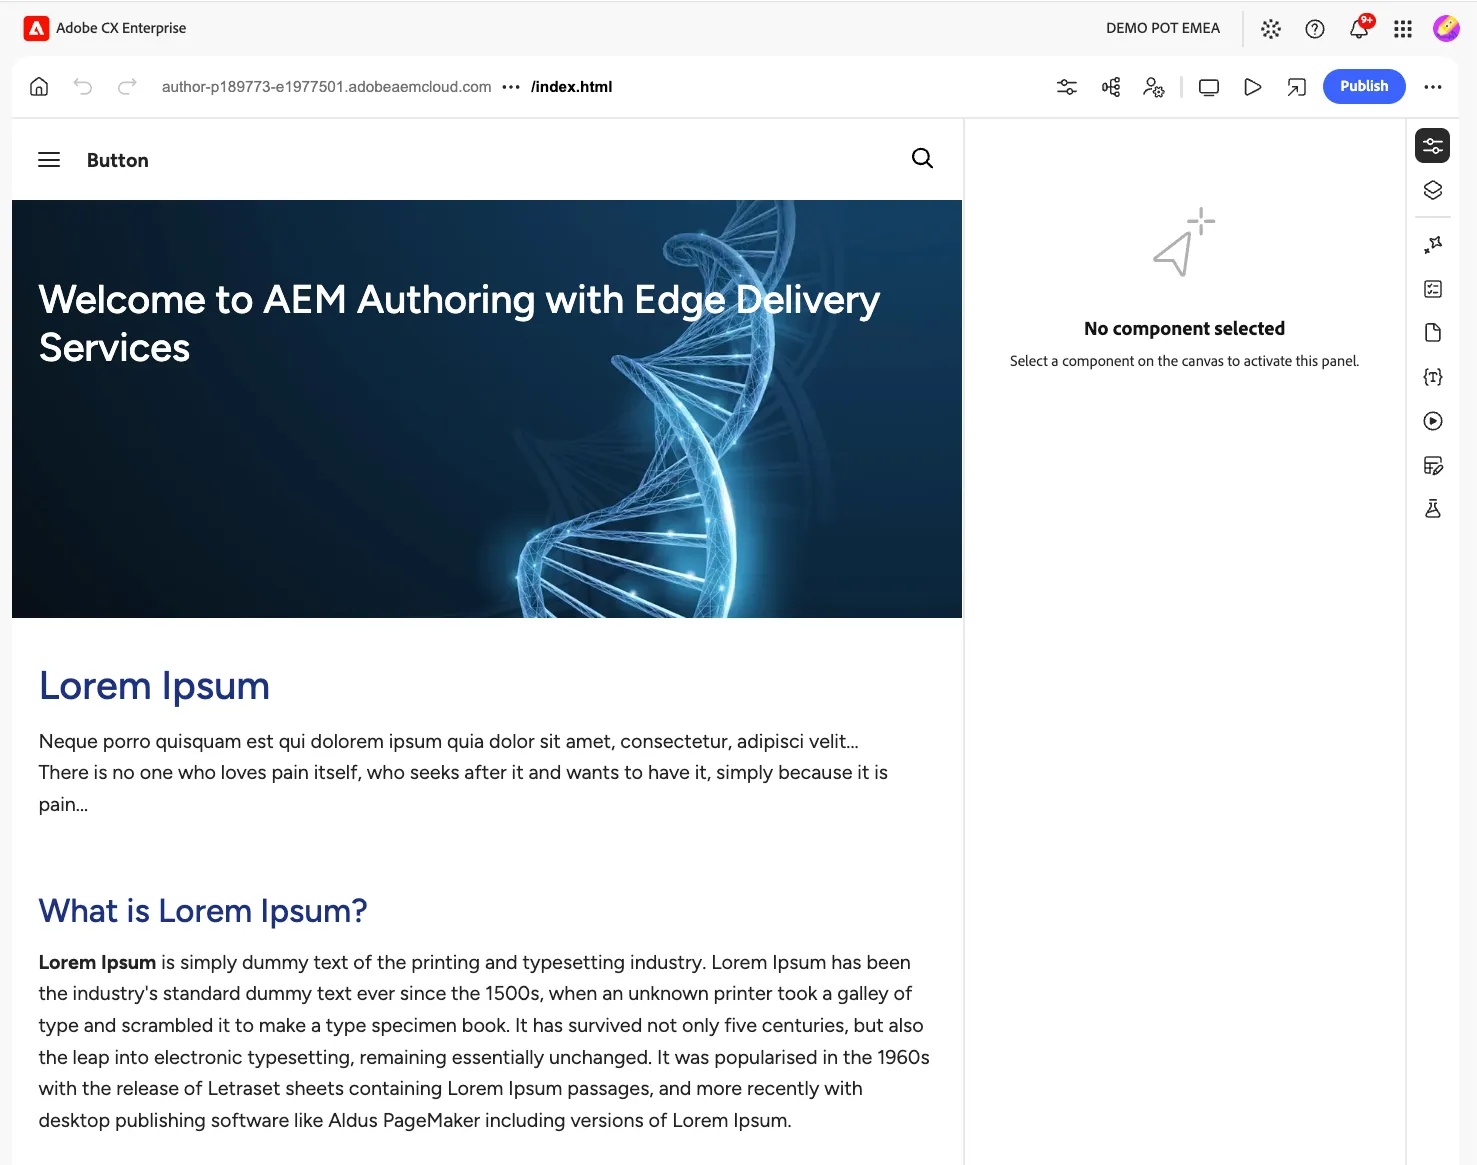
This will open the Universal Editor to edit our page.
- Take a look at the current state of the site, we have created our site using a basic template:
What you accomplished
You have completed the setup foundation for Getting Started with Custom Blocks:
- prepared a GitHub-based Edge Delivery Services project
- connected the project to AEM authoring
- created a new AEM site for Universal Editor authoring
Next section
The next step is to define the custom block so authors can add it in the Universal Editor and populate it with content.