Ex2: Prompt Content Changes
Here's the setup: We've pre-provisioned a GitHub repository and pre-imported the WKND Adventures homepage into the Experience Modernization Console. This means you can jump straight into tasks like content adaptation, design refinement, and scaling. Later in the lab, you'll see how that initial import happens using a browser-native agent.
In this chapter, you'll ask the agent to make some content changes to the homepage hero block through a natural-language prompt. After which, you'll peek at the content structure and deploy the changes to AEM so authors and visitors get the same update.
Step 1 — Send the prompt
Let's start by prompting for a content update of the homepage hero block.
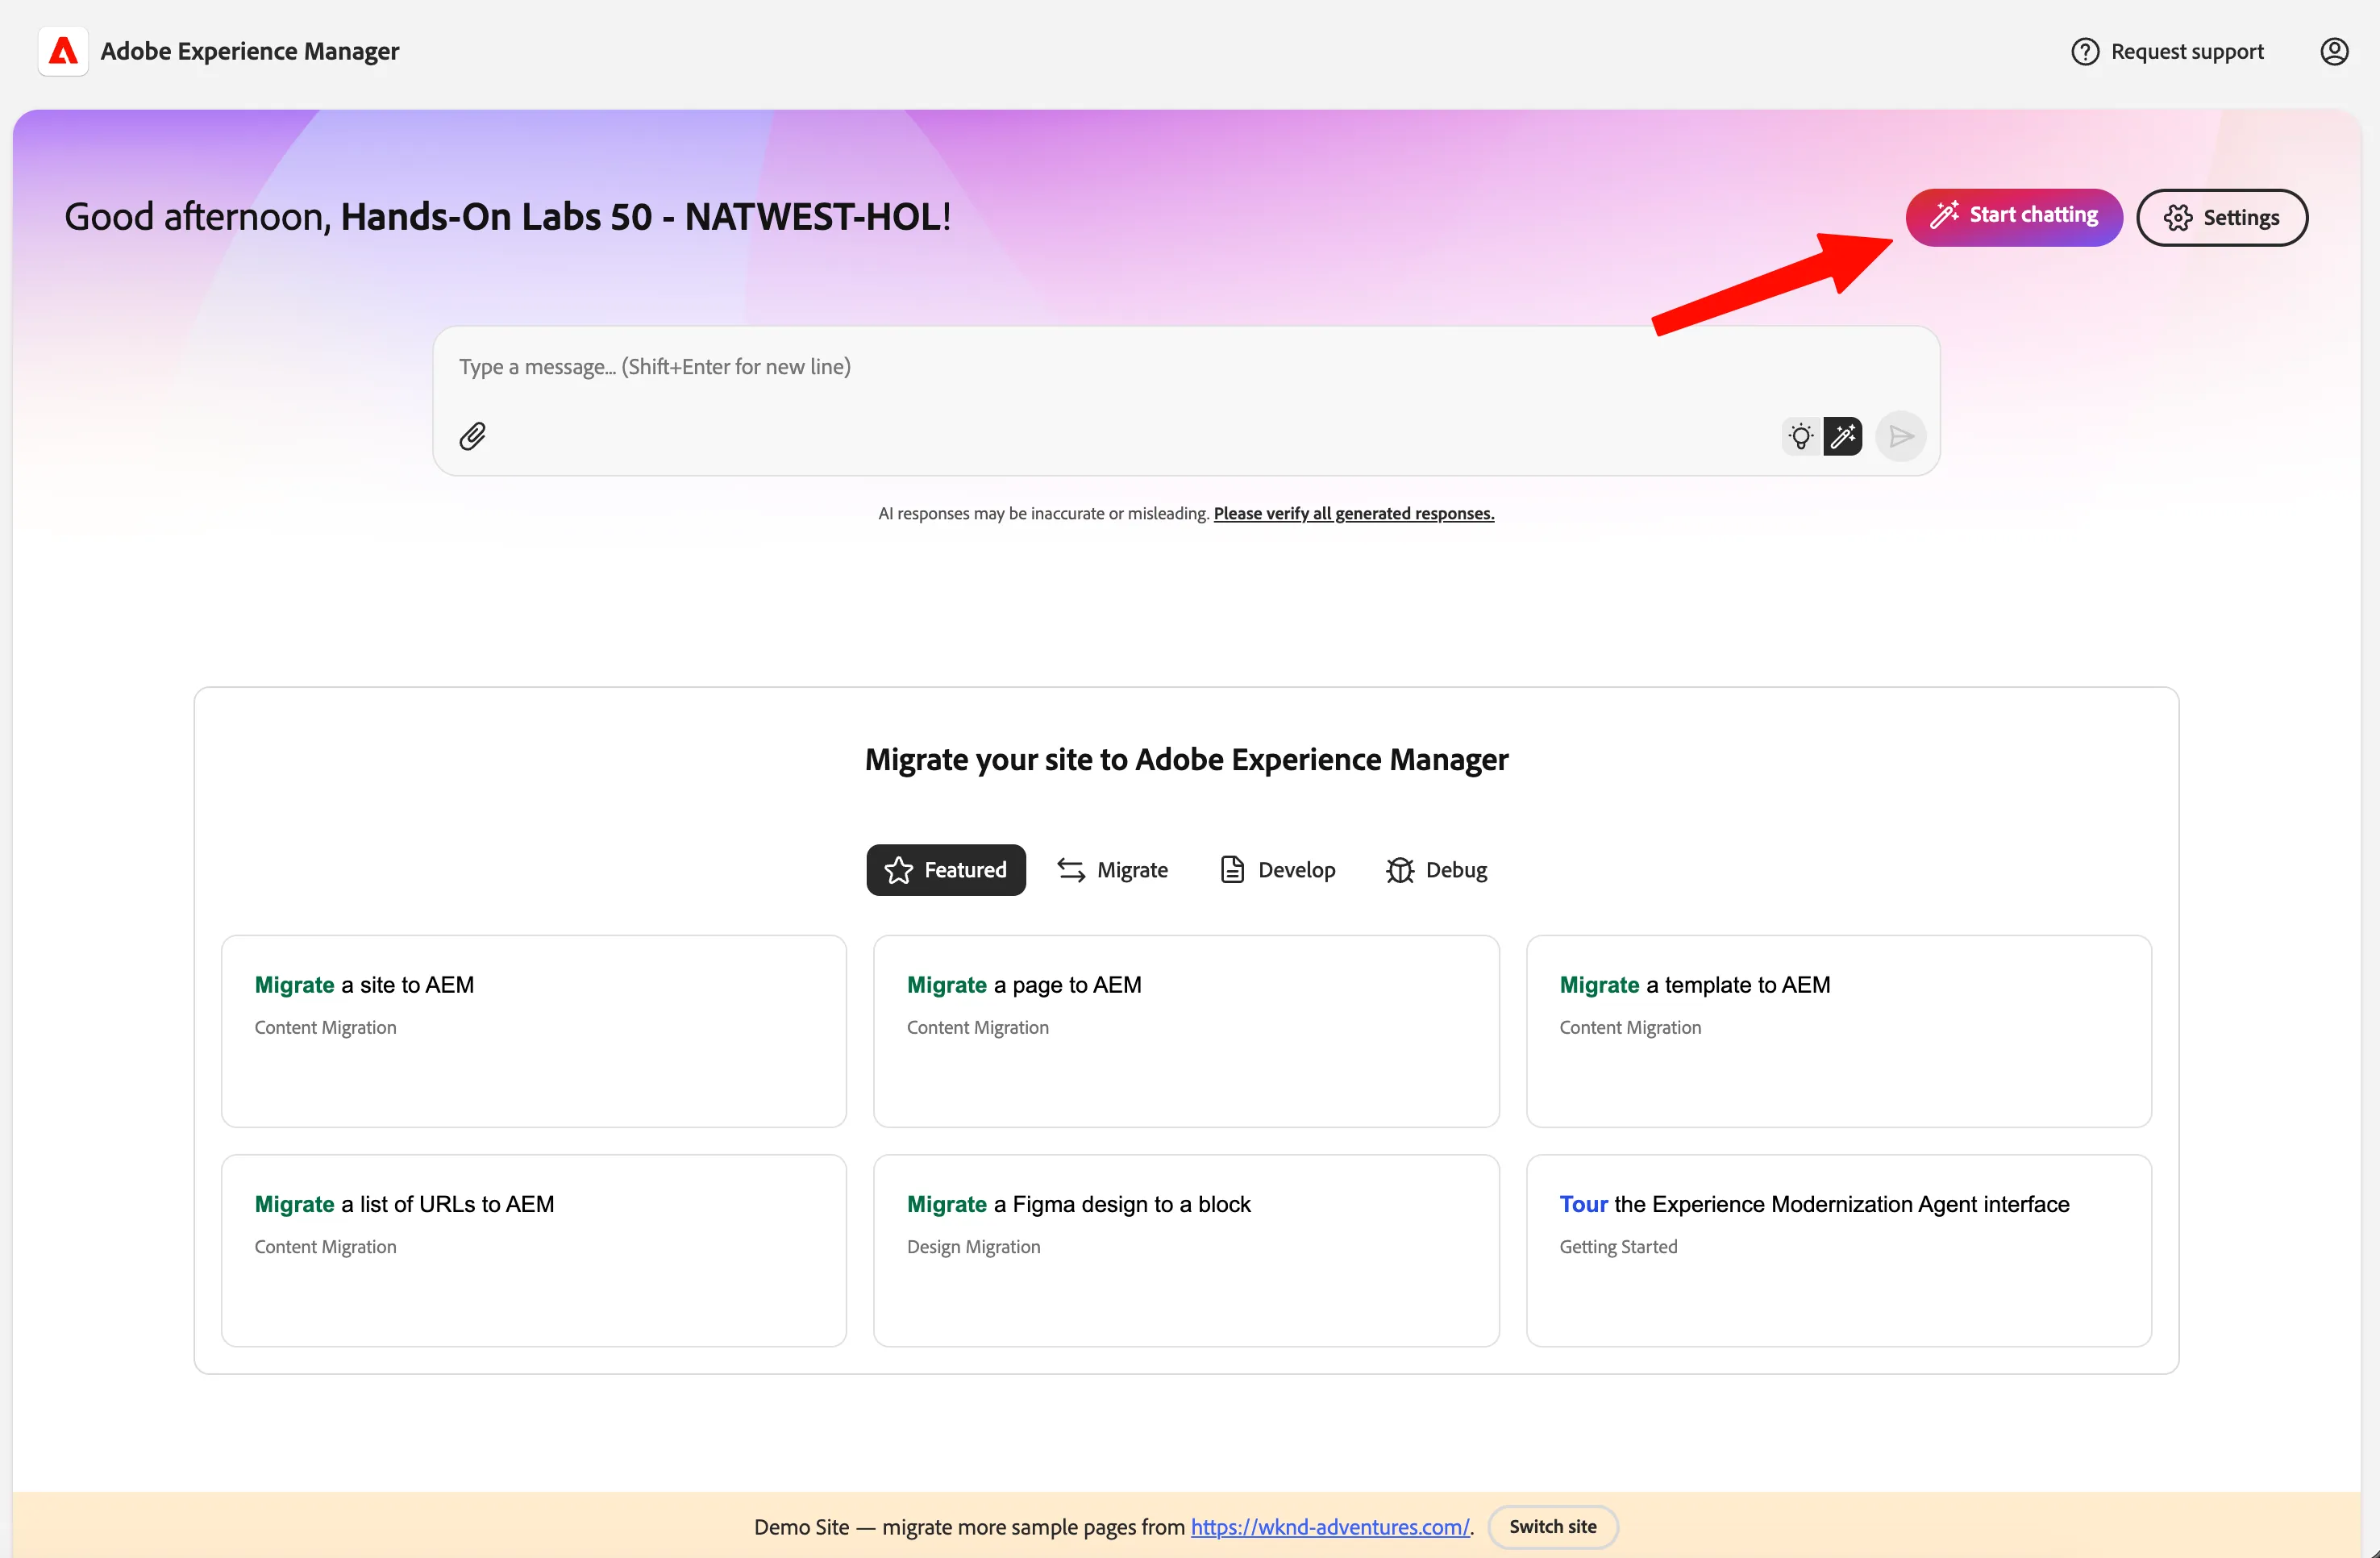
- Go to the aemcoder.adobe.io tab.
- Click on Start Chatting:
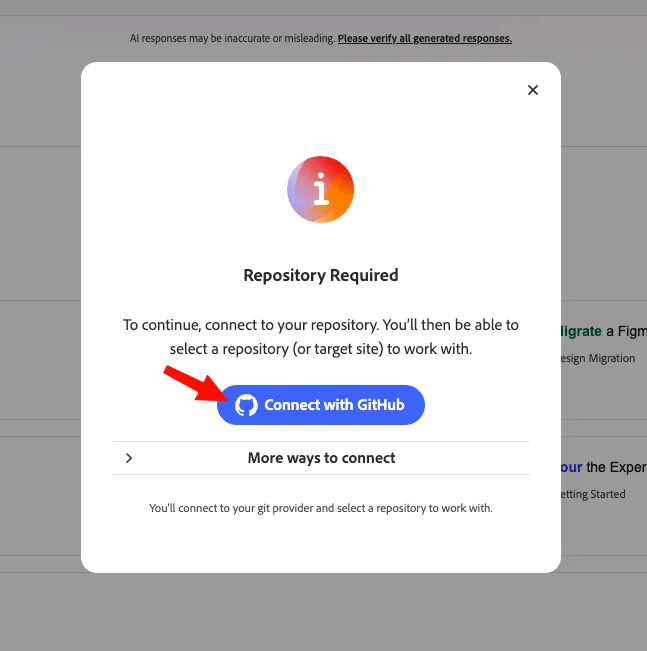
- Connect with your GitHub account
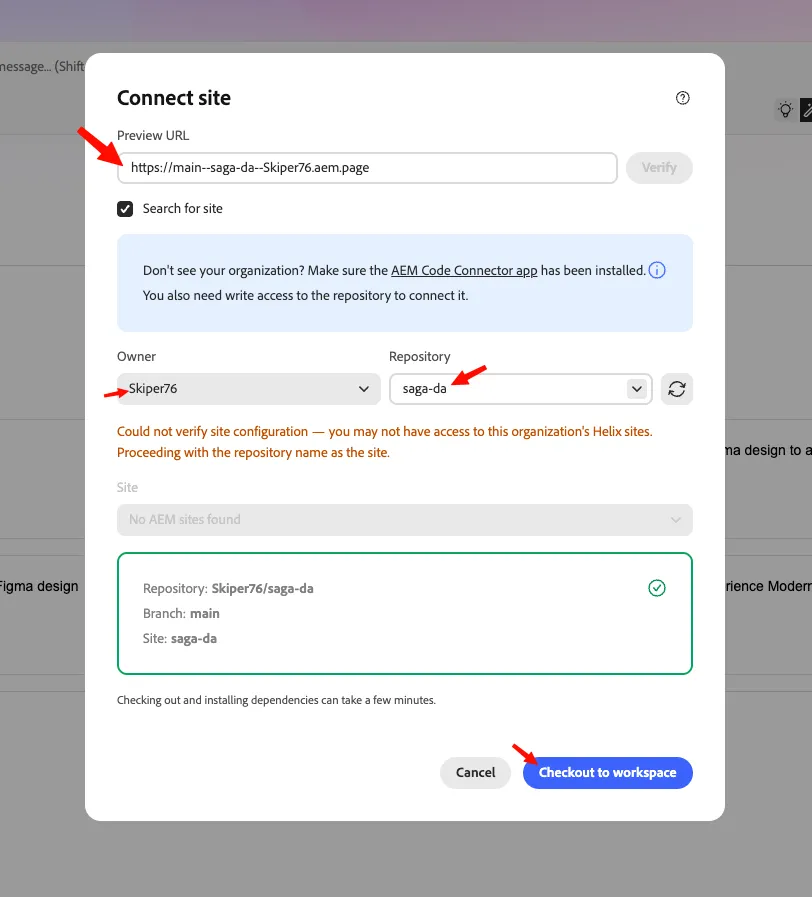
- Select our Project:
- On the top right, select the tool called "Element Inspector":

- Then select our hero element (this gives AI more context), above the chat text area, you should see a context bubble with the label "div: hero":
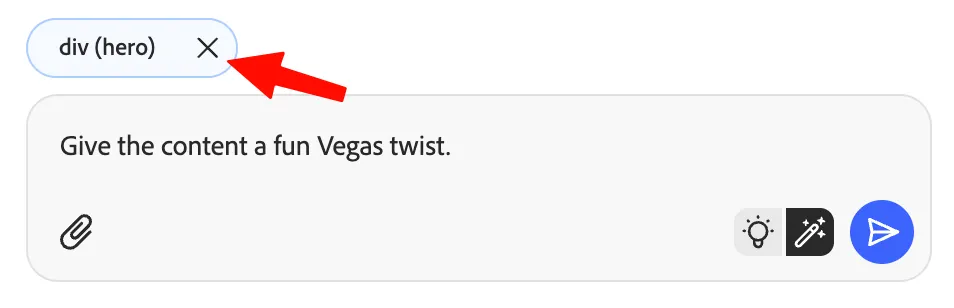
This will tell the agent which part of the page you're focusing on in your next prompt.
- Type this prompt:
Give the content a fun Vegas twist.
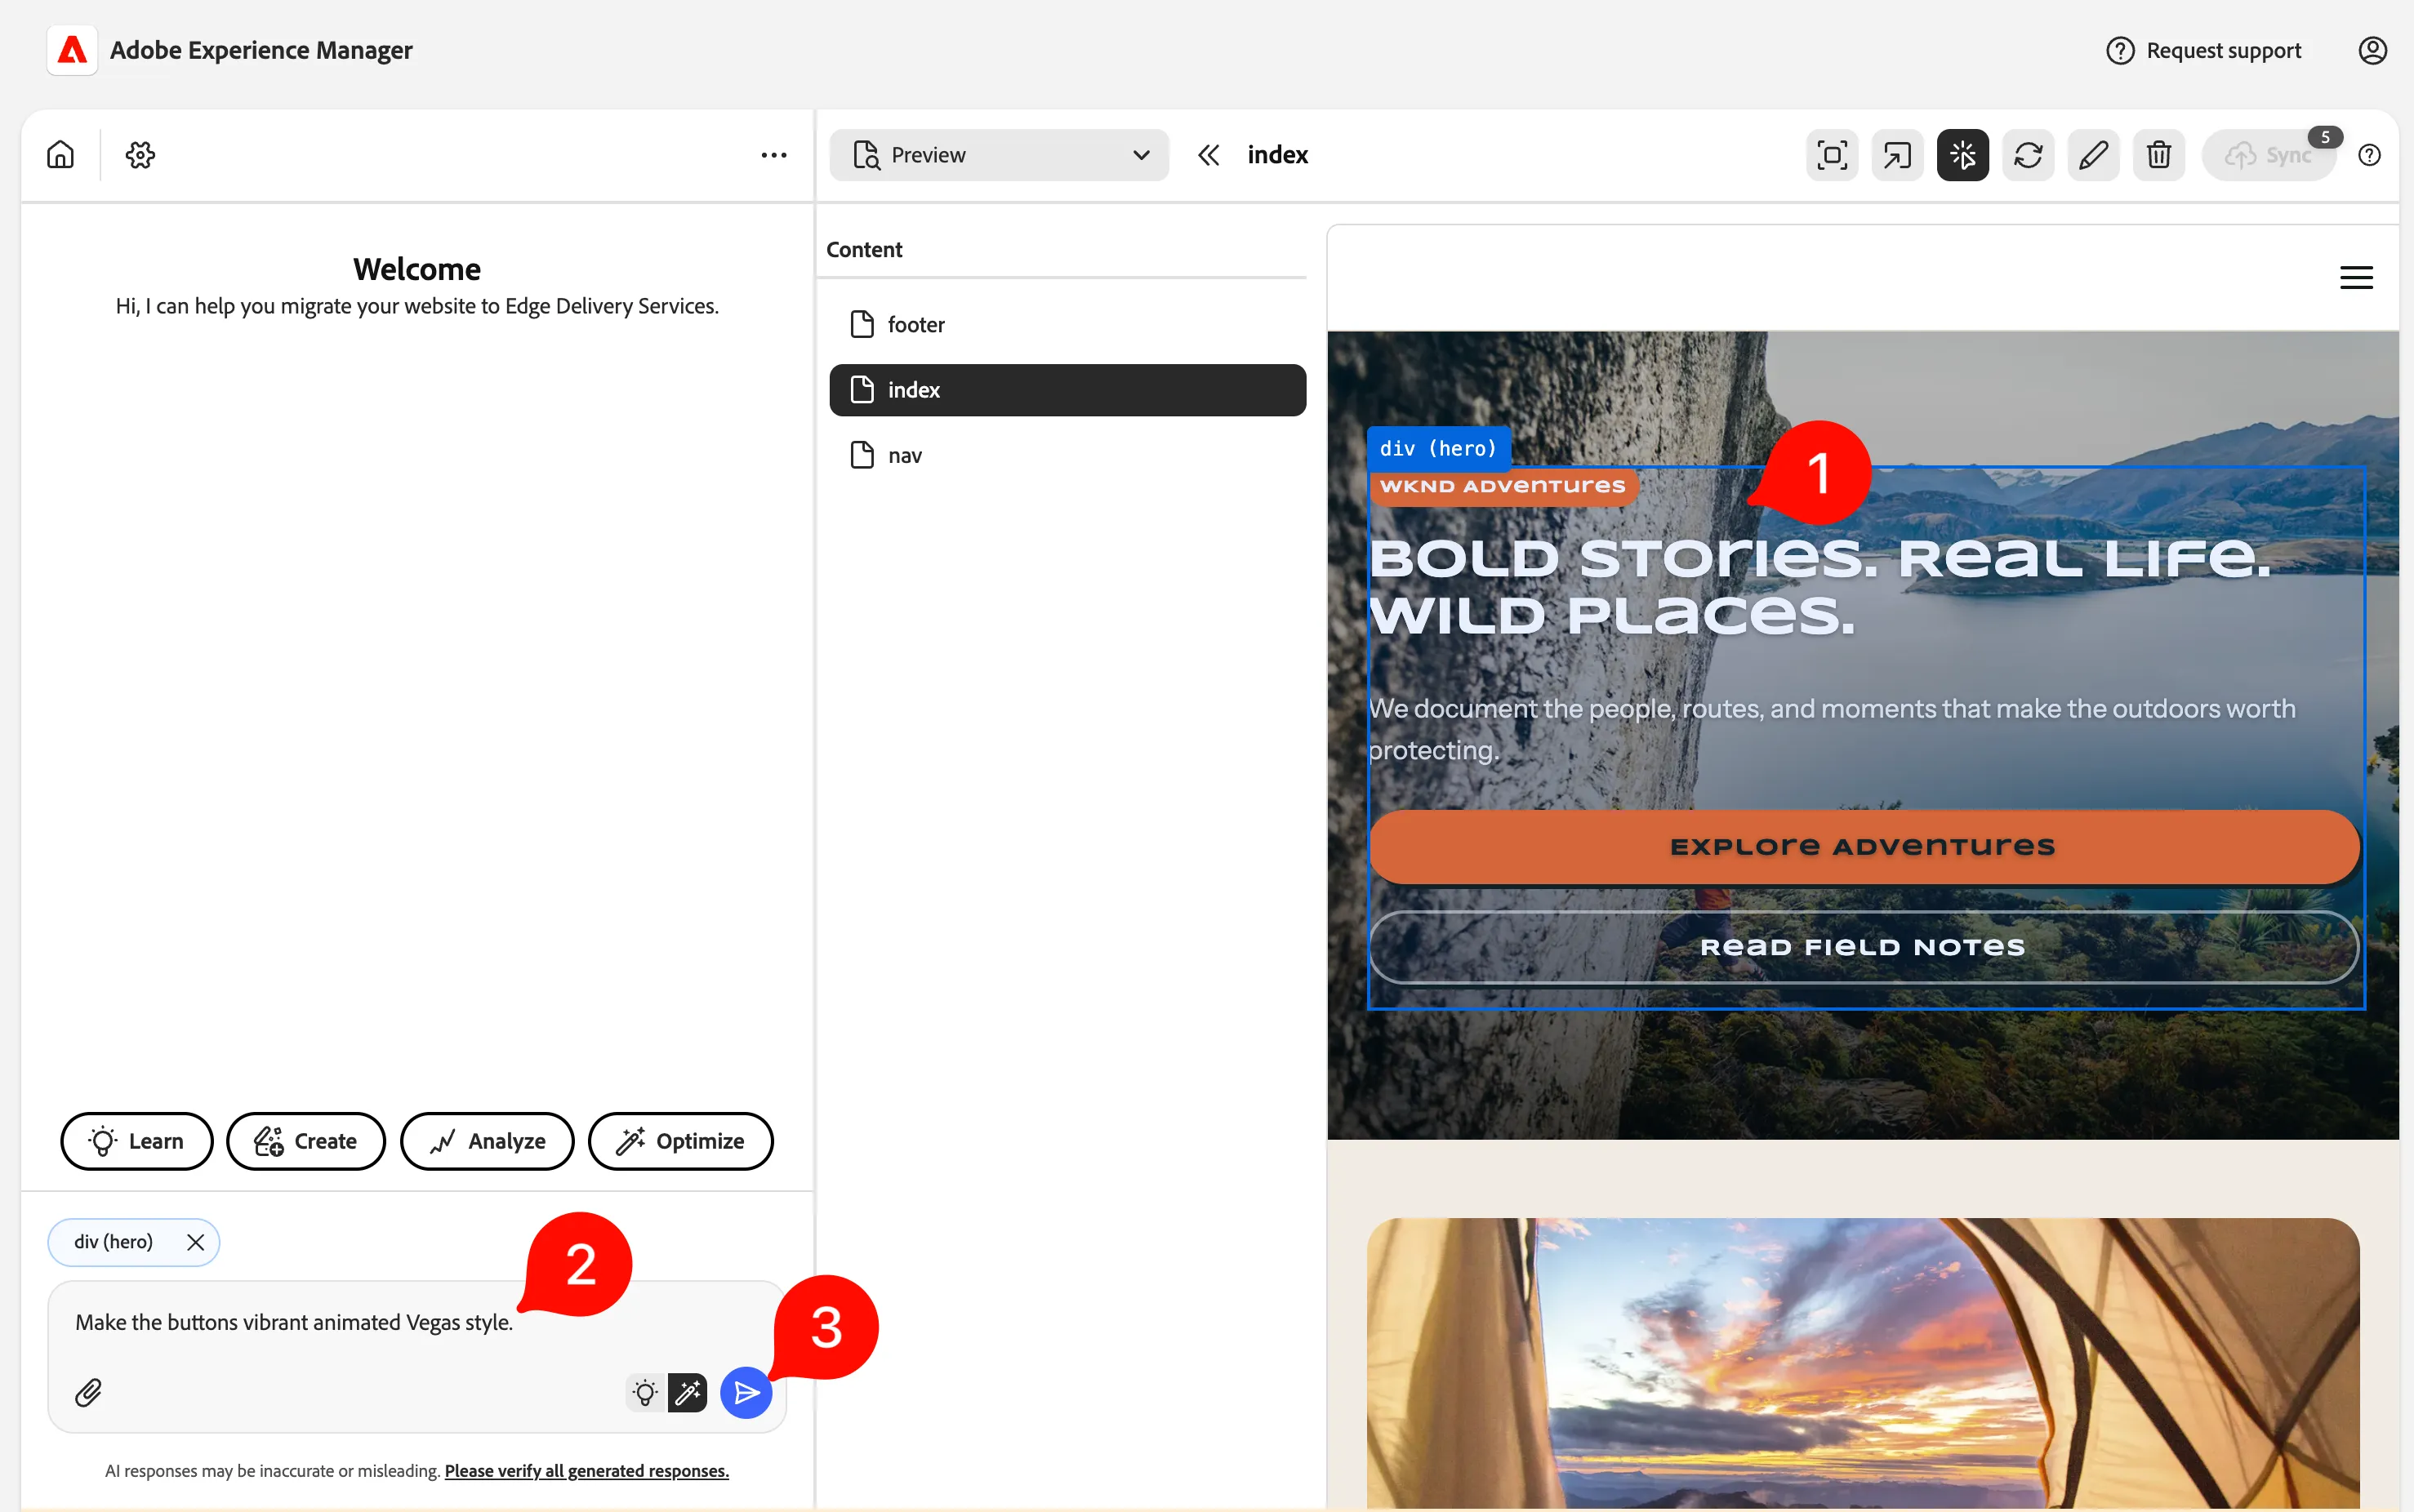
- Wait for the Agent to make the magic happen; it usually takes 1- 2 minutes:
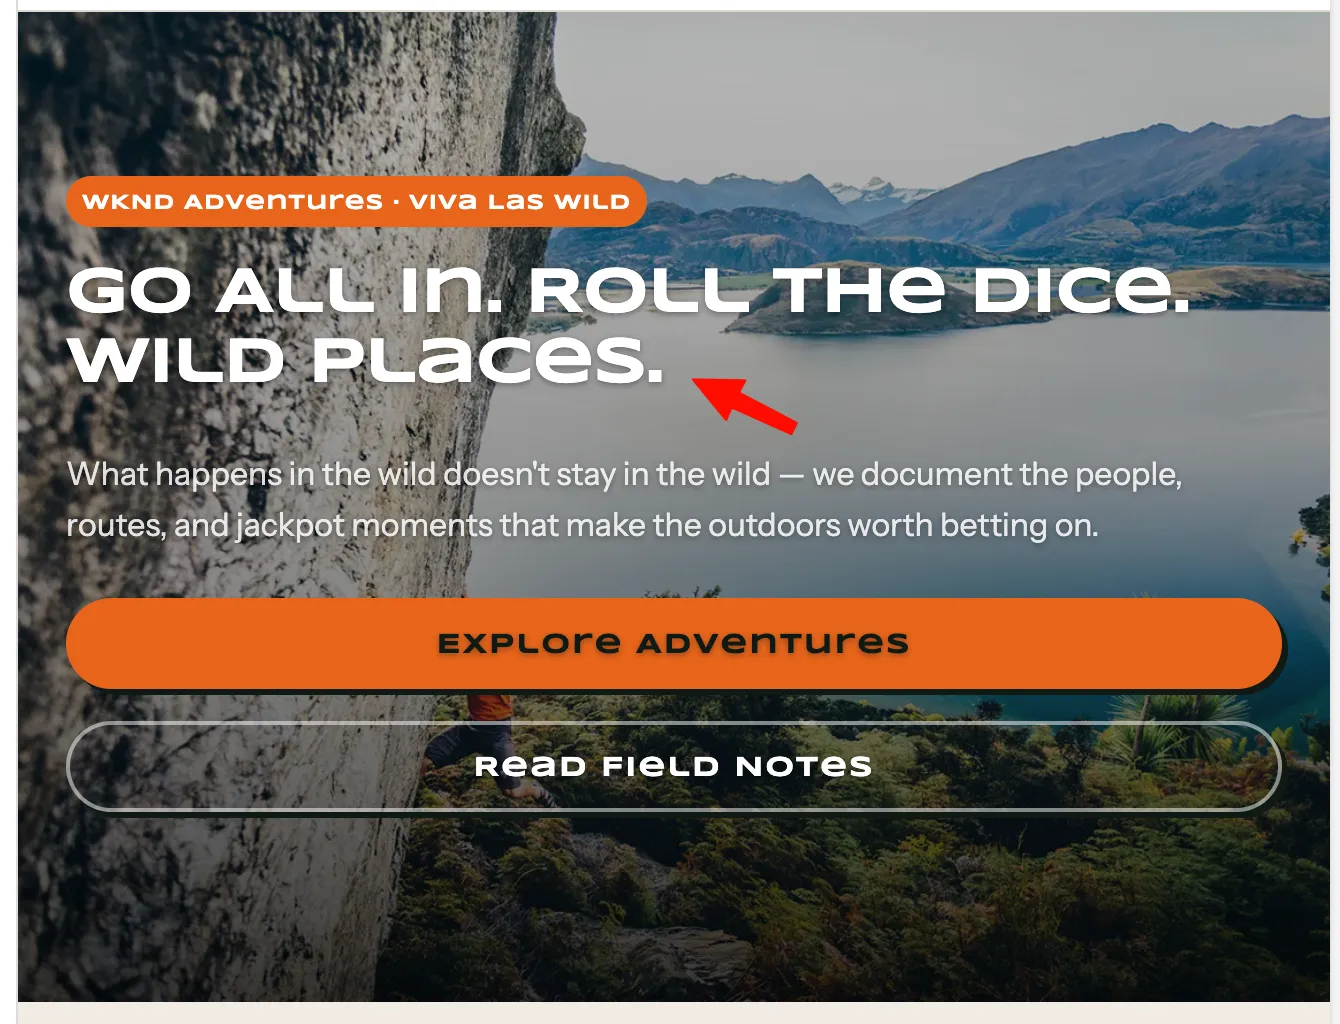
- When the agent finishes:
- You should see the updated content directly in the preview.
- You'll see a message from the Modernization Agent with a summary of what it modified.
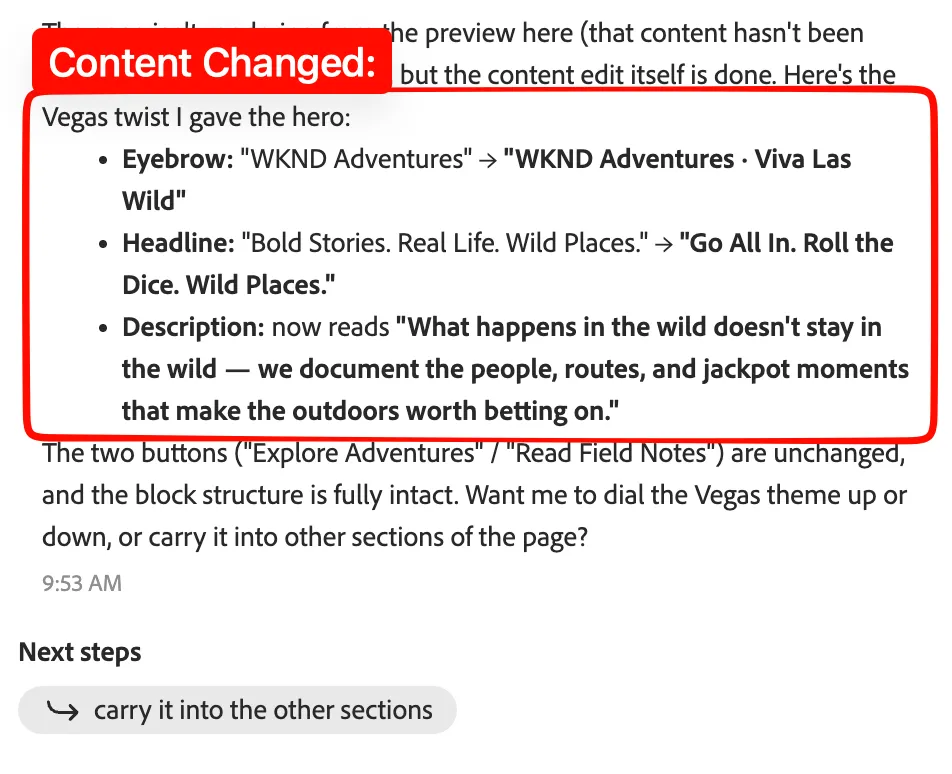
Step 2 — Inspect the content structure
Before you deploy the changes, let's peek at how the content is structured.
- In the top toolbar (1), switch from "Preview" to "Document view" (2).
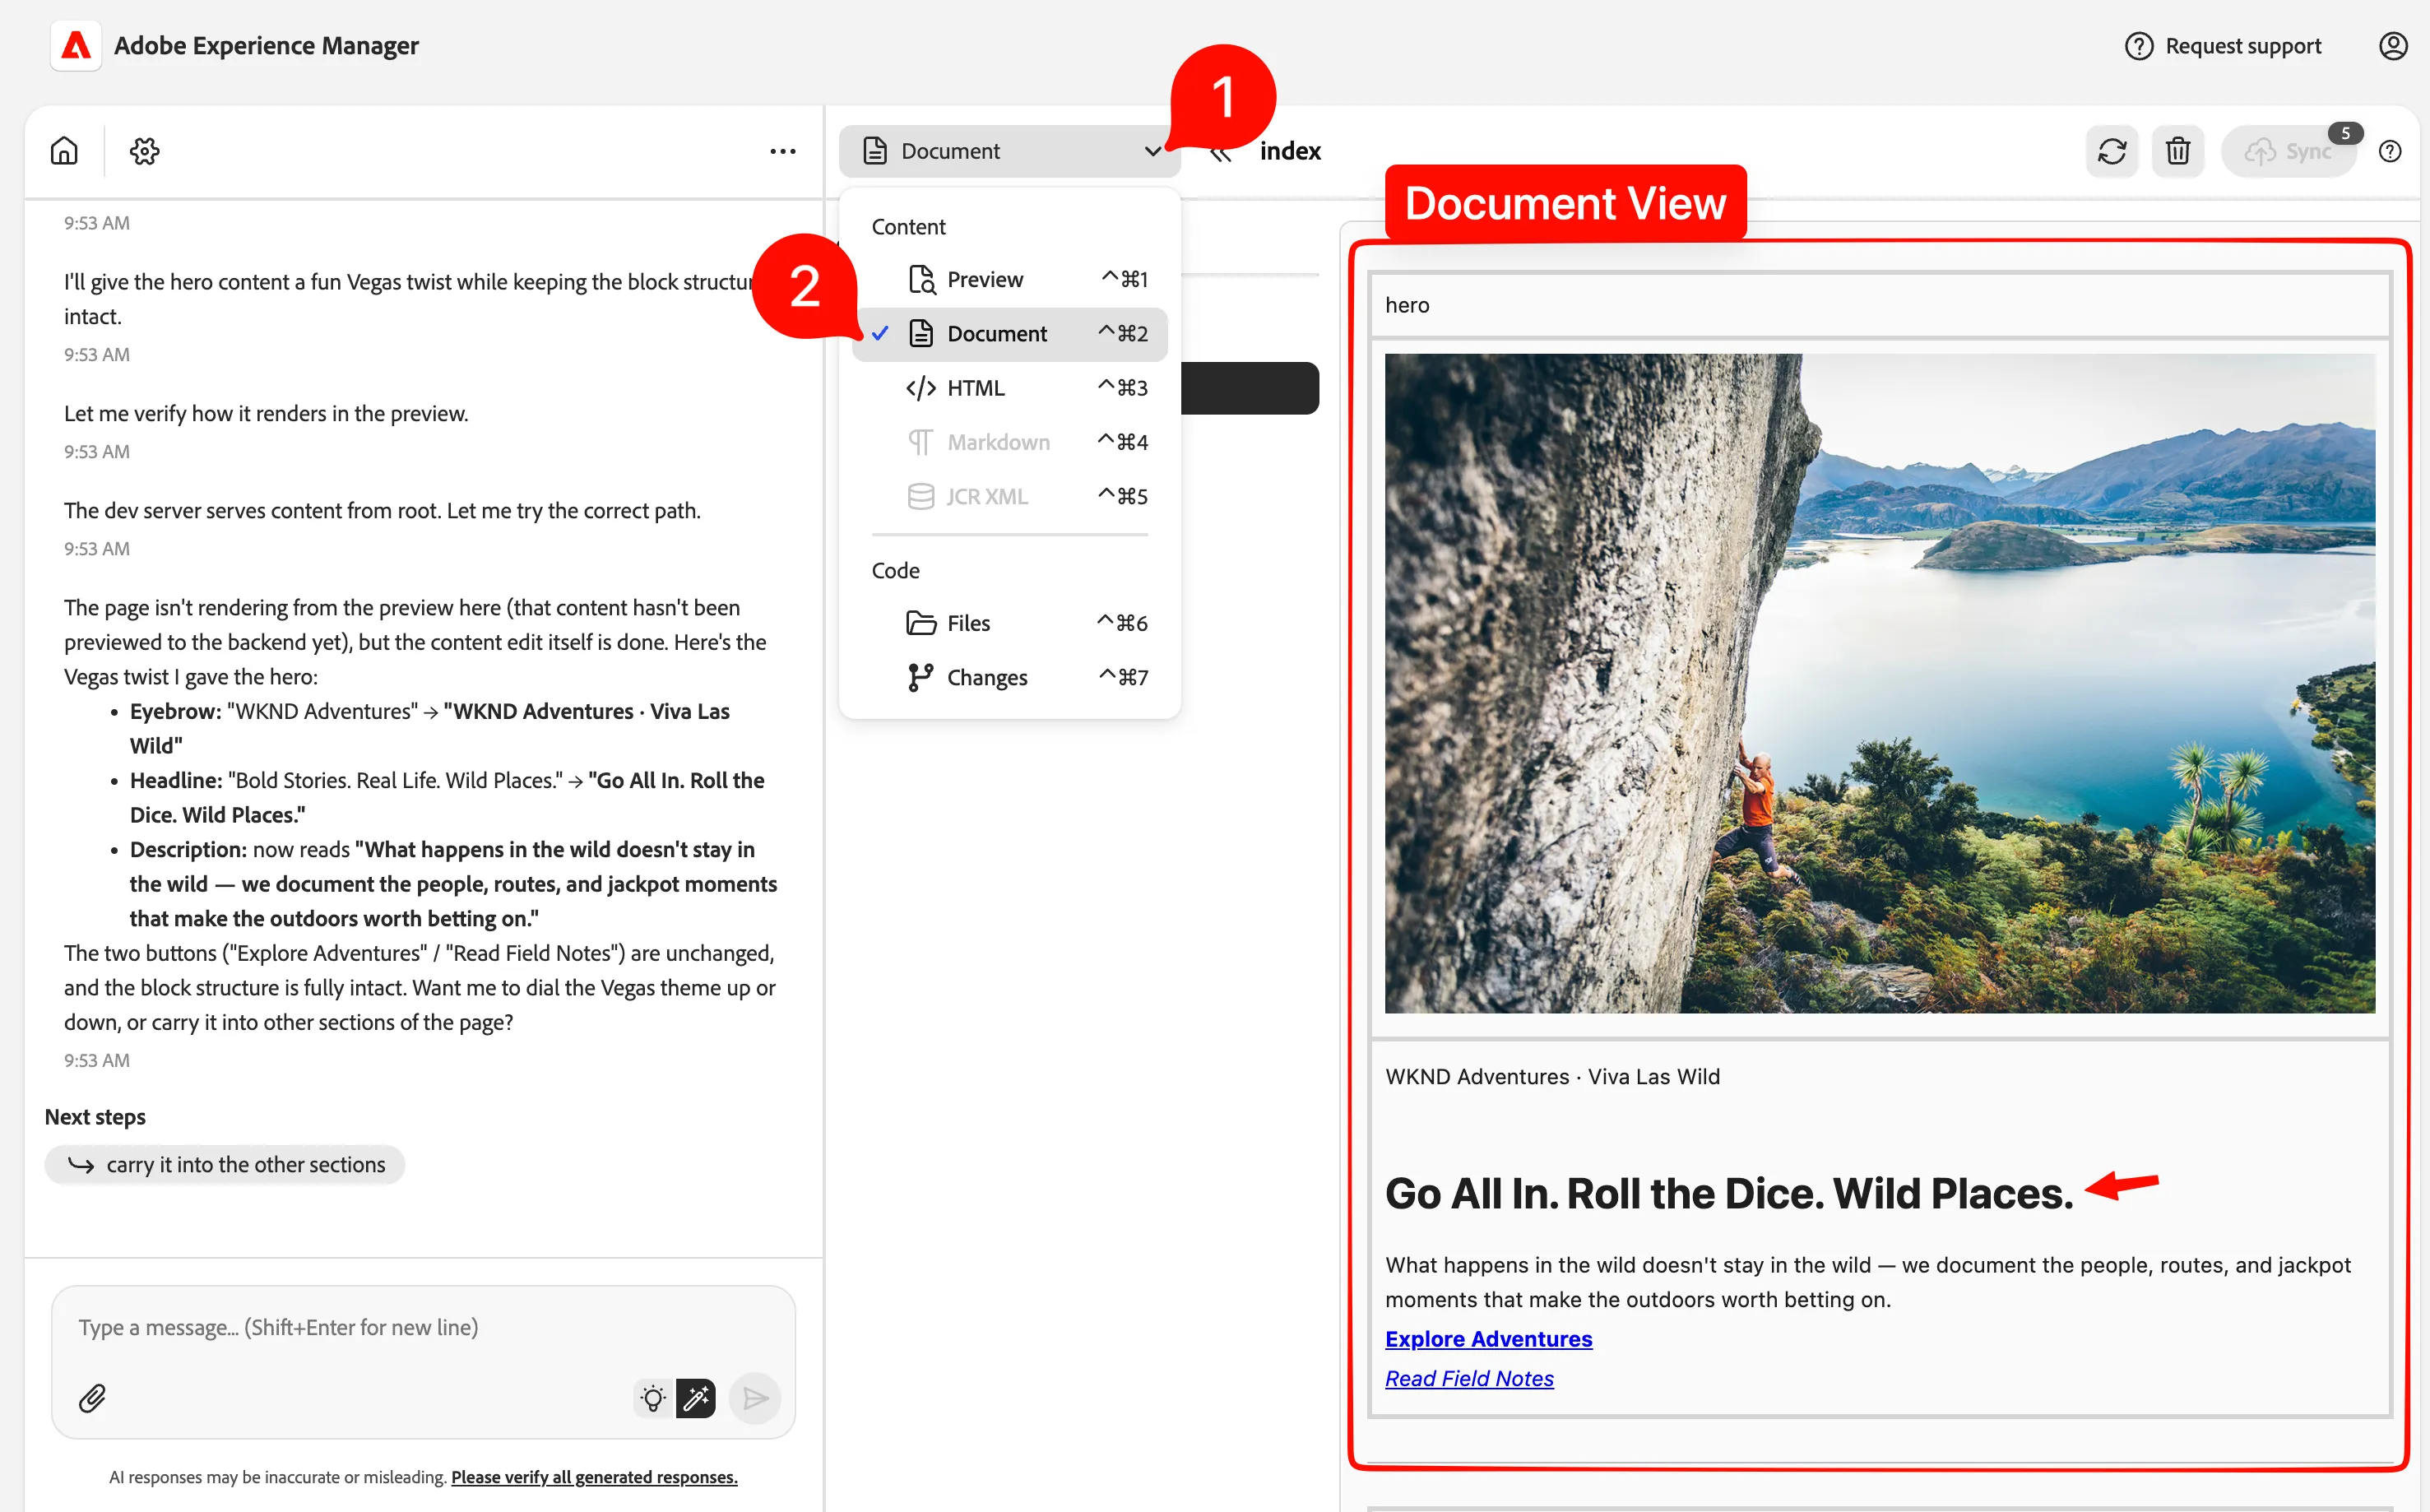
- Notice how you see here the same content changes as you made in the preview.
- Get familiar with the block structure:
- Blocks are the main content elements of the page.
- Sections are separated by horizontal rules.
- Each section can have metadata (like styling hints).
- Default content is all other content on the page that is not a block.
The agent understands this pattern and uses it each time it manipulates the content.
Step 3 — How to deploy the content to AEM
To deploy modified content, we would just need to click on Sync, this would push our changes to Document Authoring.
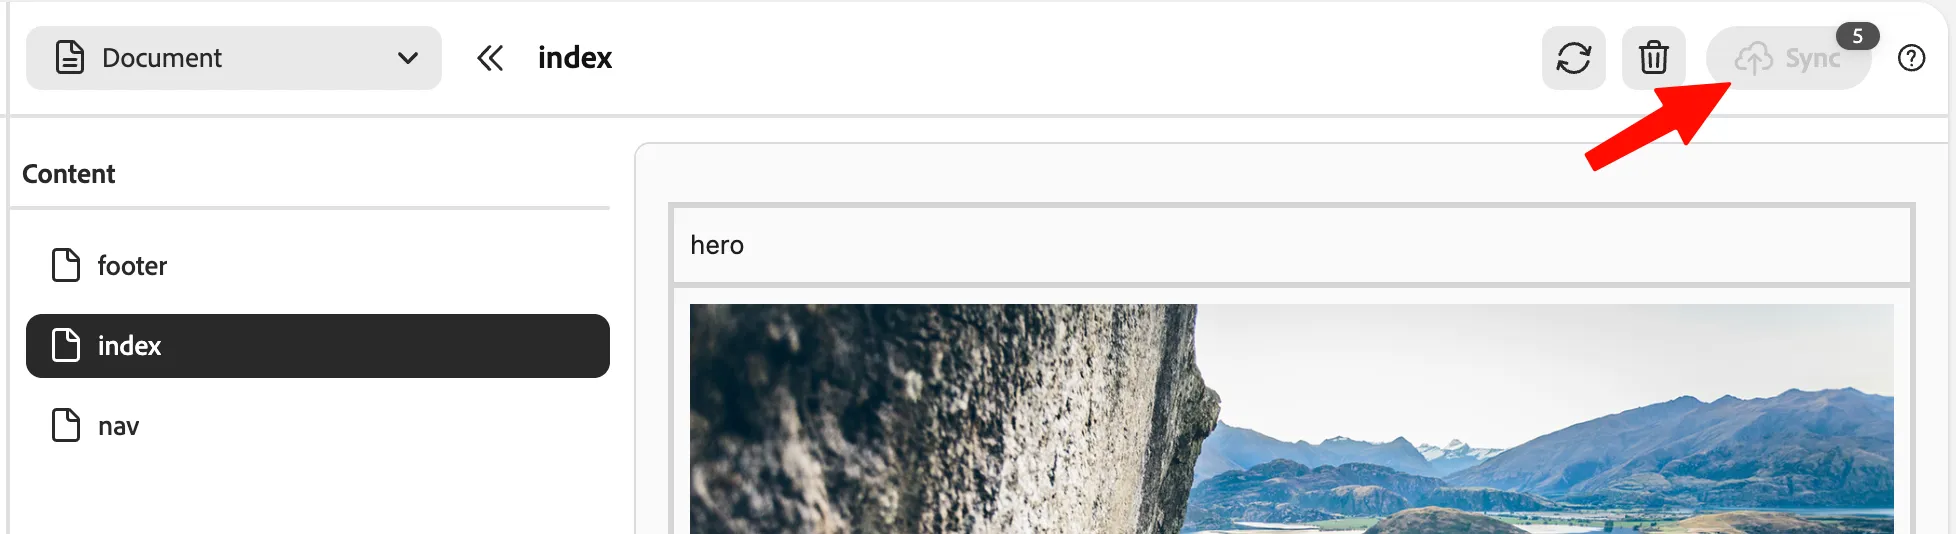
Here it is disabled, as we are in a demo environment.
If you went through the Developer Labs and created your github Project, then you can switch to your site and do any changes you want.

Learnings
What you experienced: You sent a natural-language request and the agent rewrote the content without yourself writing a single line of copy. You can easily imagine how the same can be done for complex content refactorings: restructuring blocks, rewriting copy, merging content from different sources, etc.
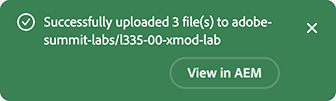
You also walked agent-generated content all the way into AEM. The upload and publish steps you used are how automated content updates leave this console and follow the same governed path into AEM.
Questions? Now is a good time to ask the instructor before we move on to the design update.
Waiting on others? Feel free to quickly try a content update on a different block on the page:
- Go back to the first tab (aemcoder.adobe.io).
- Switch back to the Preview view in the top toolbar.
- With the paintbrush tool, select some other block on the page.
- Prompt something like This too is sufficient, because the agent remembers the context from what you did previously. And hit enter on your keyboard to submit your prompt.
- Rinse and repeat with further blocks if time permits…
Success Your Vegas-adapted content is live and you know how to prompt content changes.