Ex3: Prompt Design Updates
Now that you've adapted the content, it's time to move over to the codebase and refine the design. You'll ask the agent to make the hero call-to-action buttons feel vibrant and Vegas-inspired.
Step 1 — Send the prompt
Let's start by prompting for a content update of the homepage hero block.
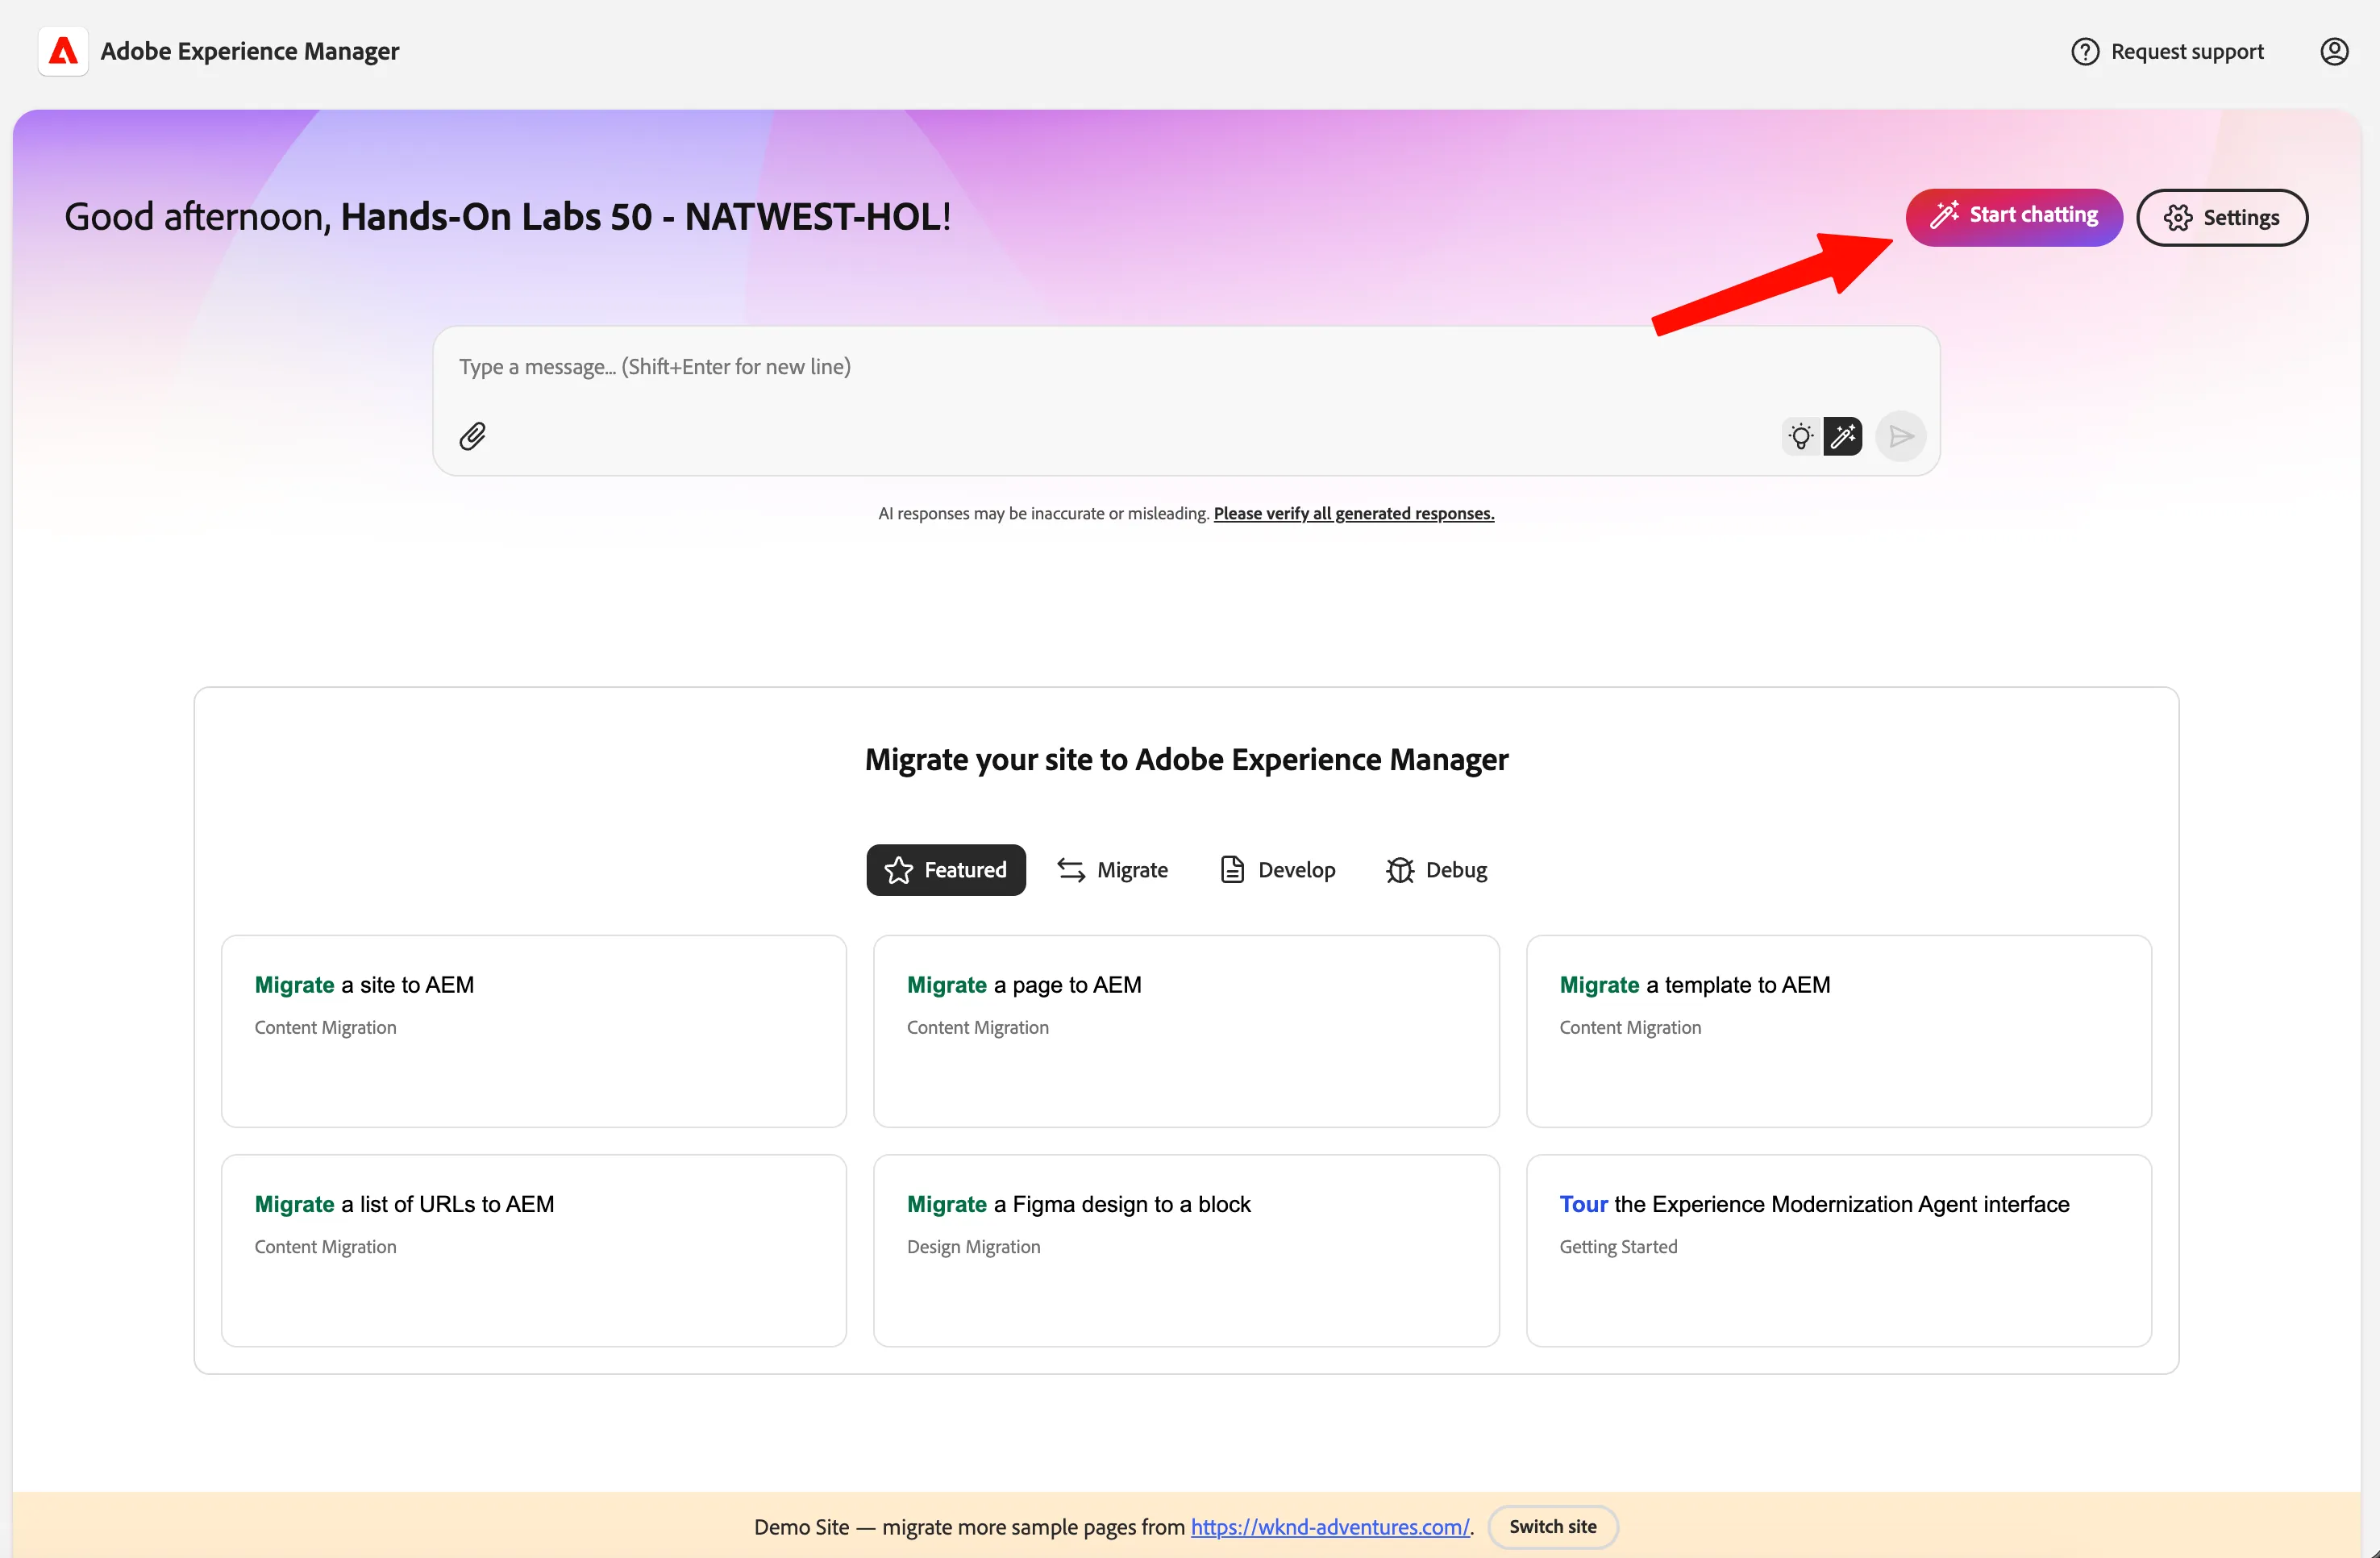
- Go to the aemcoder.adobe.io tab.
- Click on Start Chatting:
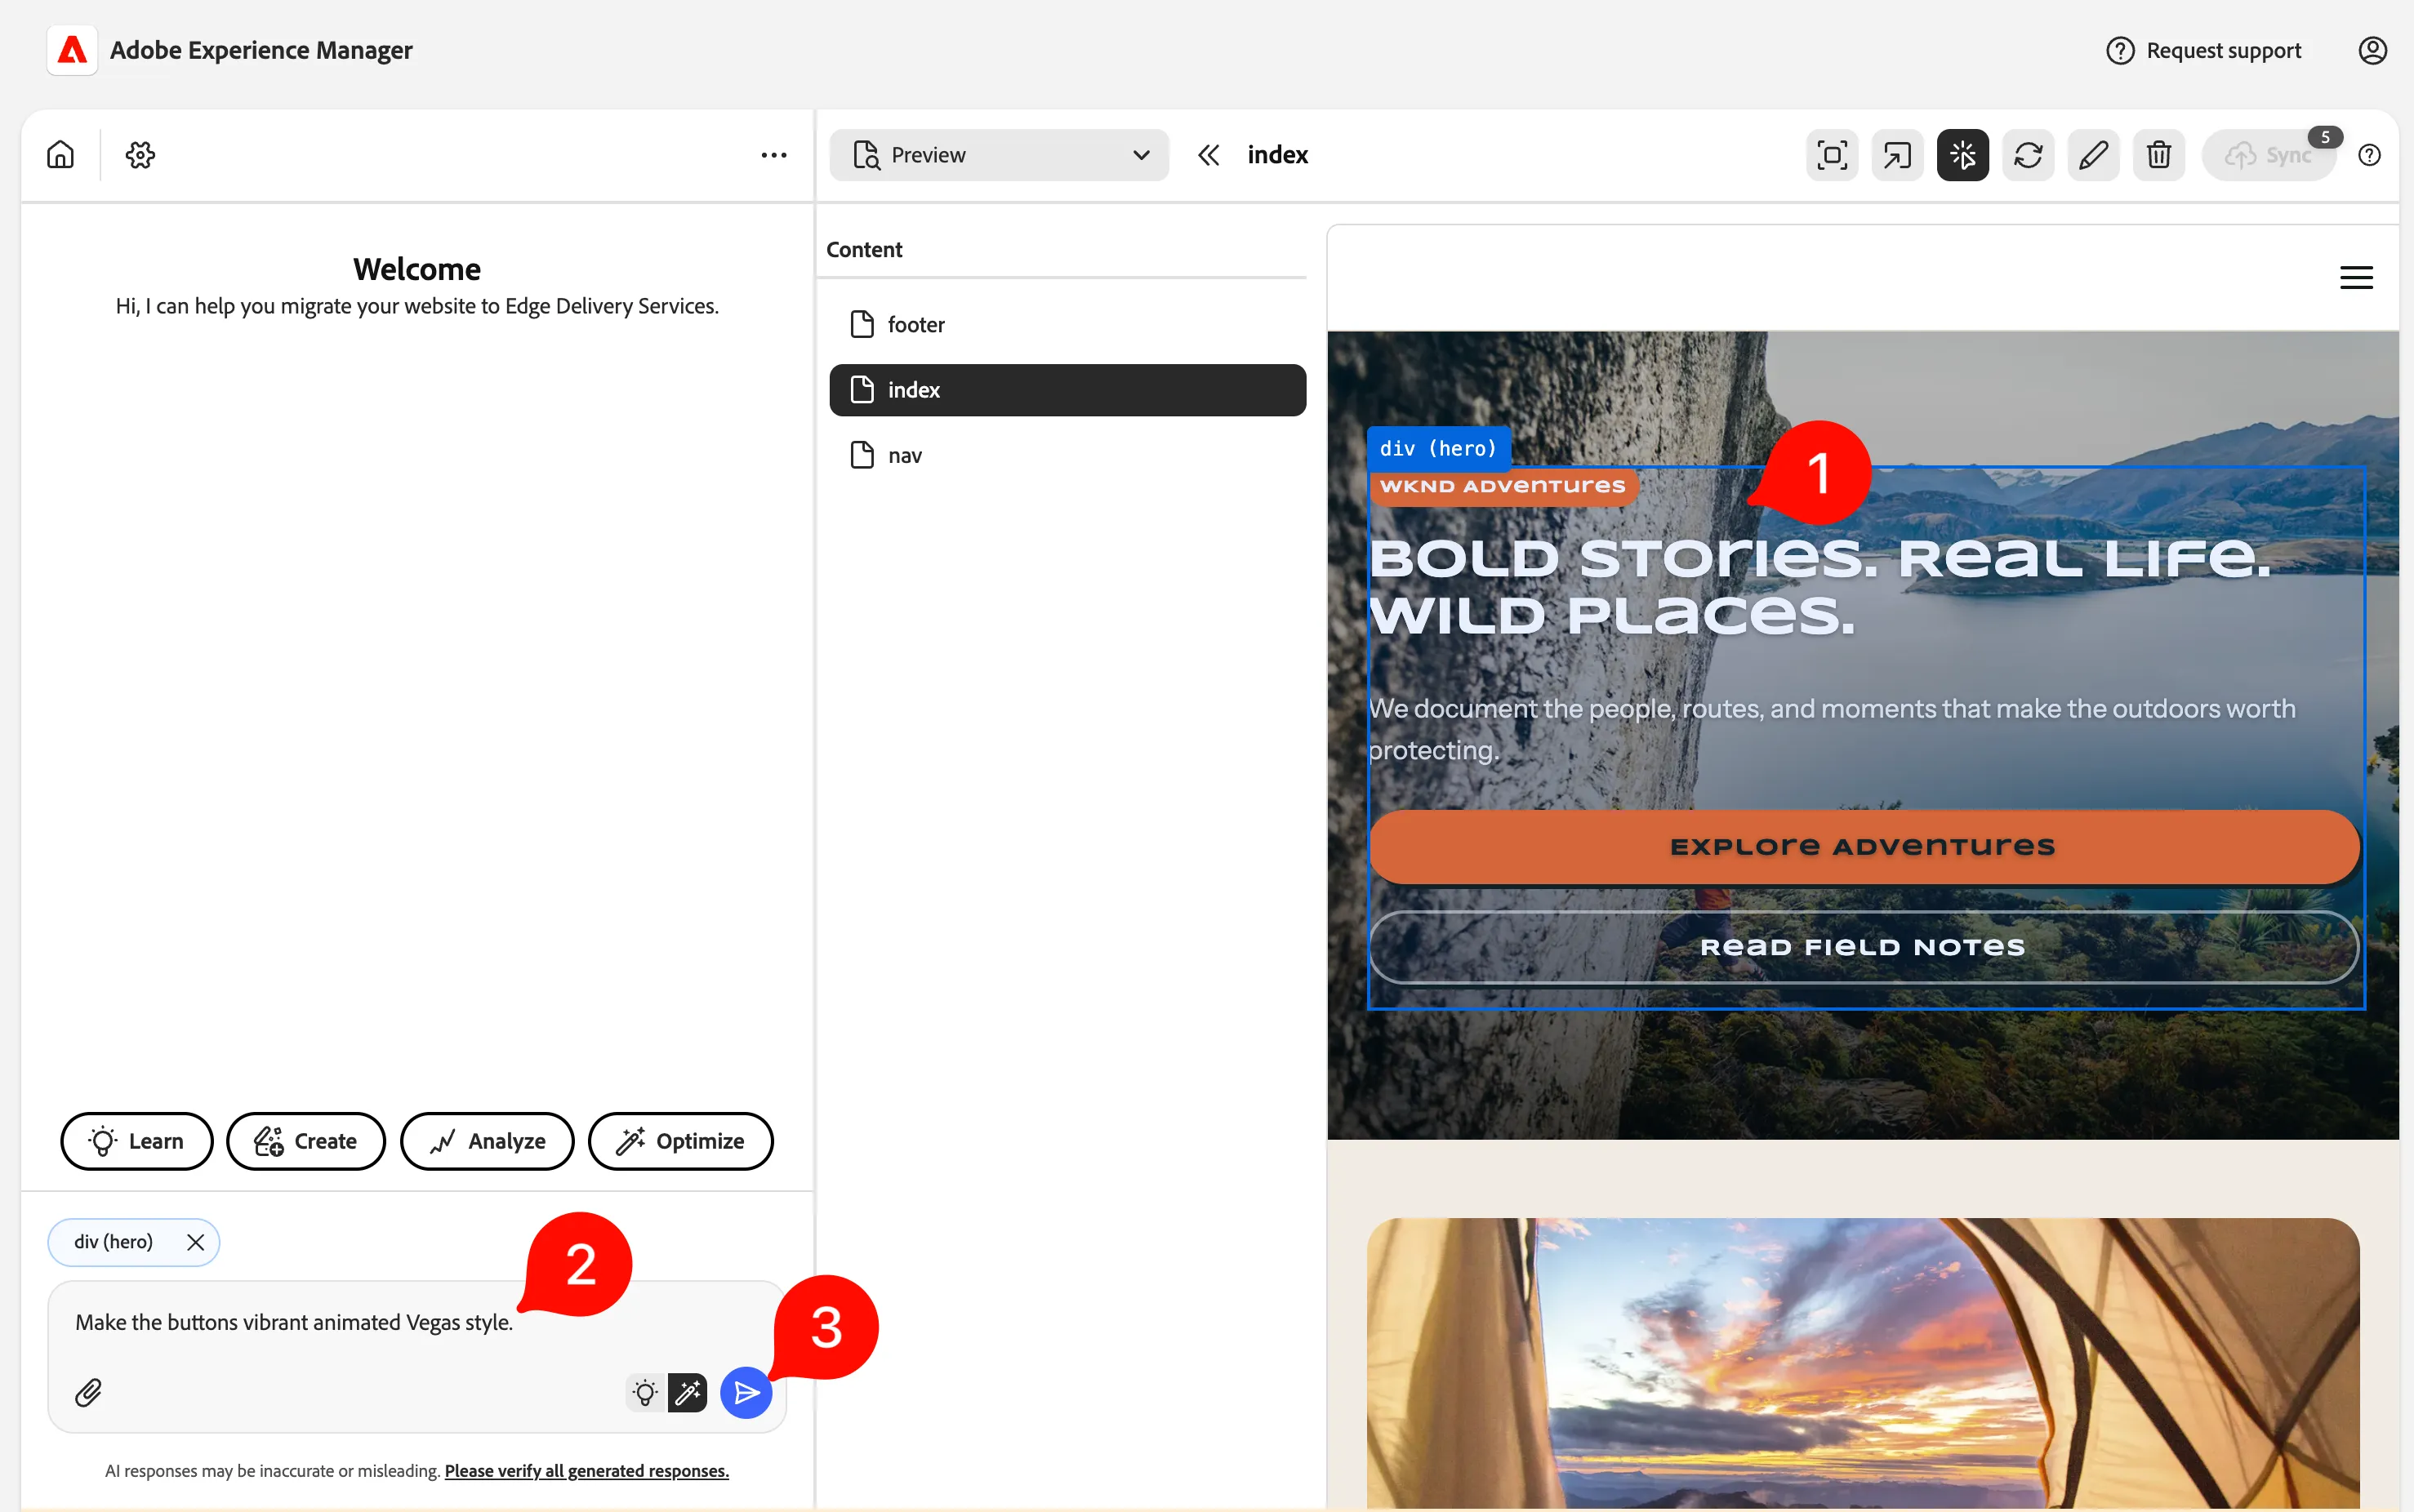
- On the top right, select the tool called "Element Inspector":

- Then select our hero element (this gives AI more context), and type this prompt:
Make the buttons vibrant animated Vegas style.
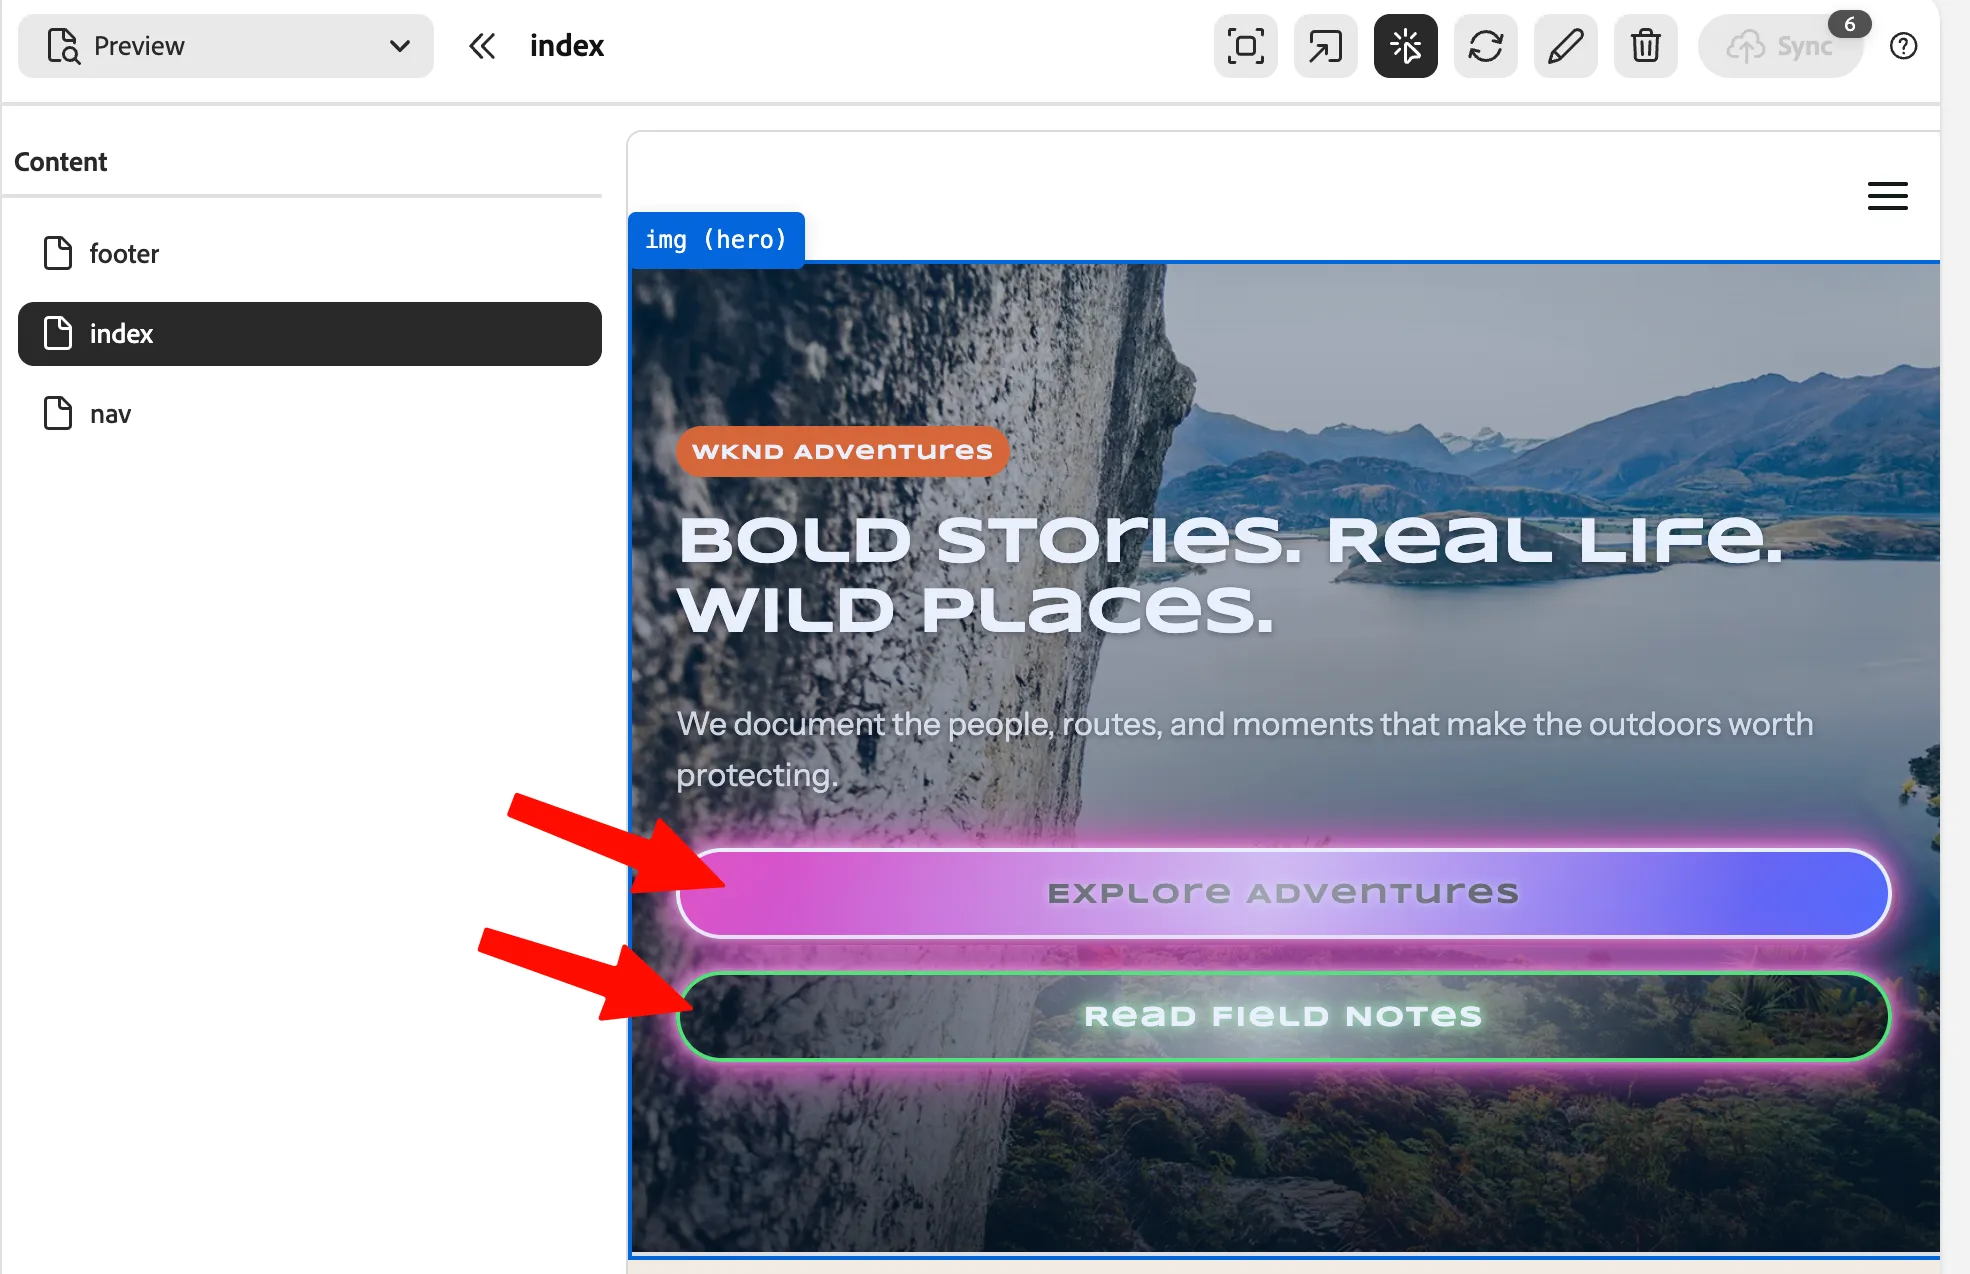
- Wait for the Agent to make the magic happen; it usually takes 1-2minutes, you can see the new buttons animated:
Step 2 — Review and deploy your code changes
Now that the agent has finished, take a moment to see what it actually did under the hood and then push the changes to production so that authors and visitors can see the new design.
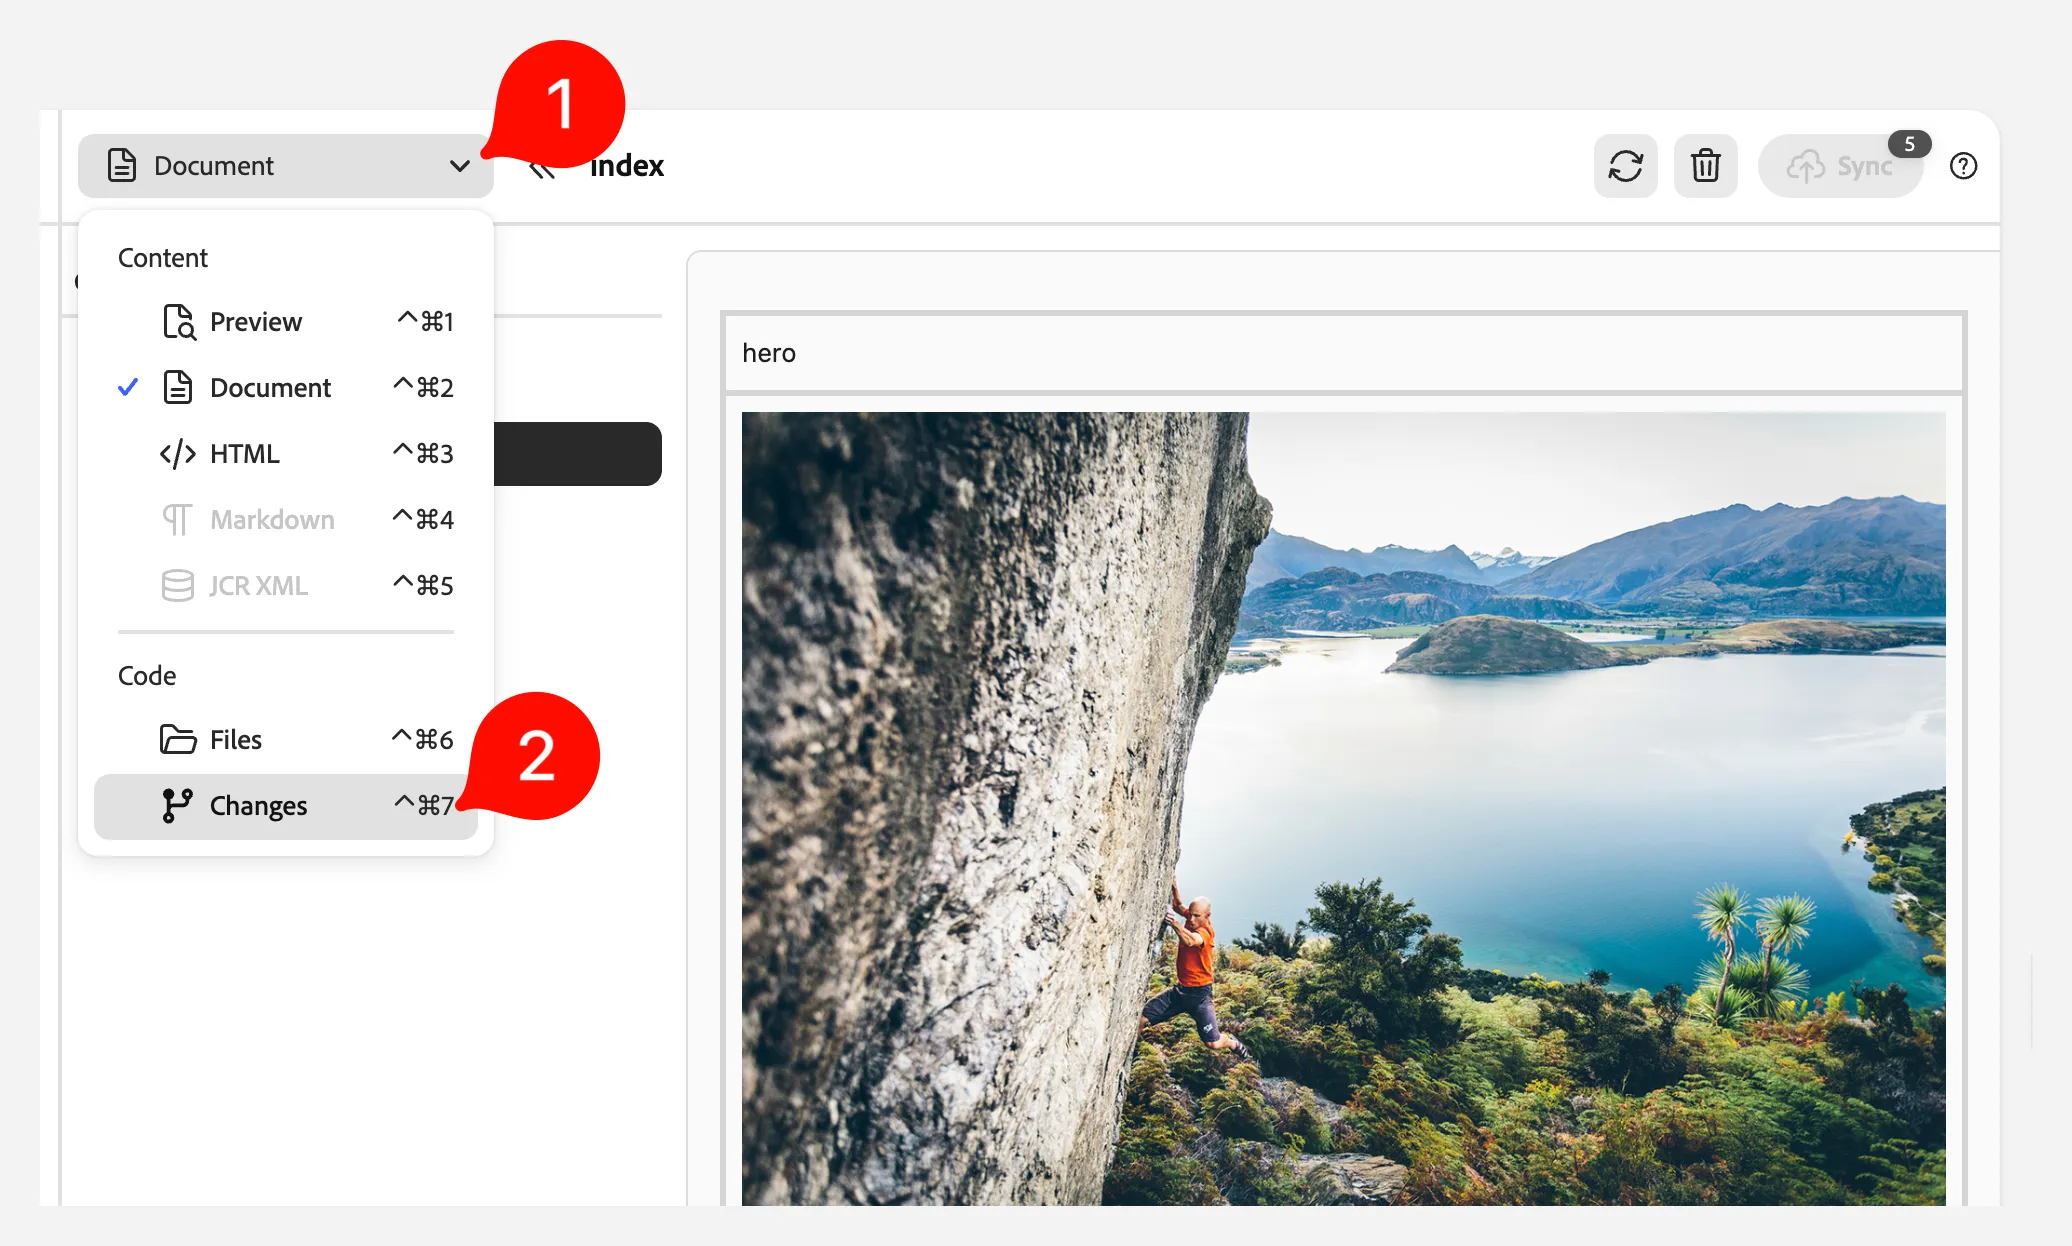
- Switch to Code Changes tab:
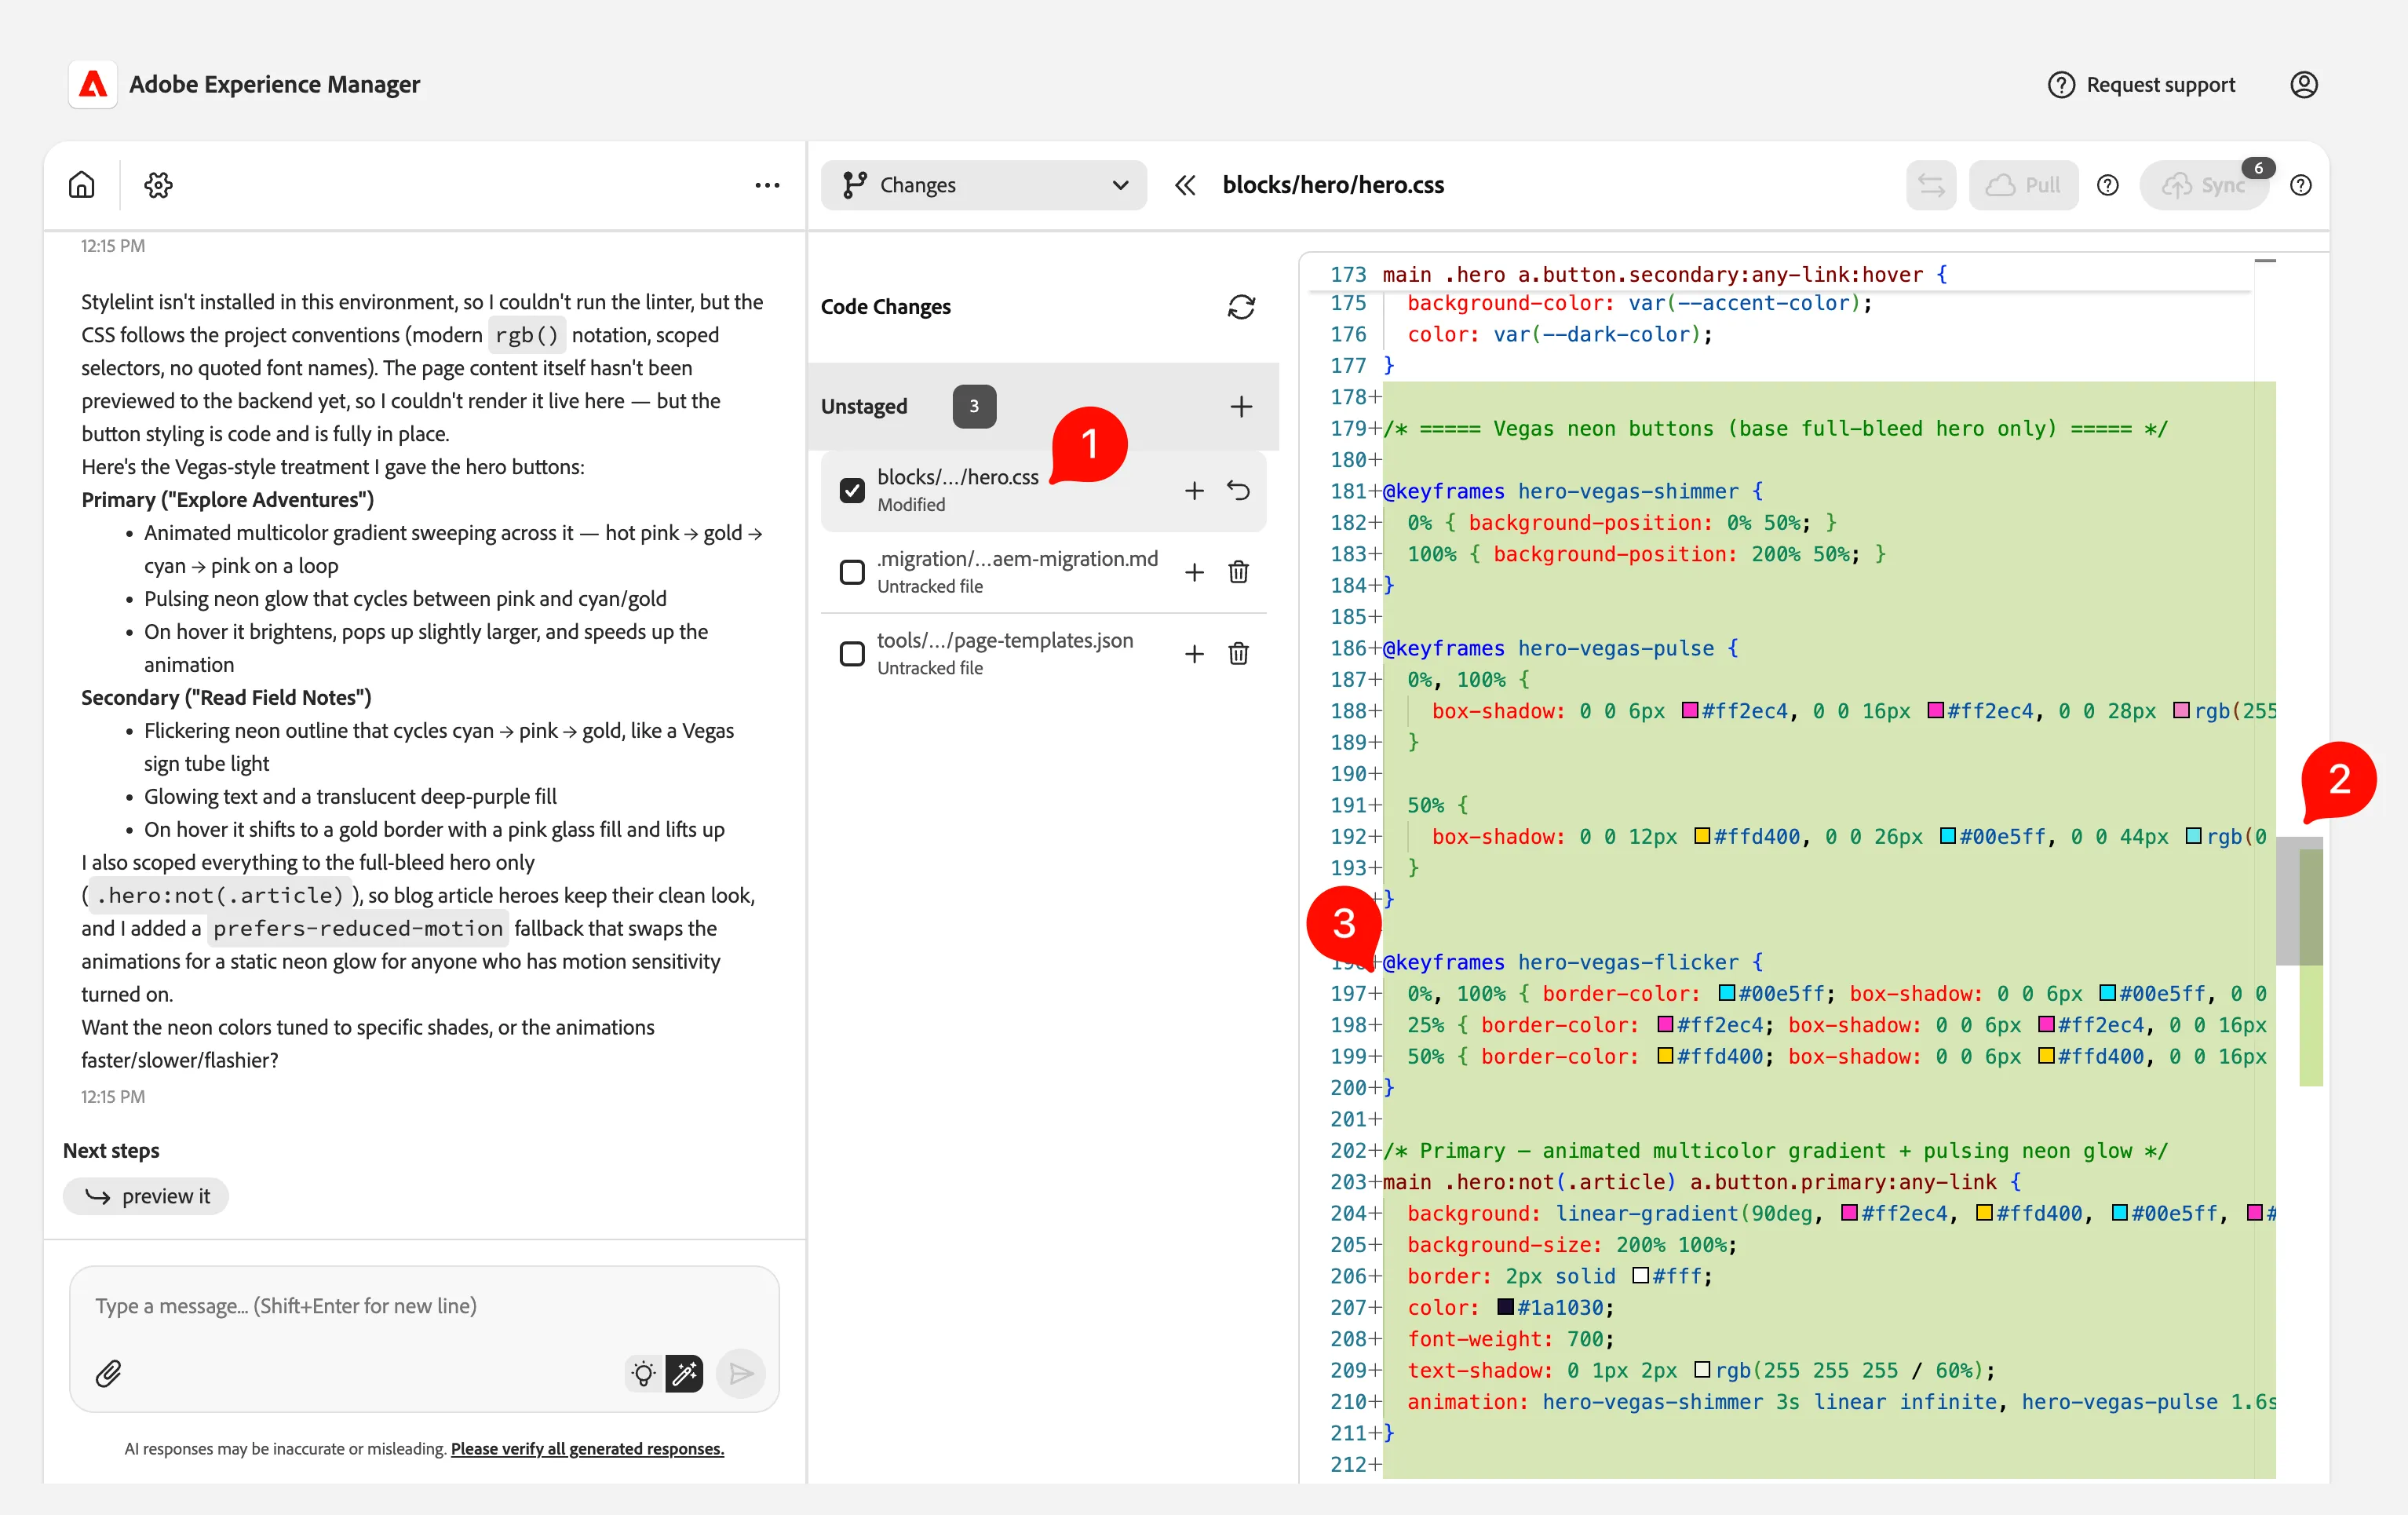
- You should see the hero.css file listed as modified (1). Scroll down (2) in the file to see the changes the agent made to create our Vegas-style button (3):
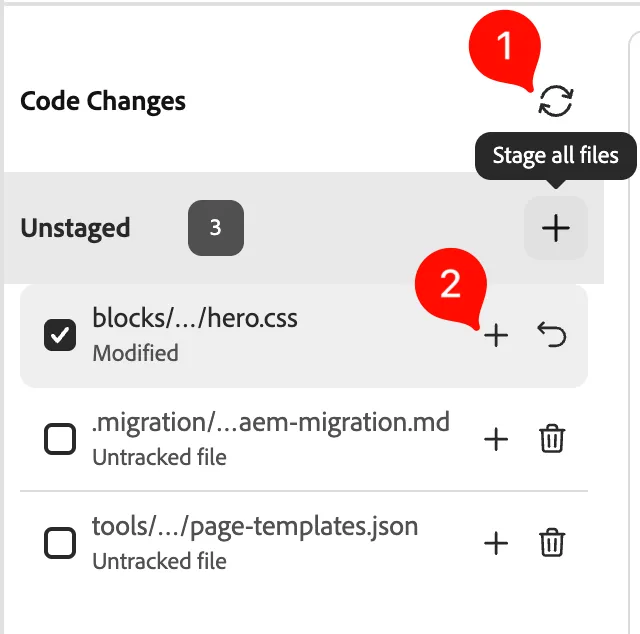
- You can sync code changes (1), and add our changed file to stage (2):
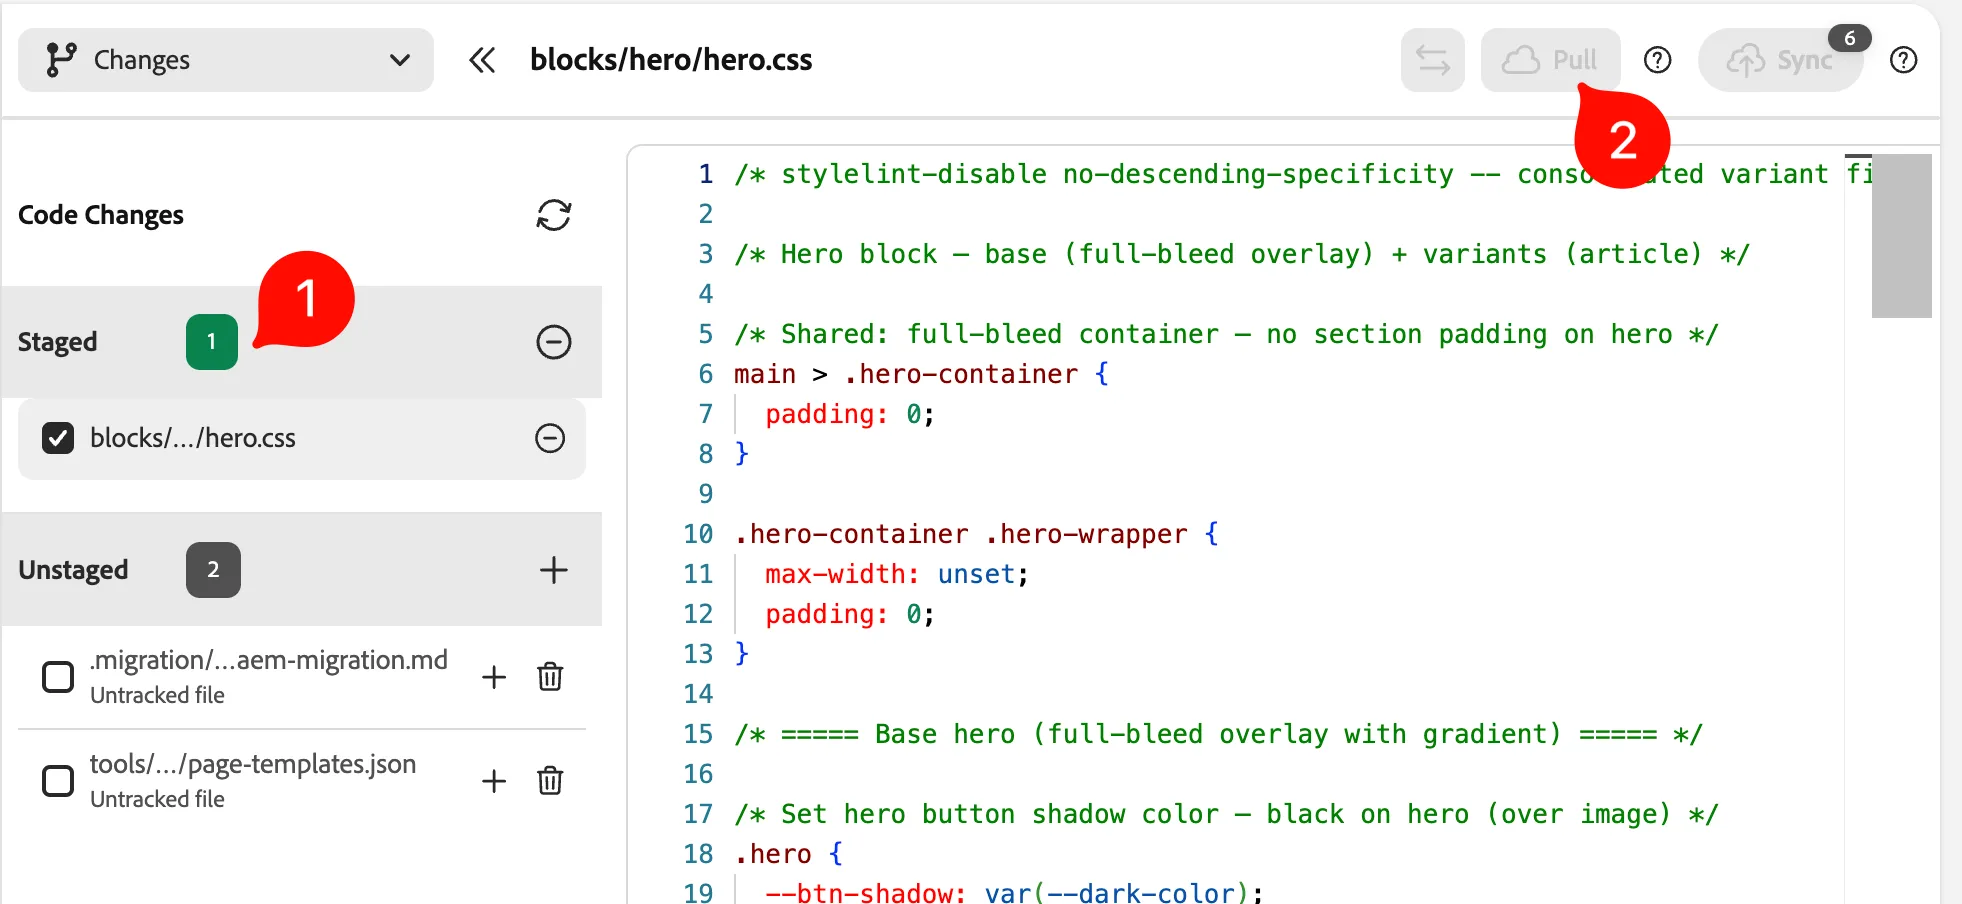
- If you are in a demo env, you won't have access to push the code, but we normally would have our code in staged (1), and Pull and Push (2) changes to the git repo:
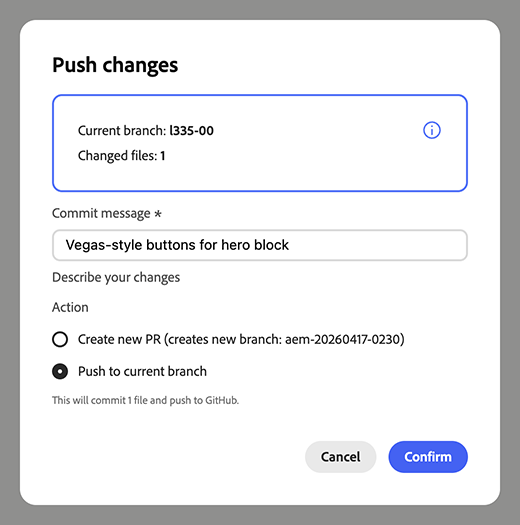
- Only if you can commit, push changes opens a dialog, enter a commit message:
Success You updated the hero buttons to the Vegas-style.
Step 3 — Make some targeted code changes
This is all great, but what if you want to make a more targeted change to the codebase?
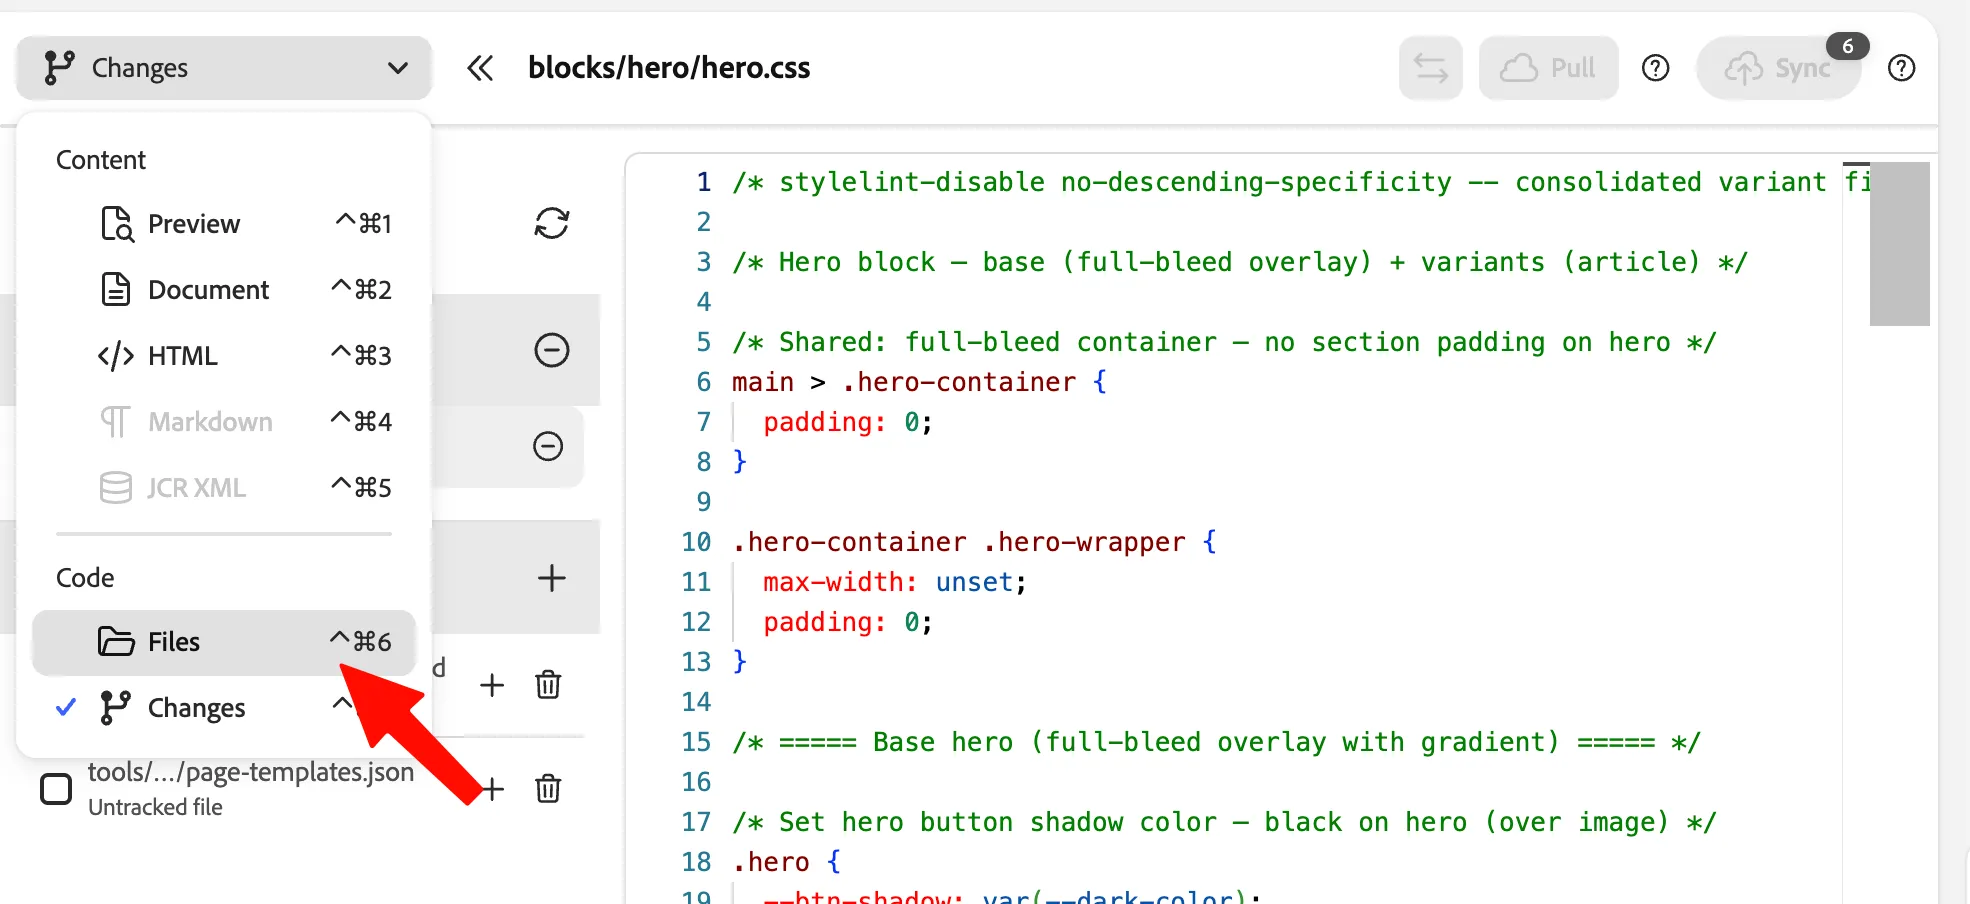
- We know switch to the Files tab:
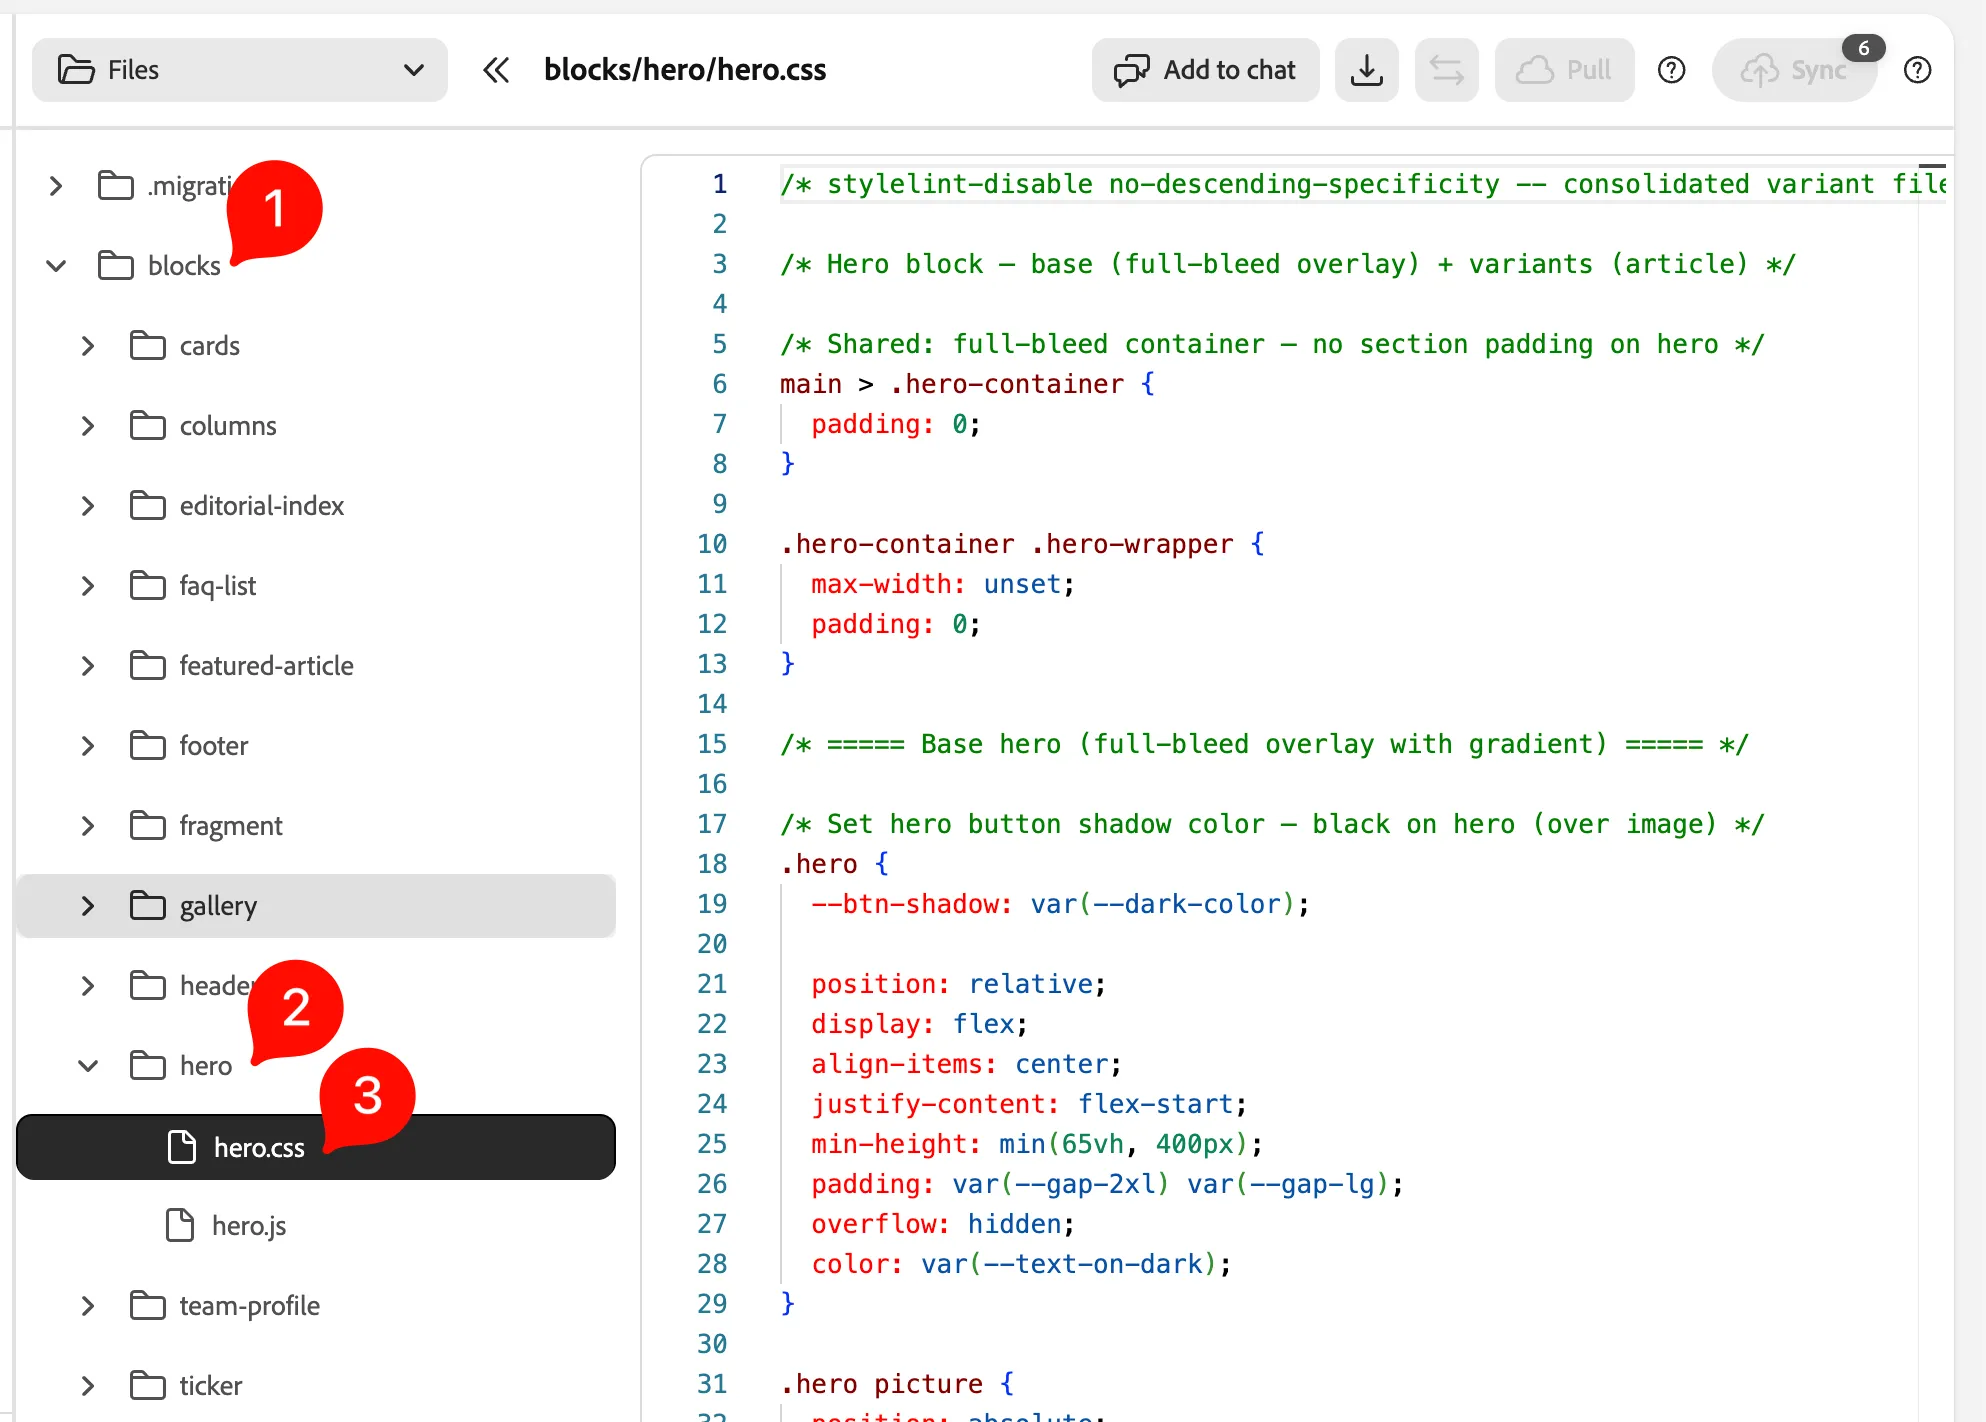
- Navigate the folders, go to blocks→hero→hero.css:
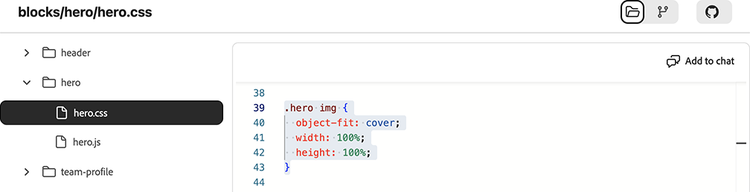
- Find the .hero img selector (typically on line 39):
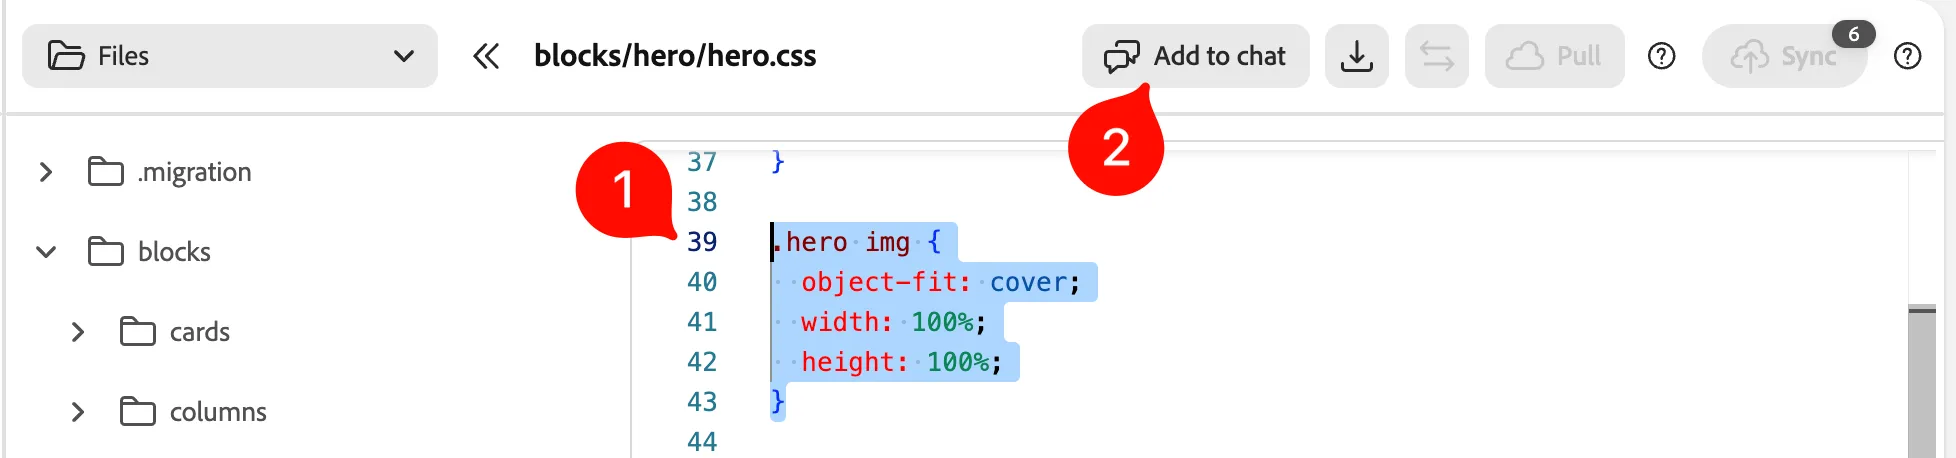
- Select its entire CSS block (typically from line 39 to 43), and click the "Add to chat" button:
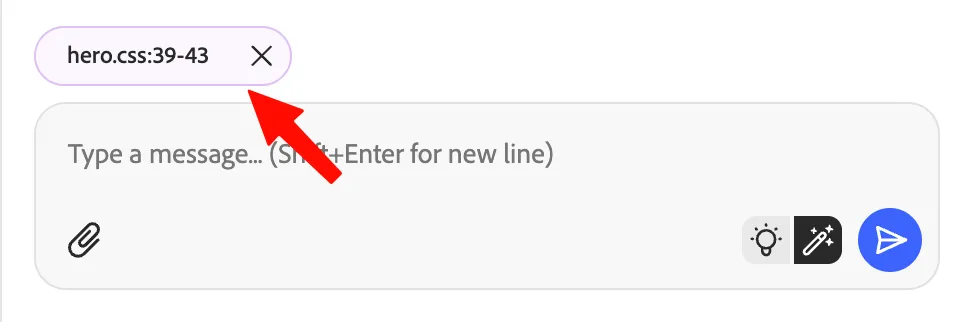
- You should see a context bubble with the label "hero.css:39-43" above the chat text area:
- Enter this prompt: Desaturate and animate bringing colors back on hover.
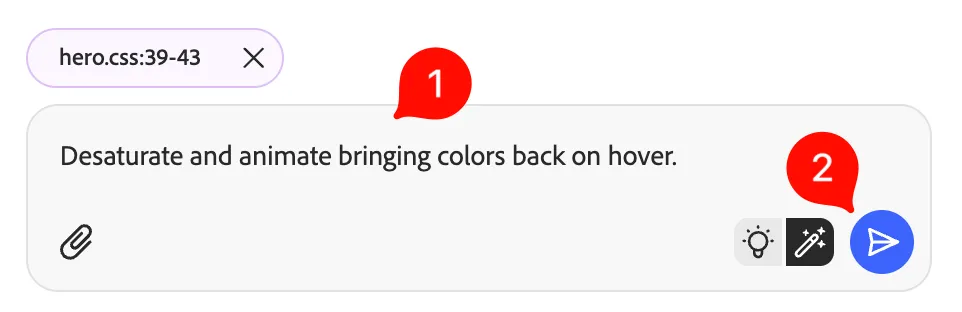
- Wait for the agent to finish. It typically takes 1–2 minutes.
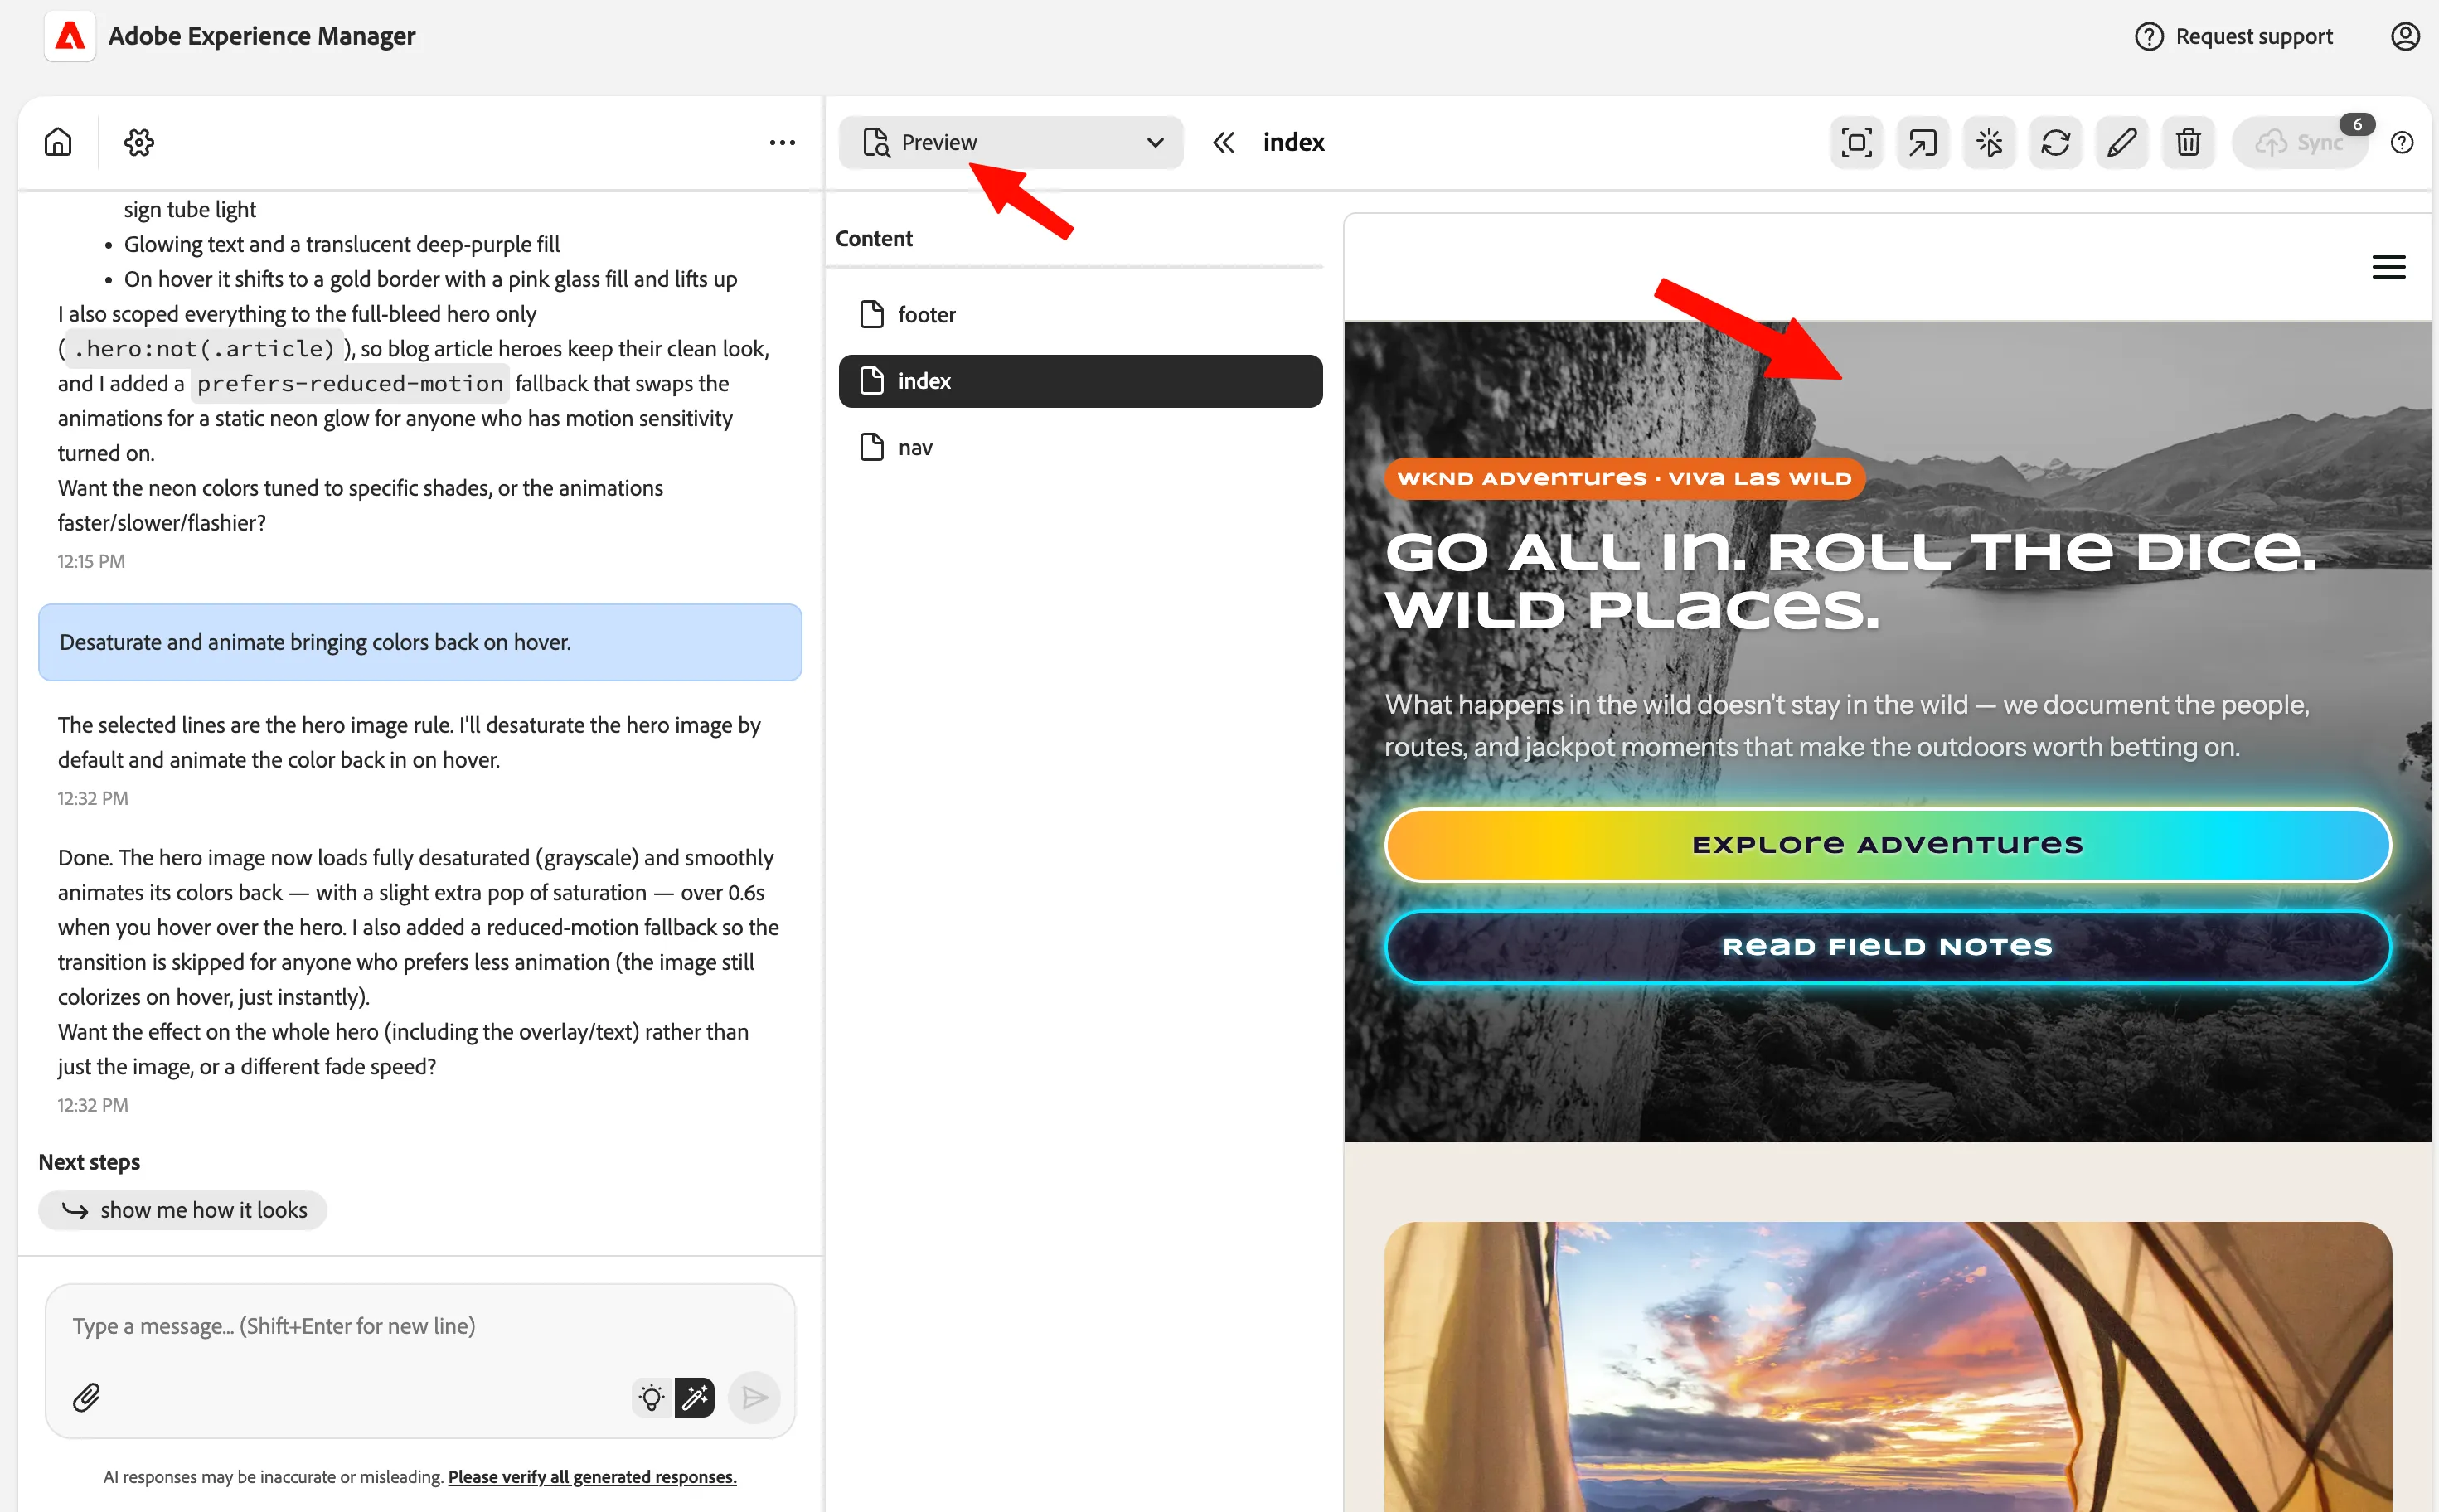
- View the changes in the preview:
Success
You see the updated desaturated and animated hero image on hover in the preview.
Step 4 — Review and push code changes
By now, you should be familiar with the process of reviewing and pushing code changes to production…
Are you able to do that without even reading the steps below?
- Switch to Changes:
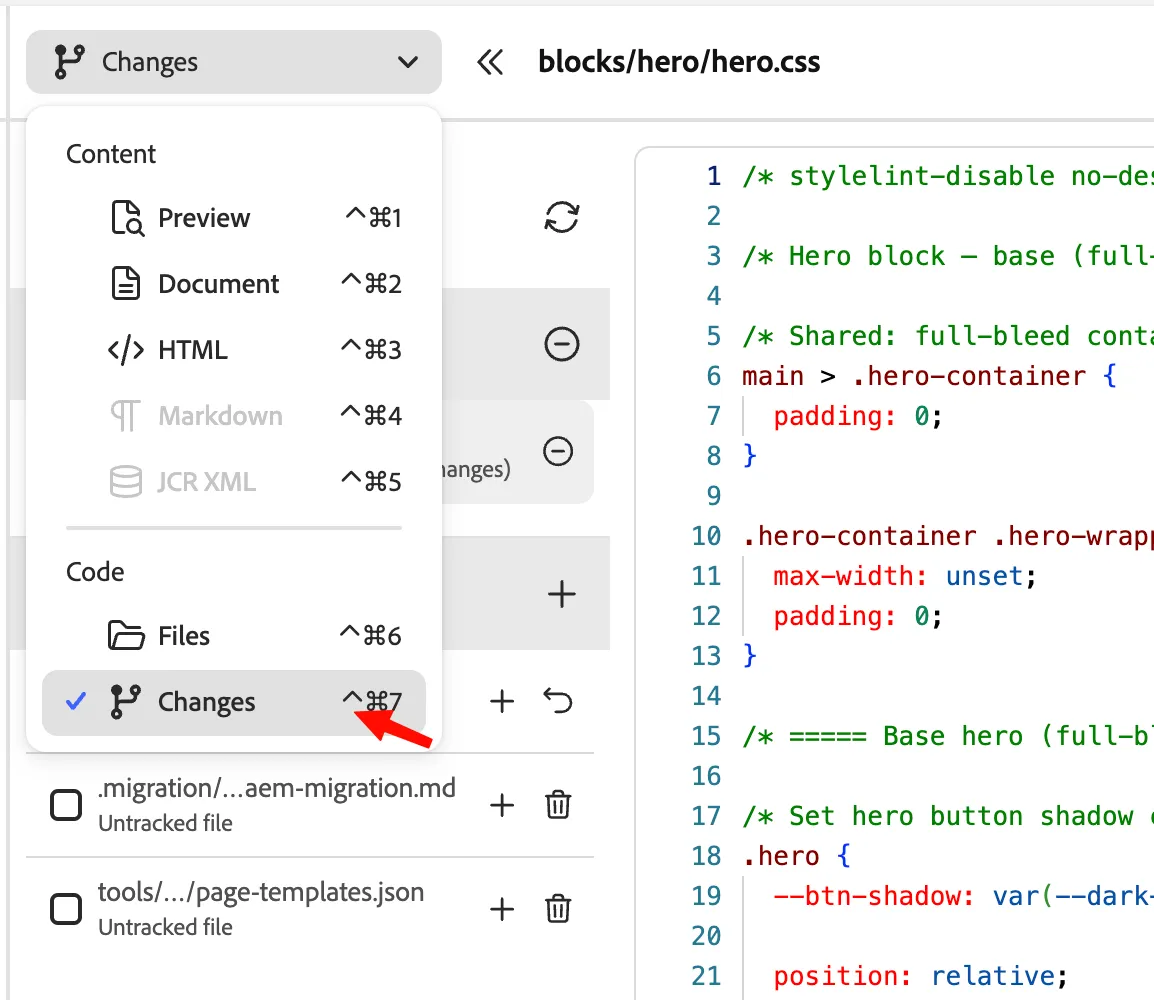
- Review our code changes, and add to stage:
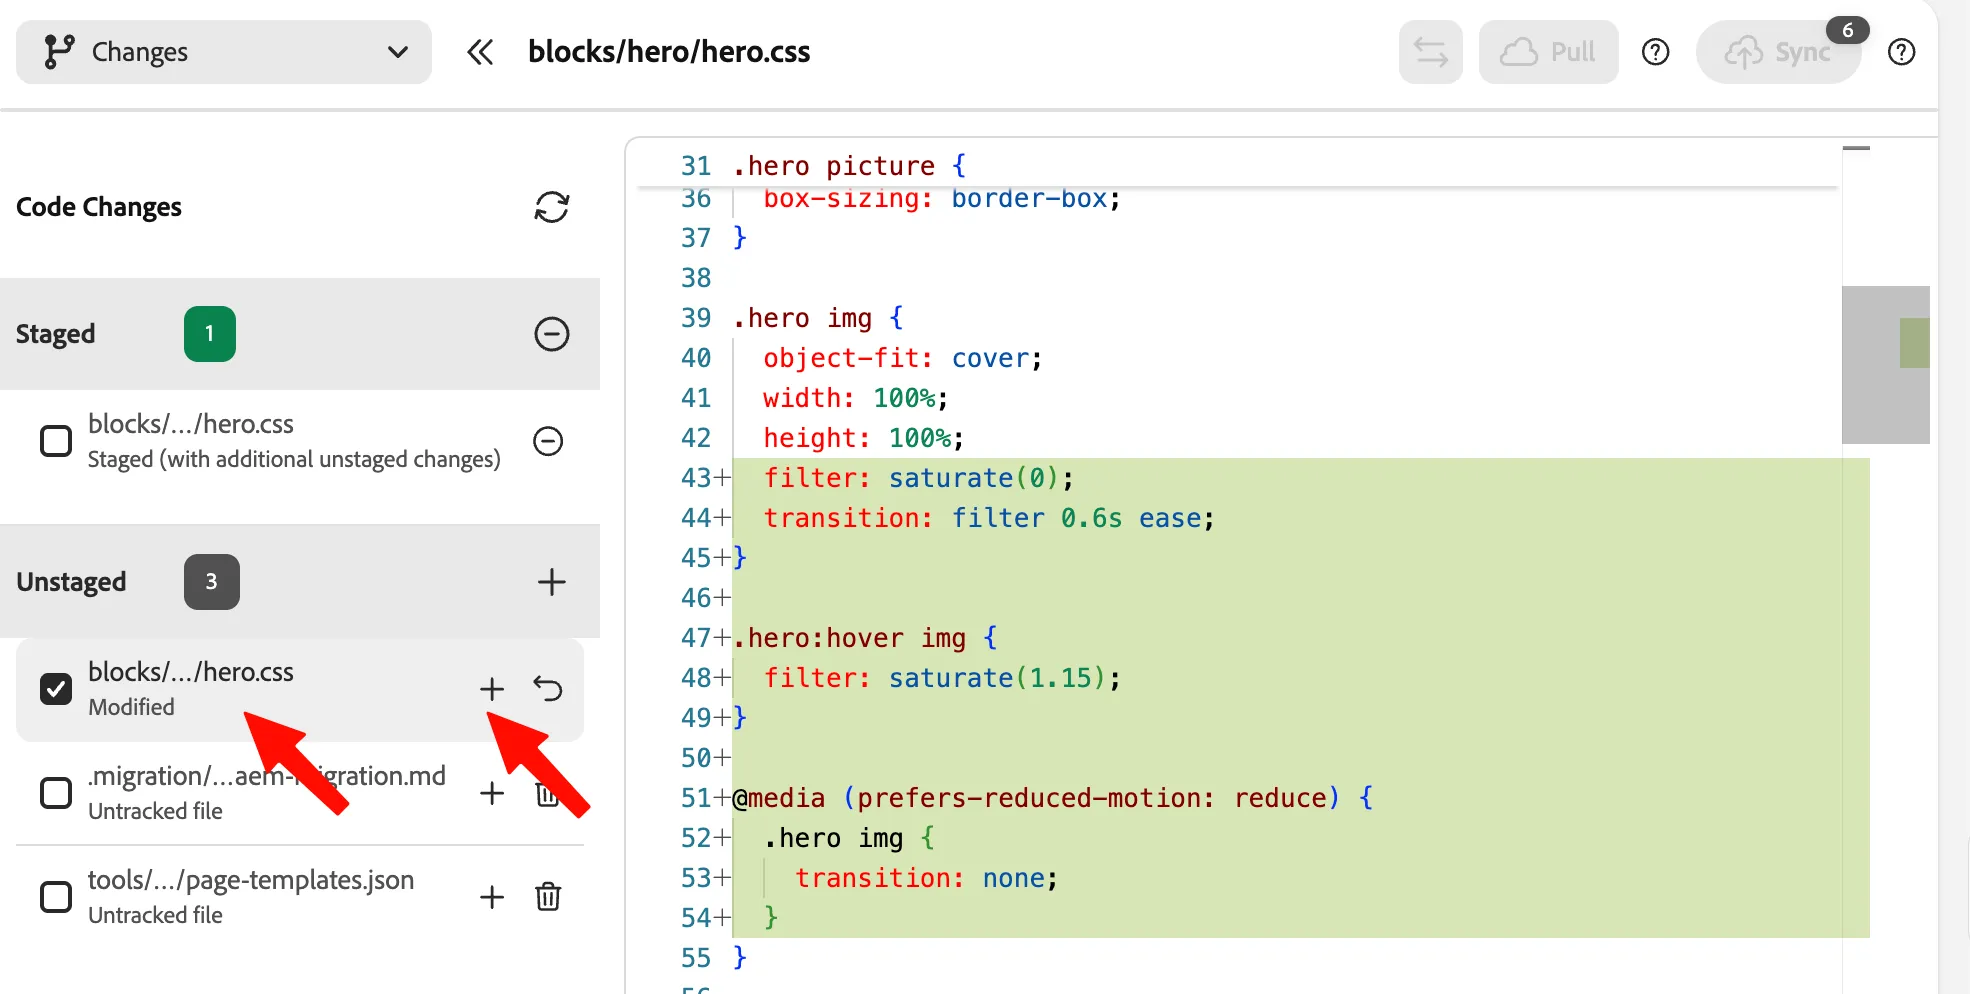
- If available, you can pull and push the changes:

Learnings
What you experienced: You prompted two design changes using natural language, the agent wrote CSS for both, you reviewed each, and pushed them to GitHub. The same pattern extends to any change made to this project's code base: they can all be done through a simple prompt.
The agent handles implementation details, but your approval and governance stay intact. Nothing ships without your sign-off. This pattern (agent writes code, you review, you push to version control) fits your existing development workflow. With the ability to create new branches, you can even safely stage changes before pushing them to production.
Questions? Now is a good time to ask the instructor before we move on.
Success Your Vegas-adapted content is live and you know how to prompt content changes.